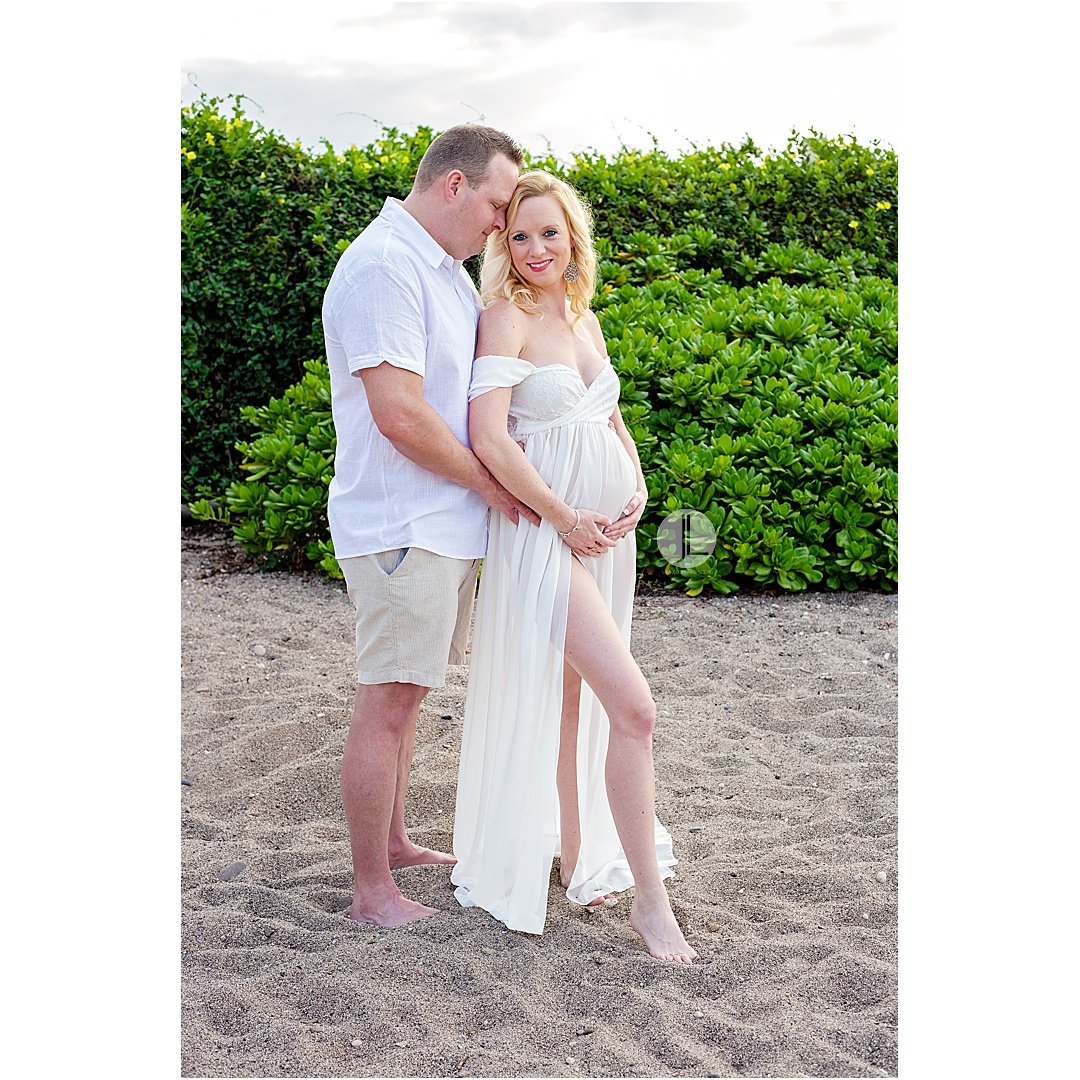
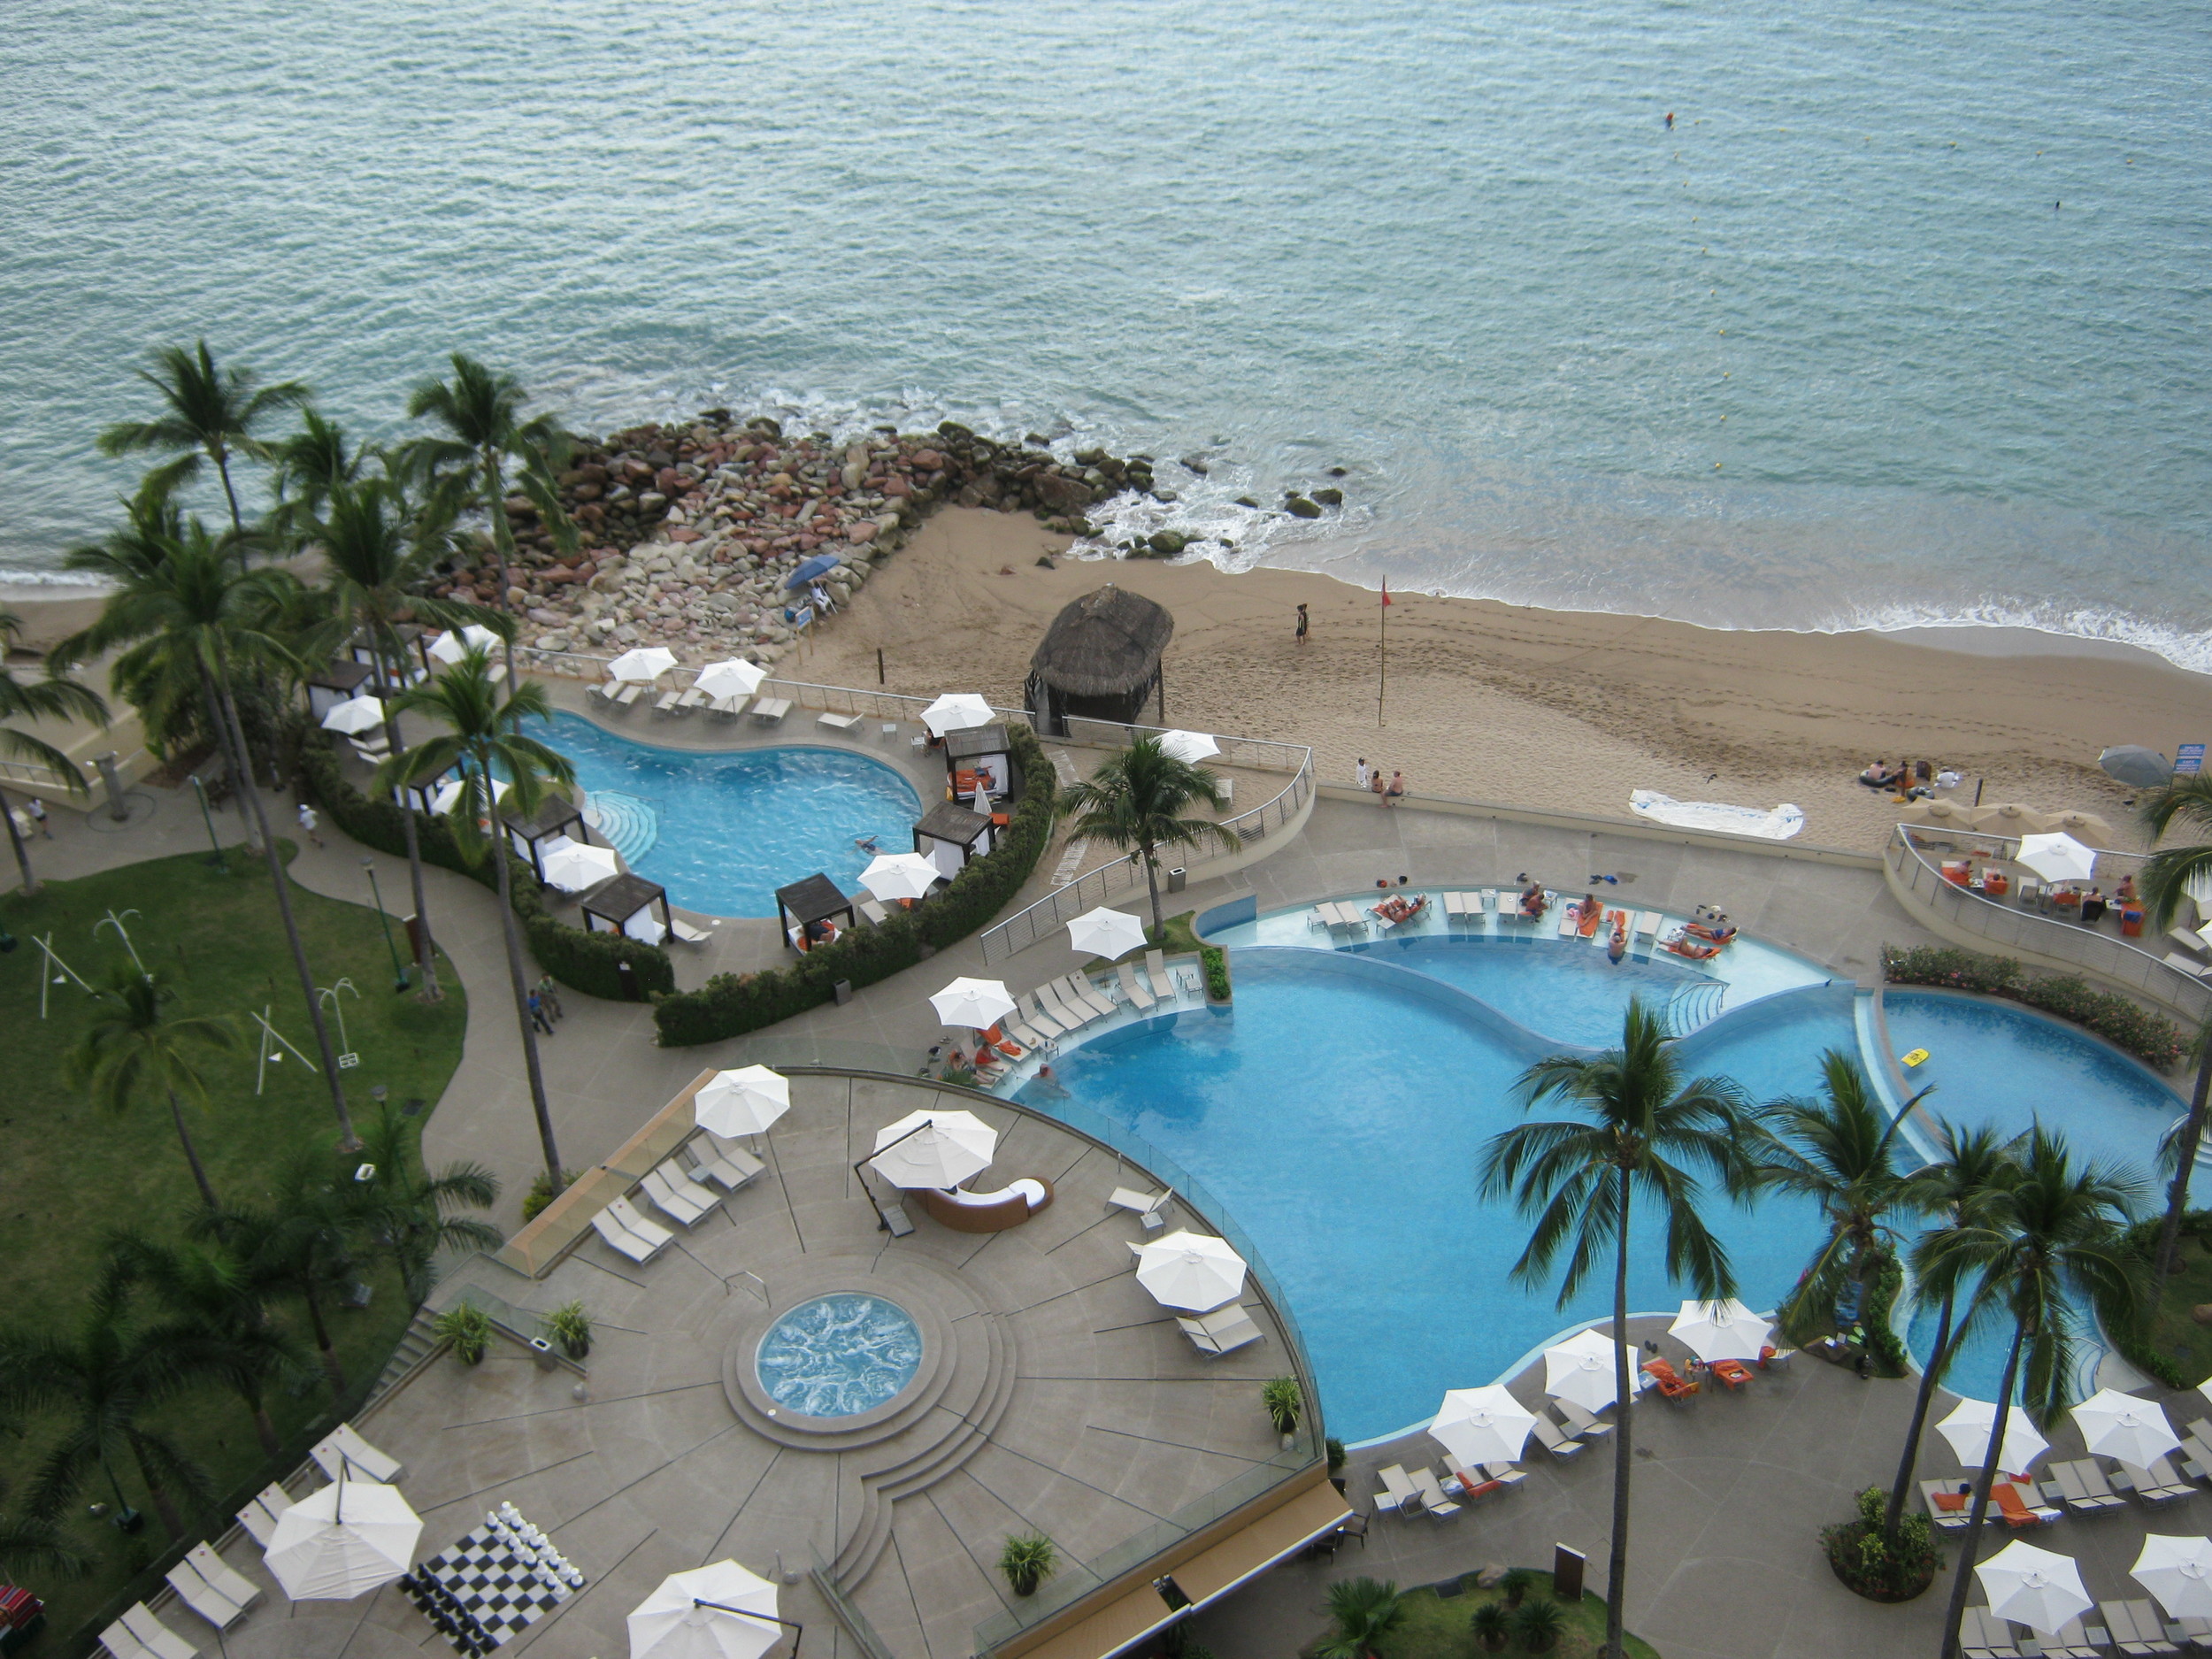
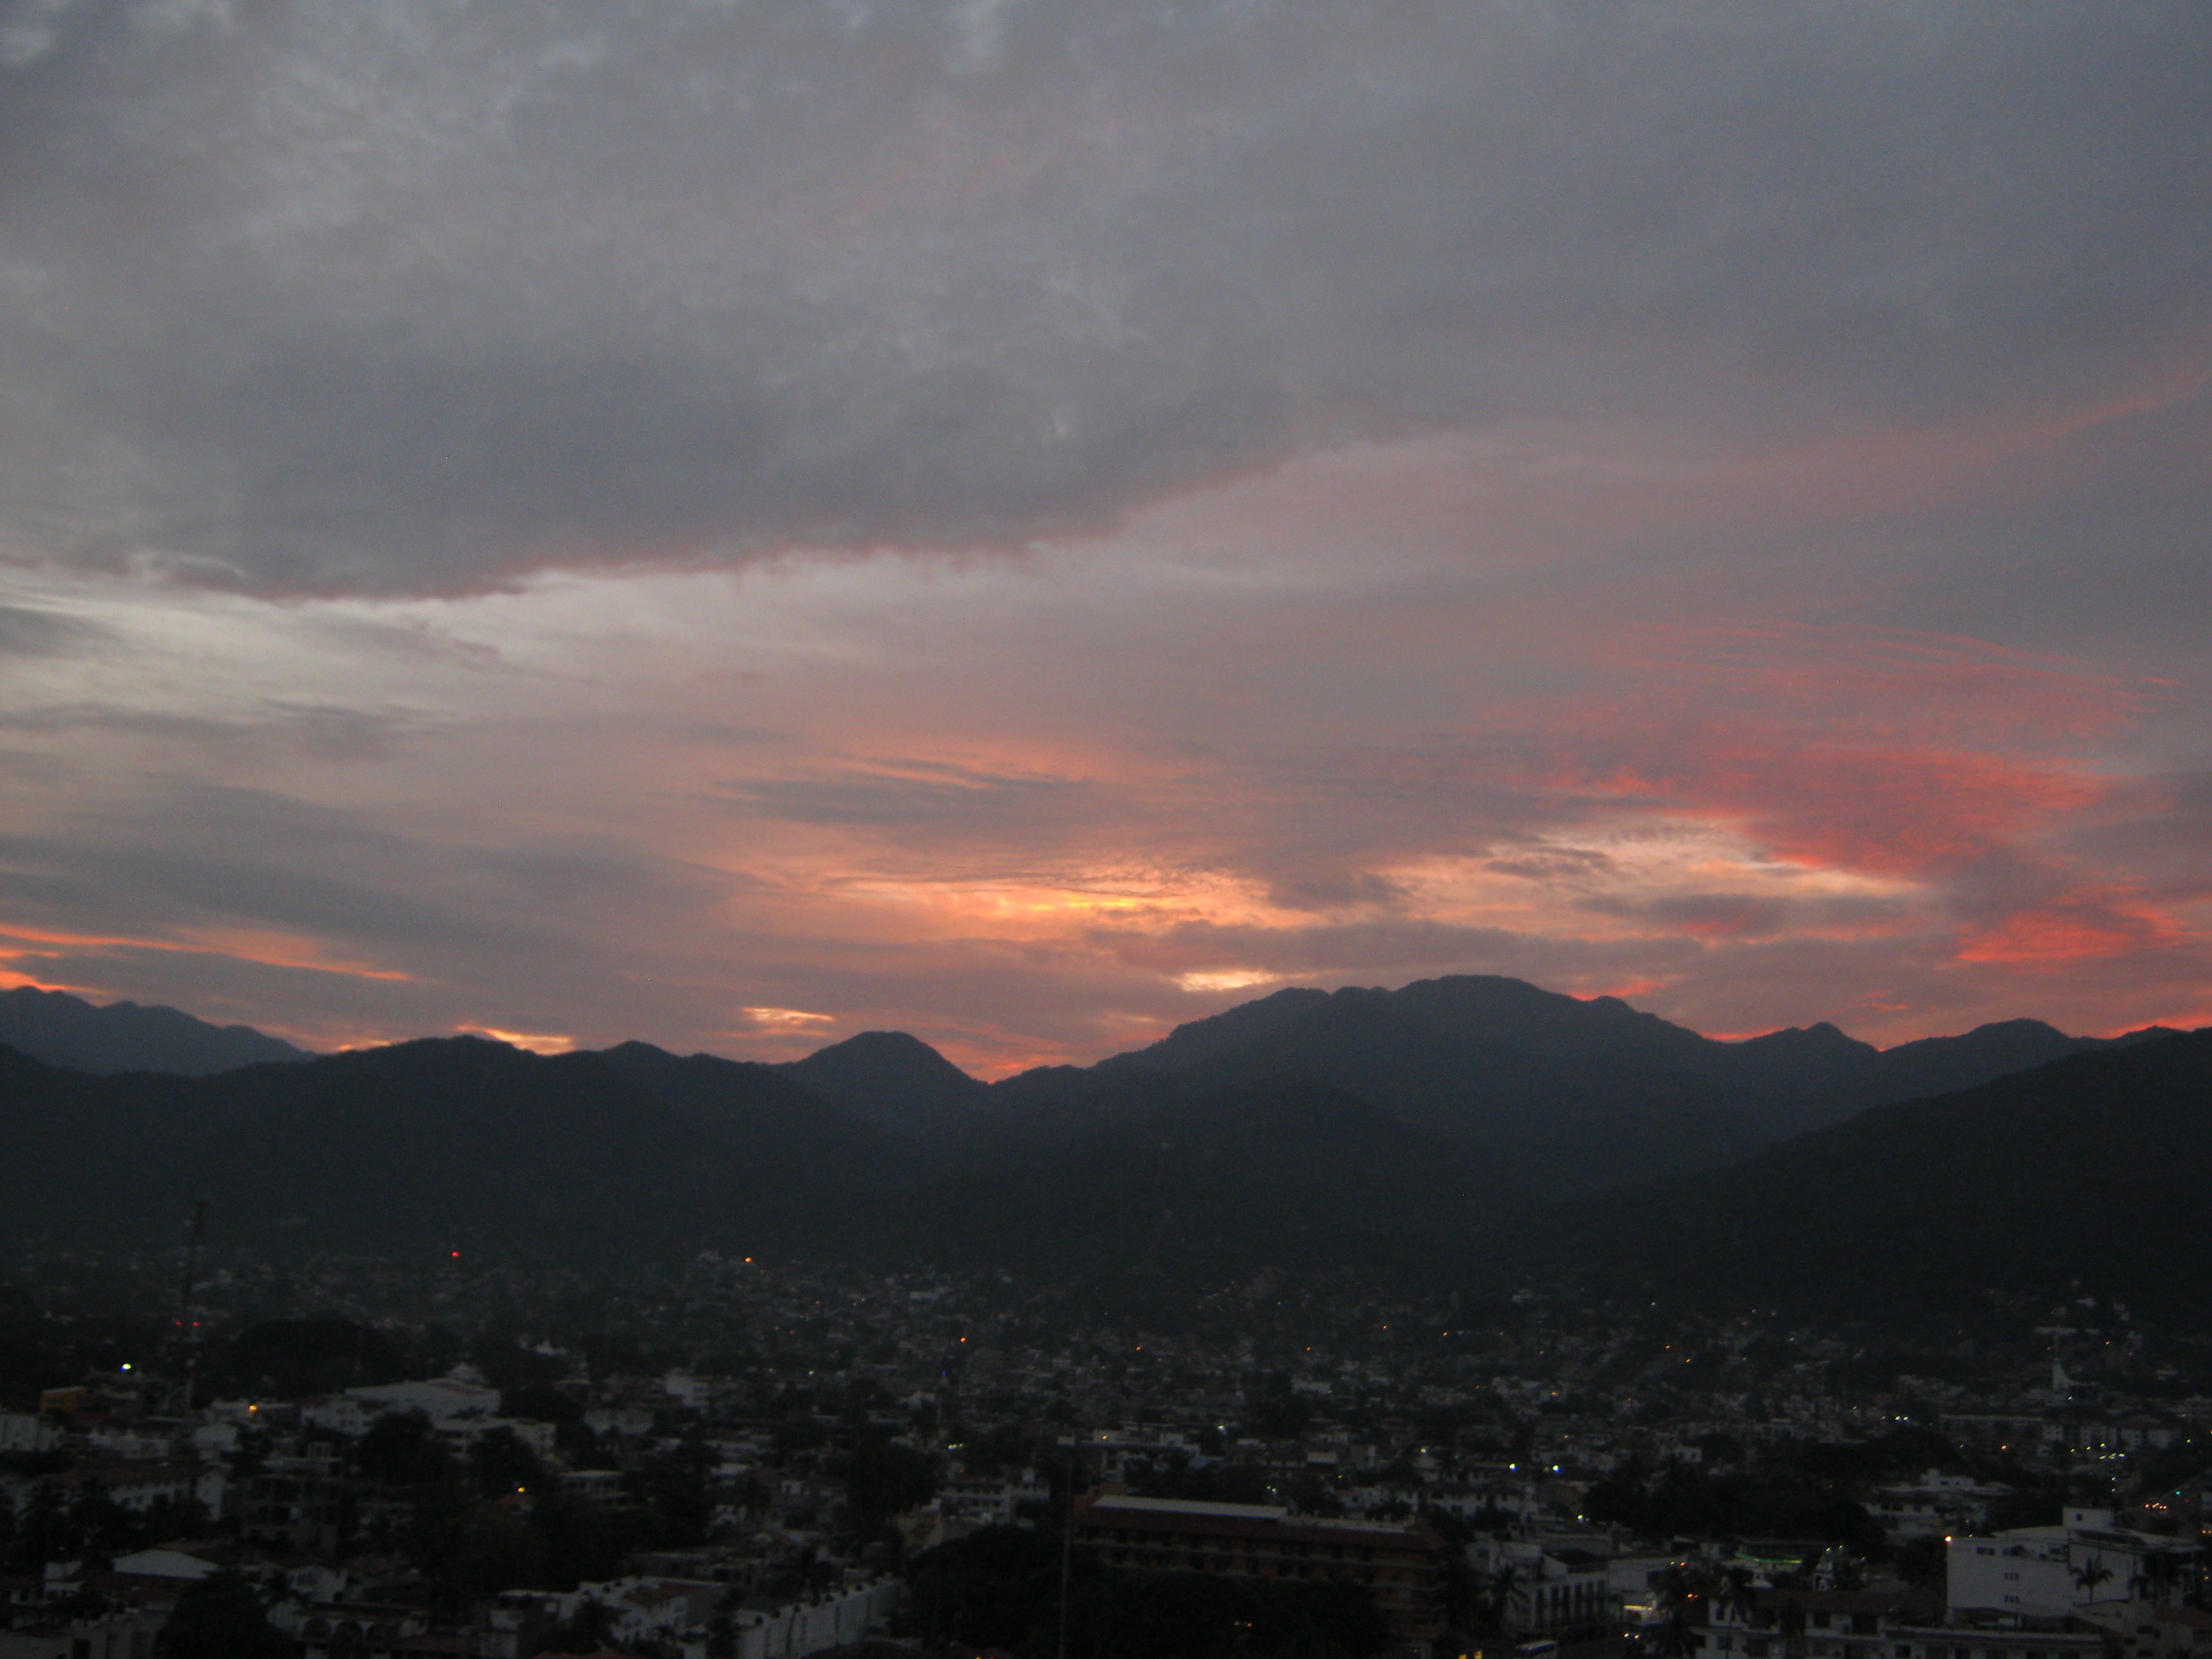
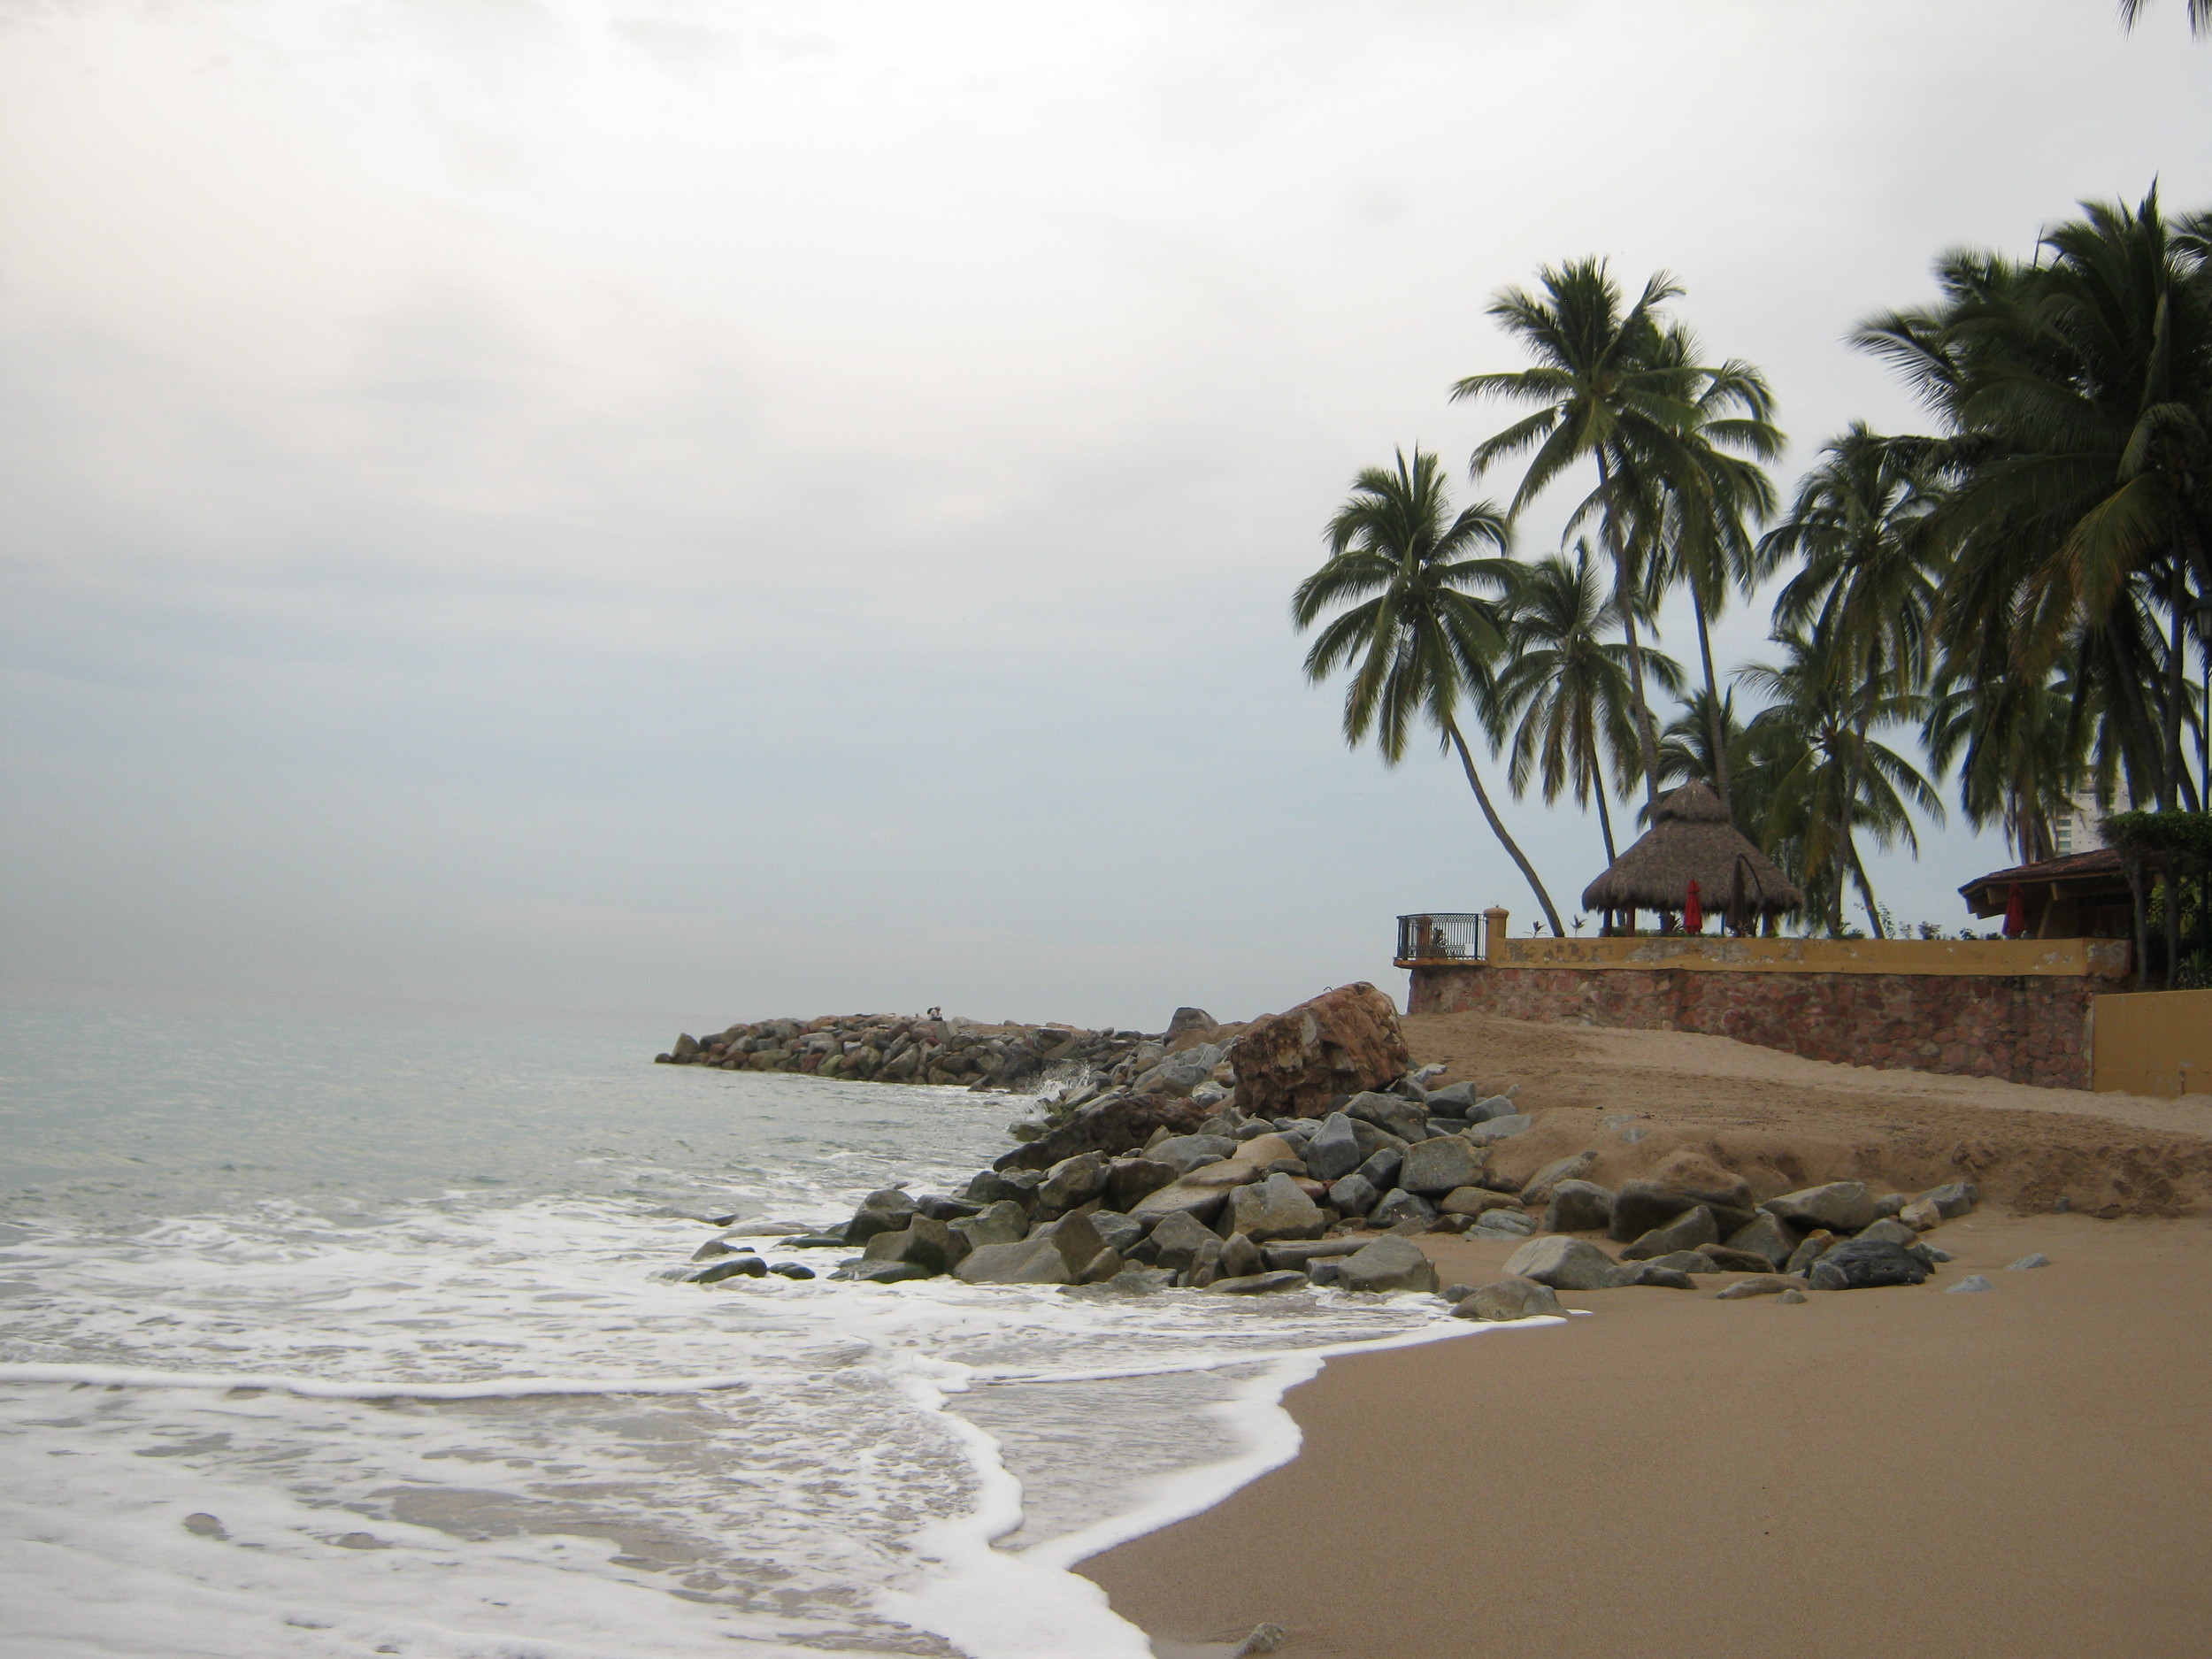
It's nice to be in the stillness of the apartment. Cars pulling out of driveways, gates opening and closing, the whoosh of a car blazing past. It's as if we're all alone inside. Separate. Isolated from the world that continues to go on. I love afternoons like today. Watching the sun set slowly through the windows. The silence makes it feel calm. A deepening silence. The kind that make the smallest moments change the attitude of the day. No matter what happened before, right now, everything is moving and working in complete harmony. Connected effortlessly. Balanced. Just silence. Just stillness. Where our thoughts are a voice we can hear. I breathe deeply as I close my eyes and suspend myself in the stillness. Allowing it to engulf my every molecule. I slip into the stillness, break through, and when I open my eyes, I am changed. I am new again.
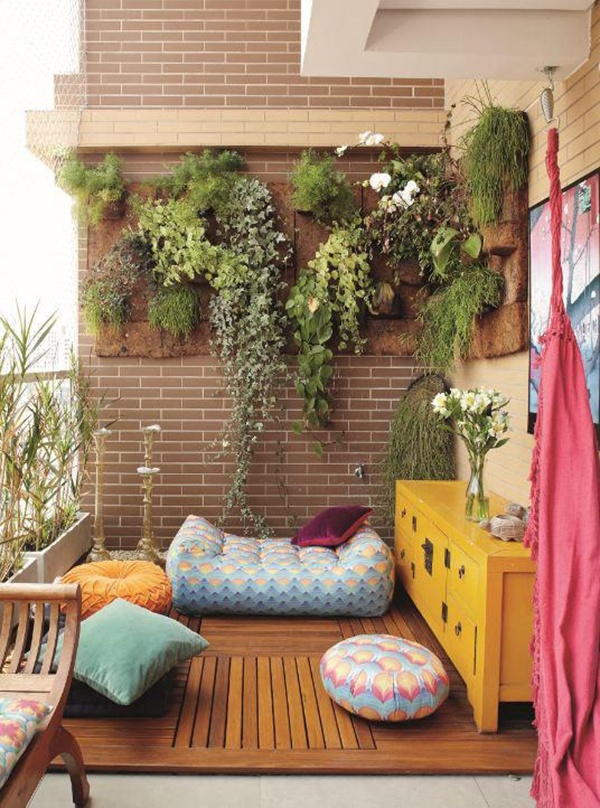
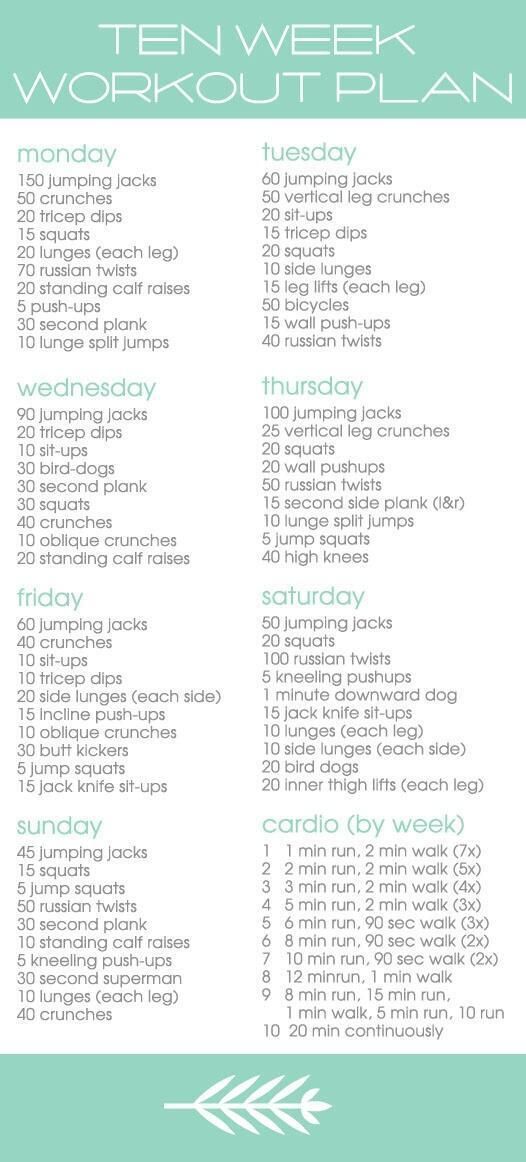
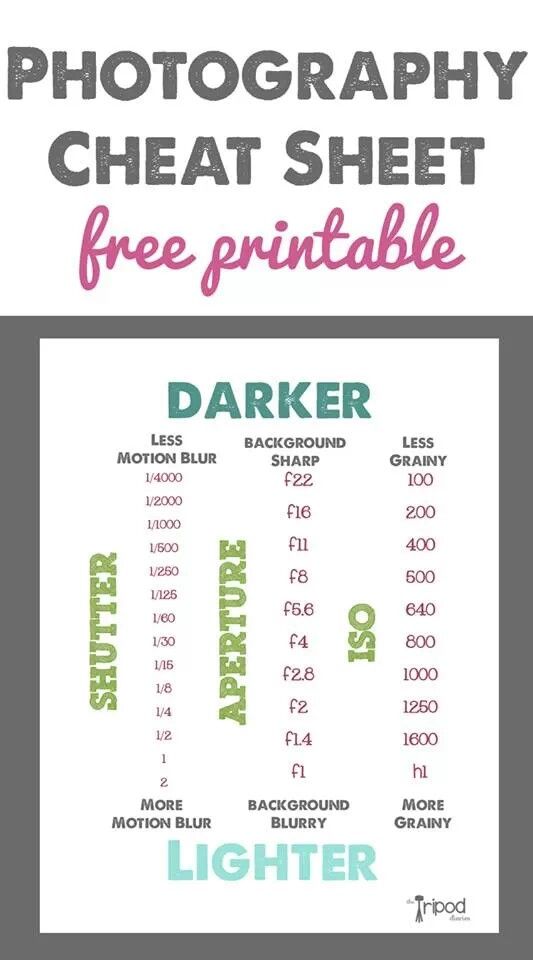
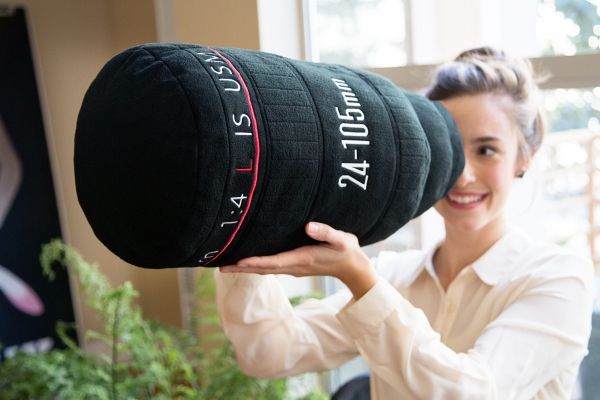
My husband is witness to the fact that I love Pinterest. He secretly does too though, hanging over my shoulder when I take a look at all the amazingness. I can literally kill some serious time scouring through all of the images. That's what I love about it, no extra stuff, just images. It's the mecca of inspiration. And without much introduction, these are my favorite pins lately! Don't forget to check out my Pinterest boards and follow me :).
Click on the images for their link!
Happy Monday!
I thought I'd start a new series on my blog: 6 Things. Bi-weekly I will post 6 Things that I can't live without! Every post will be of different things, this week is 6 Apps I can't live without. I am by no means paid to promote these apps. I simply love to use them and they make my life easier.
1. Lazy Swipe
I love this app! It is a simple launcher app that allows you to have all your favorite apps in one place. Swipe from either corner and there is everything you need. The screenshot from above is of this app! Makes everything so much faster and easier. Also, a red dot appears when there are new notifications.
2. Google Keep
Another amazing Google app. I love the clean design and it keeps me coming back to add notes, lists, checklists, and voice notes. Also has a great reminder feature to keep me posted when something is important or when I need to get something done.
3. Hootsuite
This is a great social media management app. I love this app because it keeps me posting at a moments notice to my Twitter and Facebook accounts including my Facebook Page. Also allows me to schedule the posts for the future. I love that feature because I think of posts at random times and don't want to forget them, so I like to schedule them so that they aren't flooding the feeds... instead, I space them out.
4. WhatsApp
In Mexico, the cell phone plans are expensive and it's common to use apps that work on Wi-Fi. Given that internet is not unlimited and the cost of regular messages can eat up the money you have prepaid, WhatsApp is a messaging app that works over Wi-Fi and everyone uses it here. Which makes it indispensible for me and everyone here!
5. TeacherKit
This one is on my iPad and is such a life saver as a teacher! Keeps all my classes organized, rosters, helps to take attendance and even input assignments and grades. When I have 6 classes, things can get really unorganized! So this keeps me sane with more than 100 students.
6. Instagram
This is my favorite social media! I don't share very many personal stuff on FB or even here on my blog, which I'm working on... Instagram allows me to document and share daily events that happen in my life. It's simple and very fun to share PHOTOS! What better app for a photographer!
When I moved to Mexico, my husband helped me to find work. Honestly, he was the whole reason I even started teaching! After some time, I was referred to another school by a client for a photography teaching position.
There are moments, many moments actually, when a student shows you that they have learned and applied what you have taught them. When you sit back in awe and an indescribable amount of pride fills you up! When they are eager and go beyond what you have asked. As a teacher, those are the moments that make late night lesson planning, grading projects, creating exams worthwhile.
And getting a coffee mug saying thank you for your hard work and dedication always helps!
A few months ago I participated in a Bridal show and wanted to show all the types of photography that I do. Particularly, family sessions. Because of time constraints, I decided to make my own albums. I took photos during the process to share with you how easy it is to make your own photo albums!
Materials you will need:
Ruler
Gluestick or photo spray adhesive
Two posts (I've seen it done with ribbon or twine as well)
Pencil
Knife or boning tool
Hole puncher
Cardstock
Cover material
The instructions are below the photos :).
Step 1:
Measure from the edge about 1"- 1.75" for the crease to allow the pages to turn without any problems. Make a line. Measure again another 1/4" out and draw another line. Check out the photo where I'm hole punching and you can see two creases.
Step 2:
Once you measure the page, use your ruler and the blunt side of a butter knife. I don't have a boning knife so I used a regular butter knife. Works just as well! This will make the dent for the crease. Do this for the next line that is 1/4" away from the first line. This creates two creases like in the photo of the hole punch. As you add more pages, the second crease will help with folding in the later pages.
Step 3:
Fold where you made the creases to really help it crease. This will help the pages turn easier. Do this to all of the pages, my album is 20 pages so I did it to each page.
Step 4:
Measure from the edge to make the holes for the posts. It's important to make sure they are in between the edge and the creases. Don't get to close to the edge so that with use, the pages don't tear where the hole punch is. I halved the width and halved it again to where I put the holes. Using a single hole puncher, punch the two holes for the posts.
Use the first page you punch as a guide to help with the rest of the pages so all the holes line up perfectly.
Step 5:
After steps 1-4, paste the photos on the pages. Make sure you don't cover the creases. My photos are a bit smaller so the pages created a pretty border. I like this look better than flushed and helped with not allowing the photos to lift up when turning the pages.
Step 6:
To make the cover, use any material you want. I used the same cardstock paper and added a nice fabric type of paper to the cardstock. I did steps 1-4 as well to make sure it turns easily and the holes are in the correct place.
Step 7:
Put in the posts. These posts are small given the size of the album but you can add pages and take away as well as add taller posts. It's all about preference :). Stack the pages and put the posts in to finish it off.
And viola! You have a pretty, personalized, photo album to showcase your portfolio, family photos, trips, or anything you like :). I've also seen other albums where you can make the photos smaller and write on the cardstock. I plan to do that for my vacation albums!
Happy album making!
One thing I have noticed since living in Mexico, is that people travel more often. Even if it's to the sierras, or only to the other side of the border, they make time to get out. They make time to take family trips, enjoy the beaches the country has to offer, and refresh.
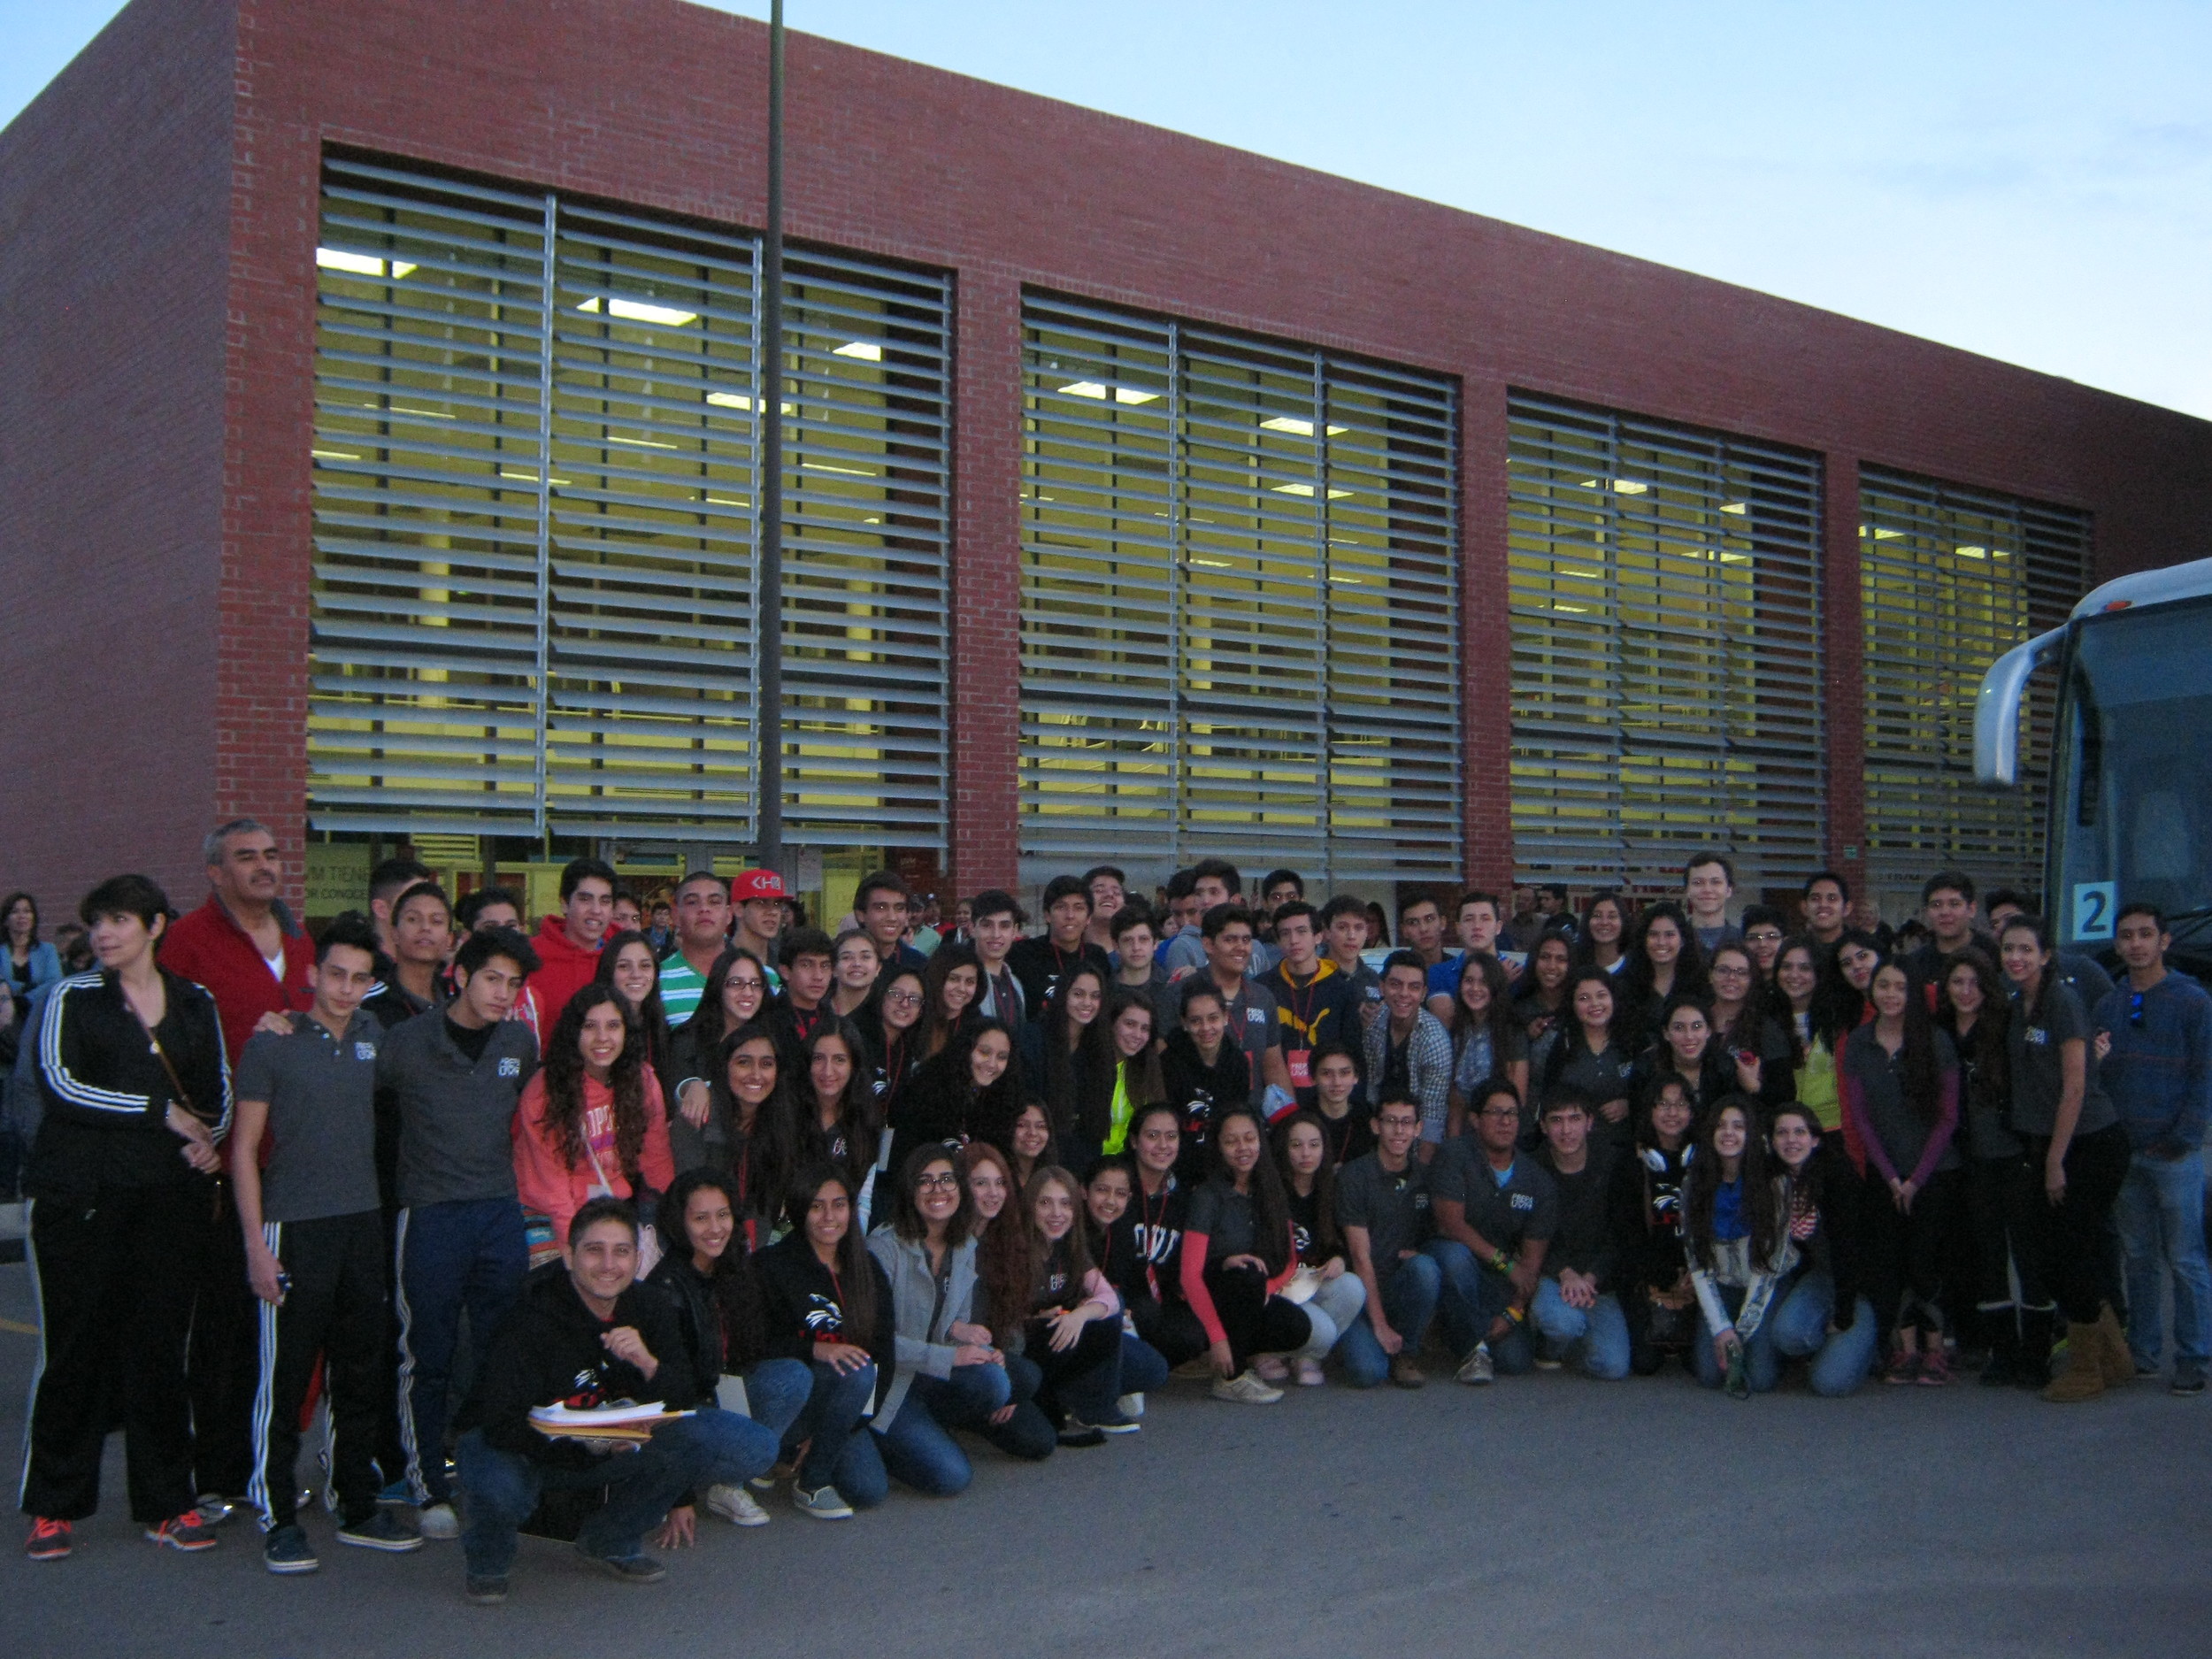
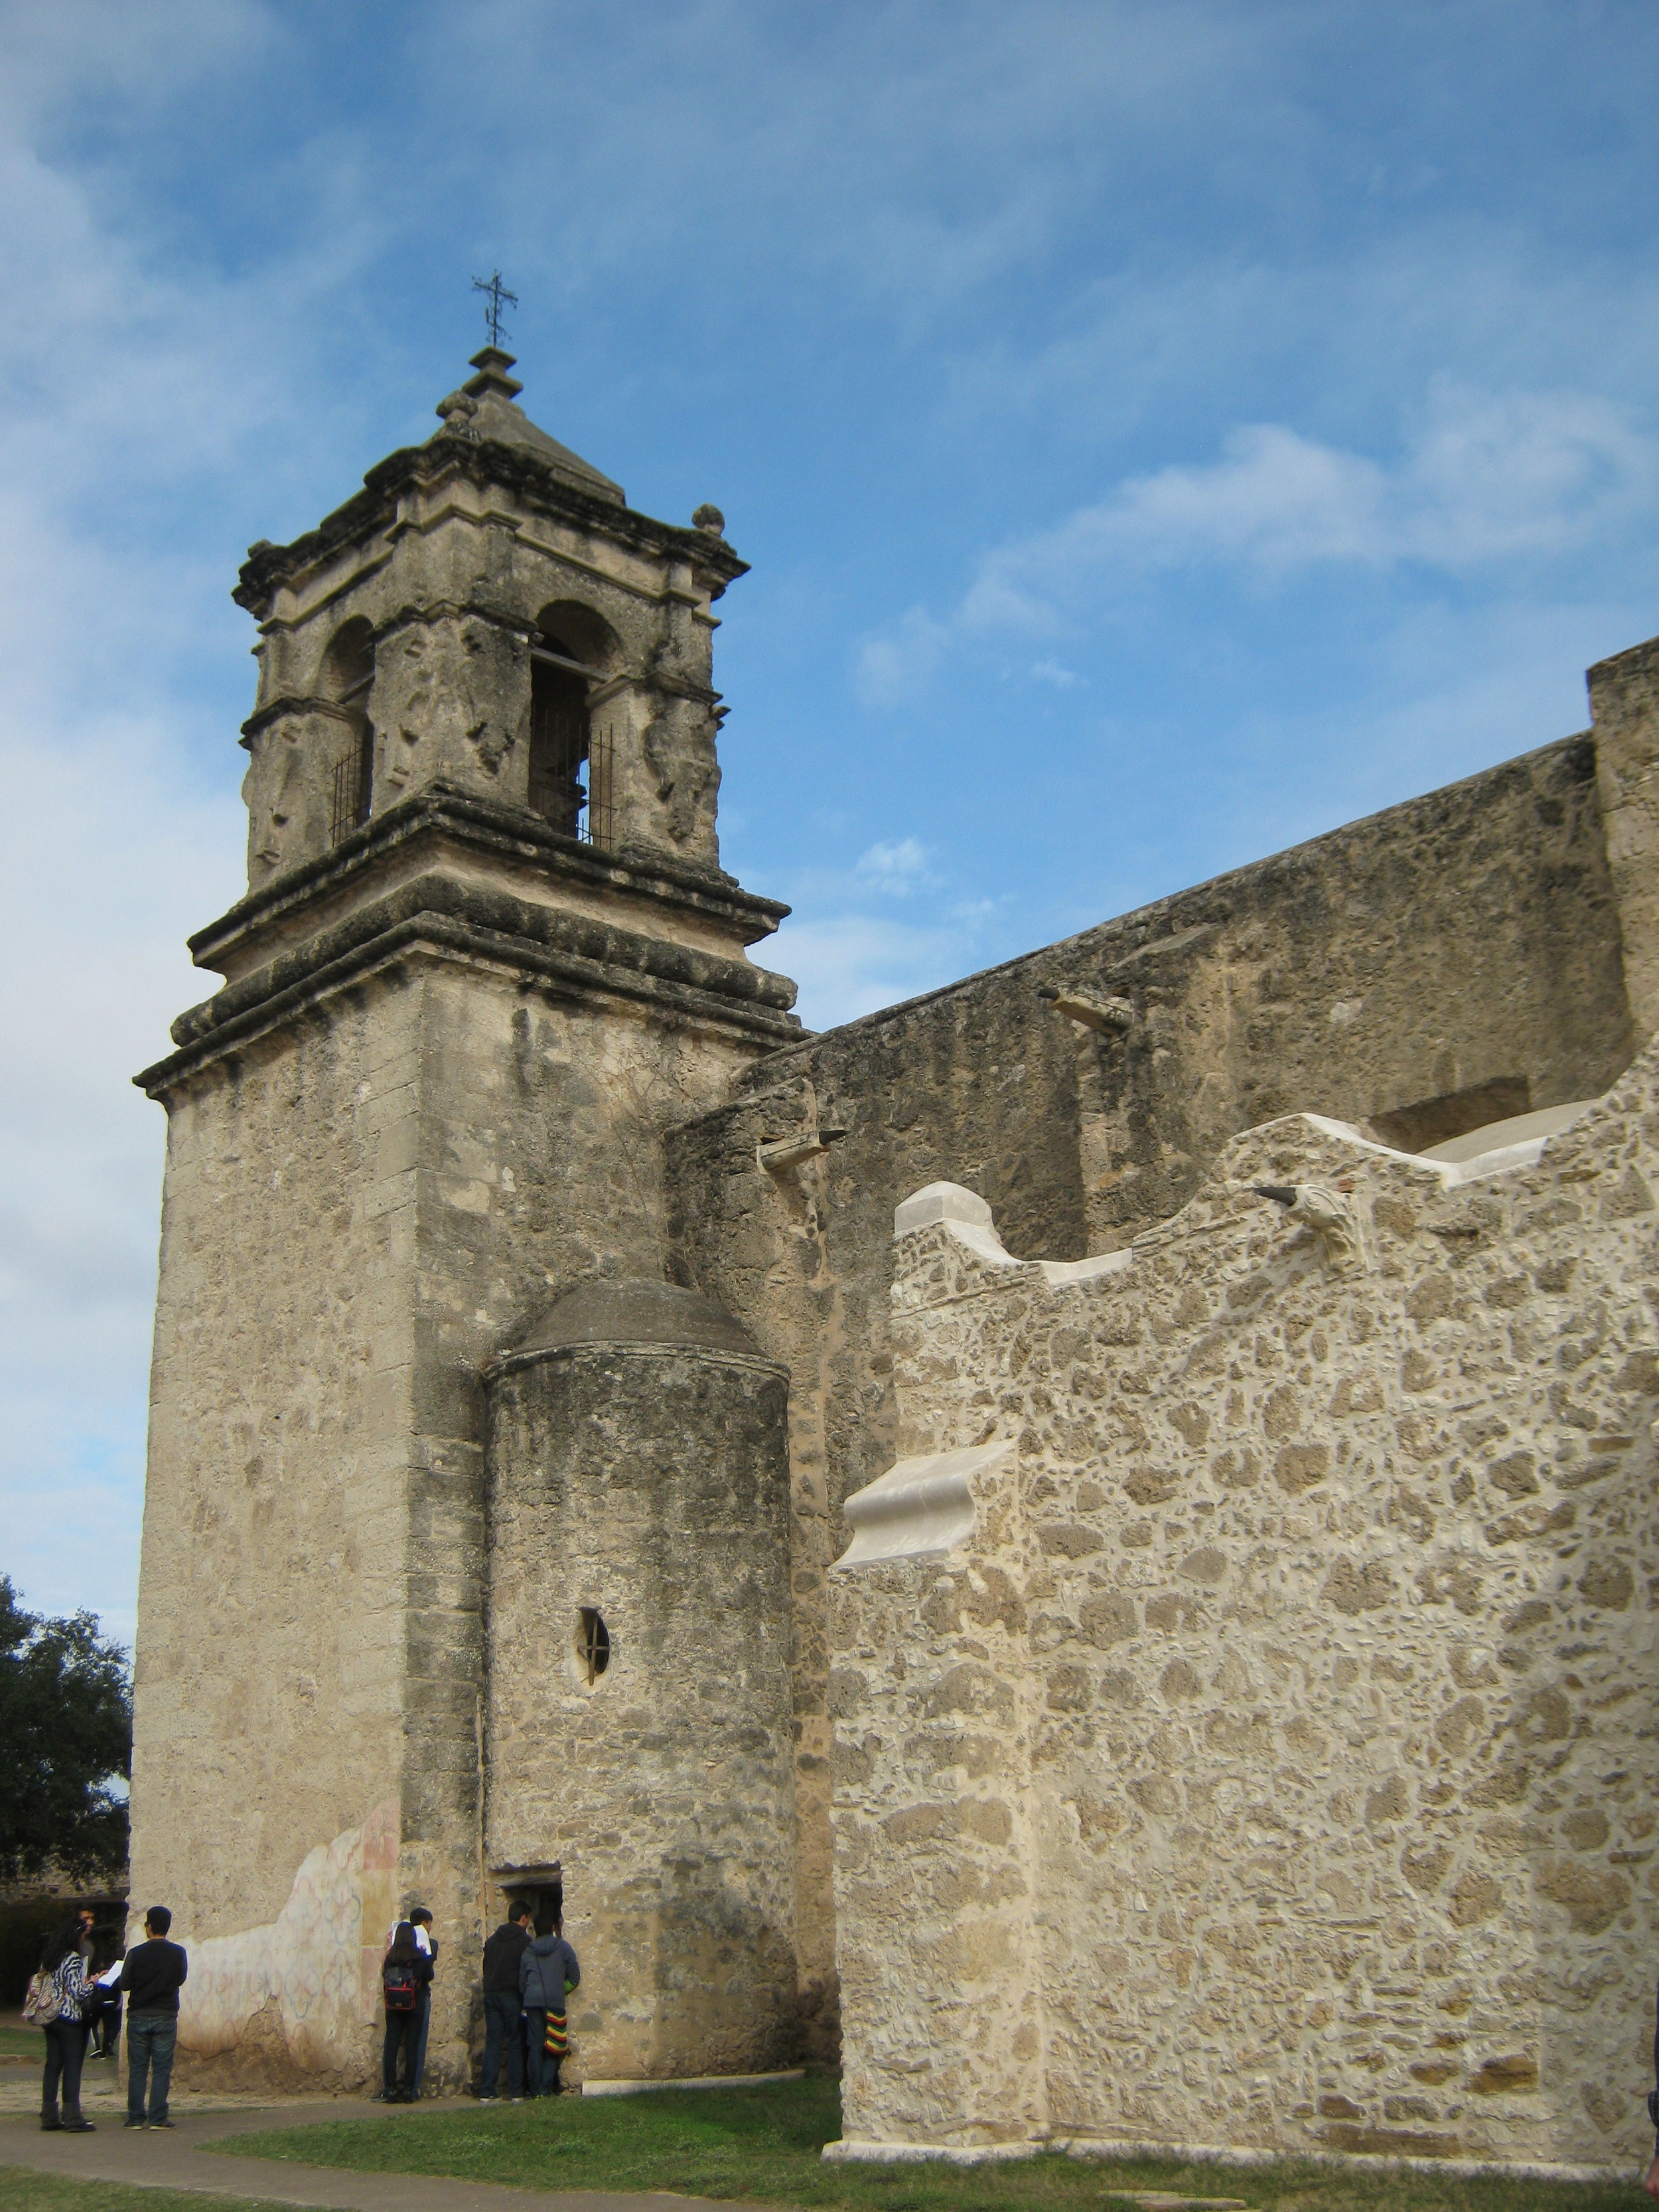
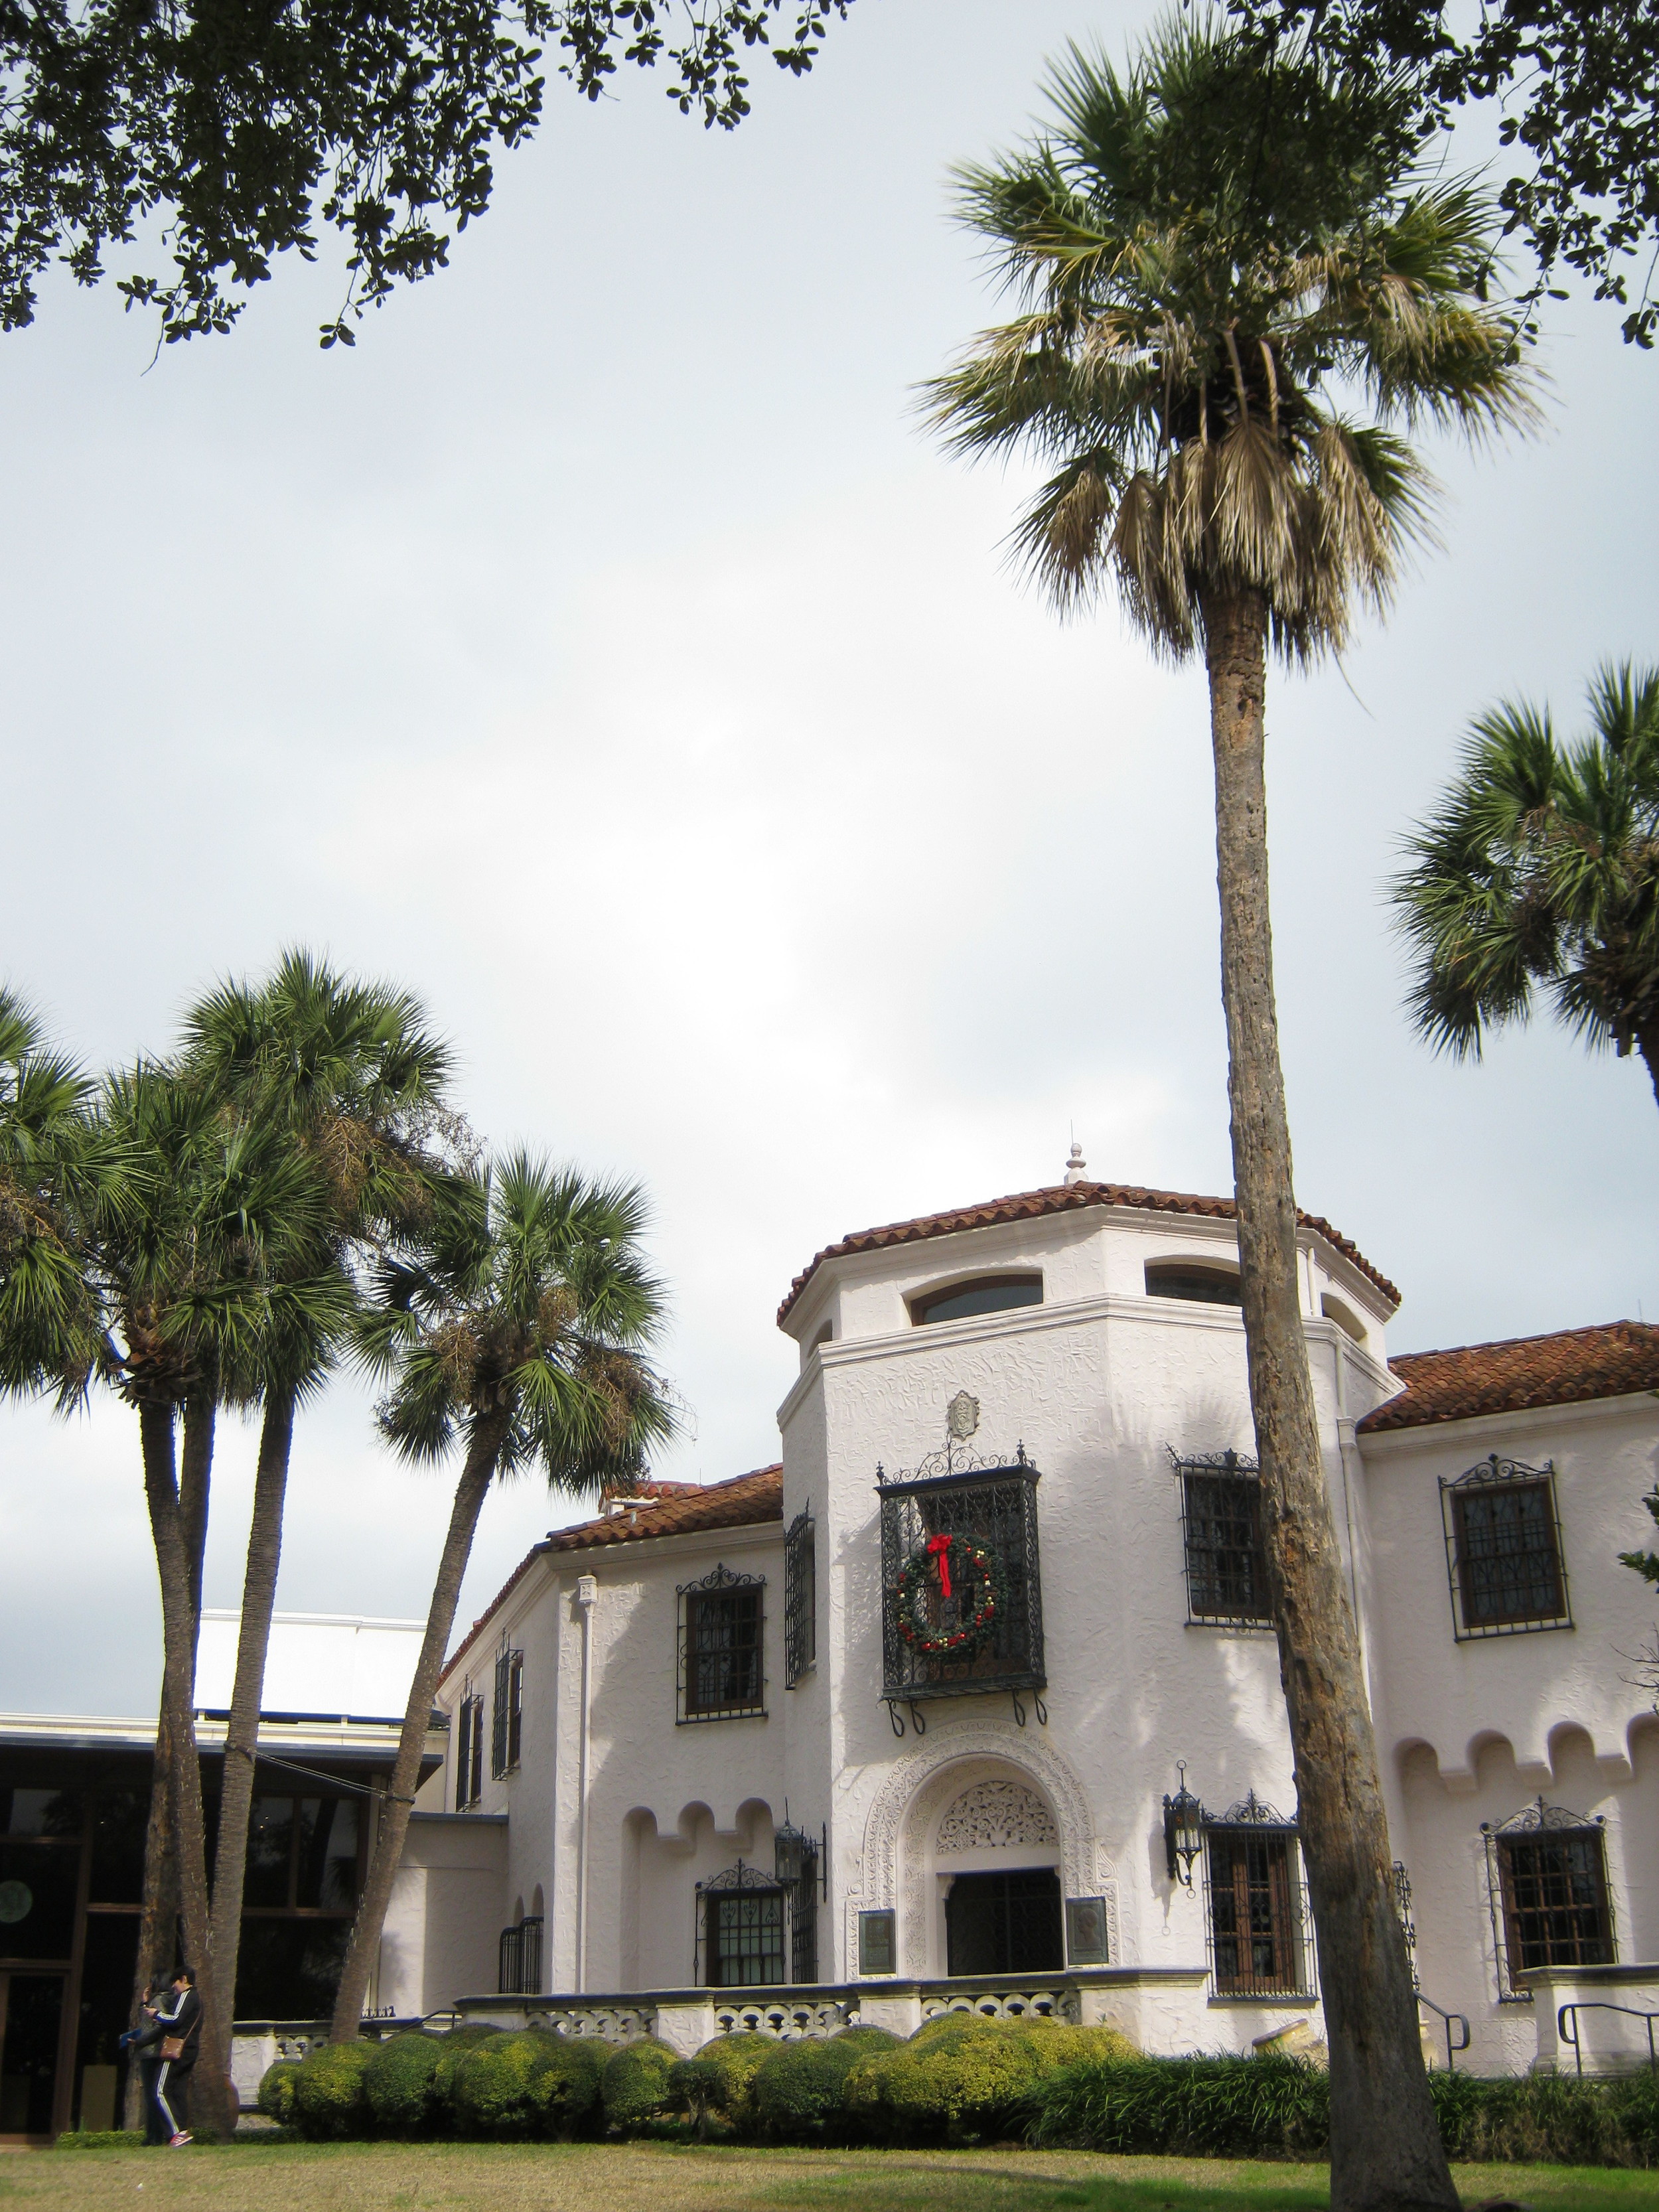
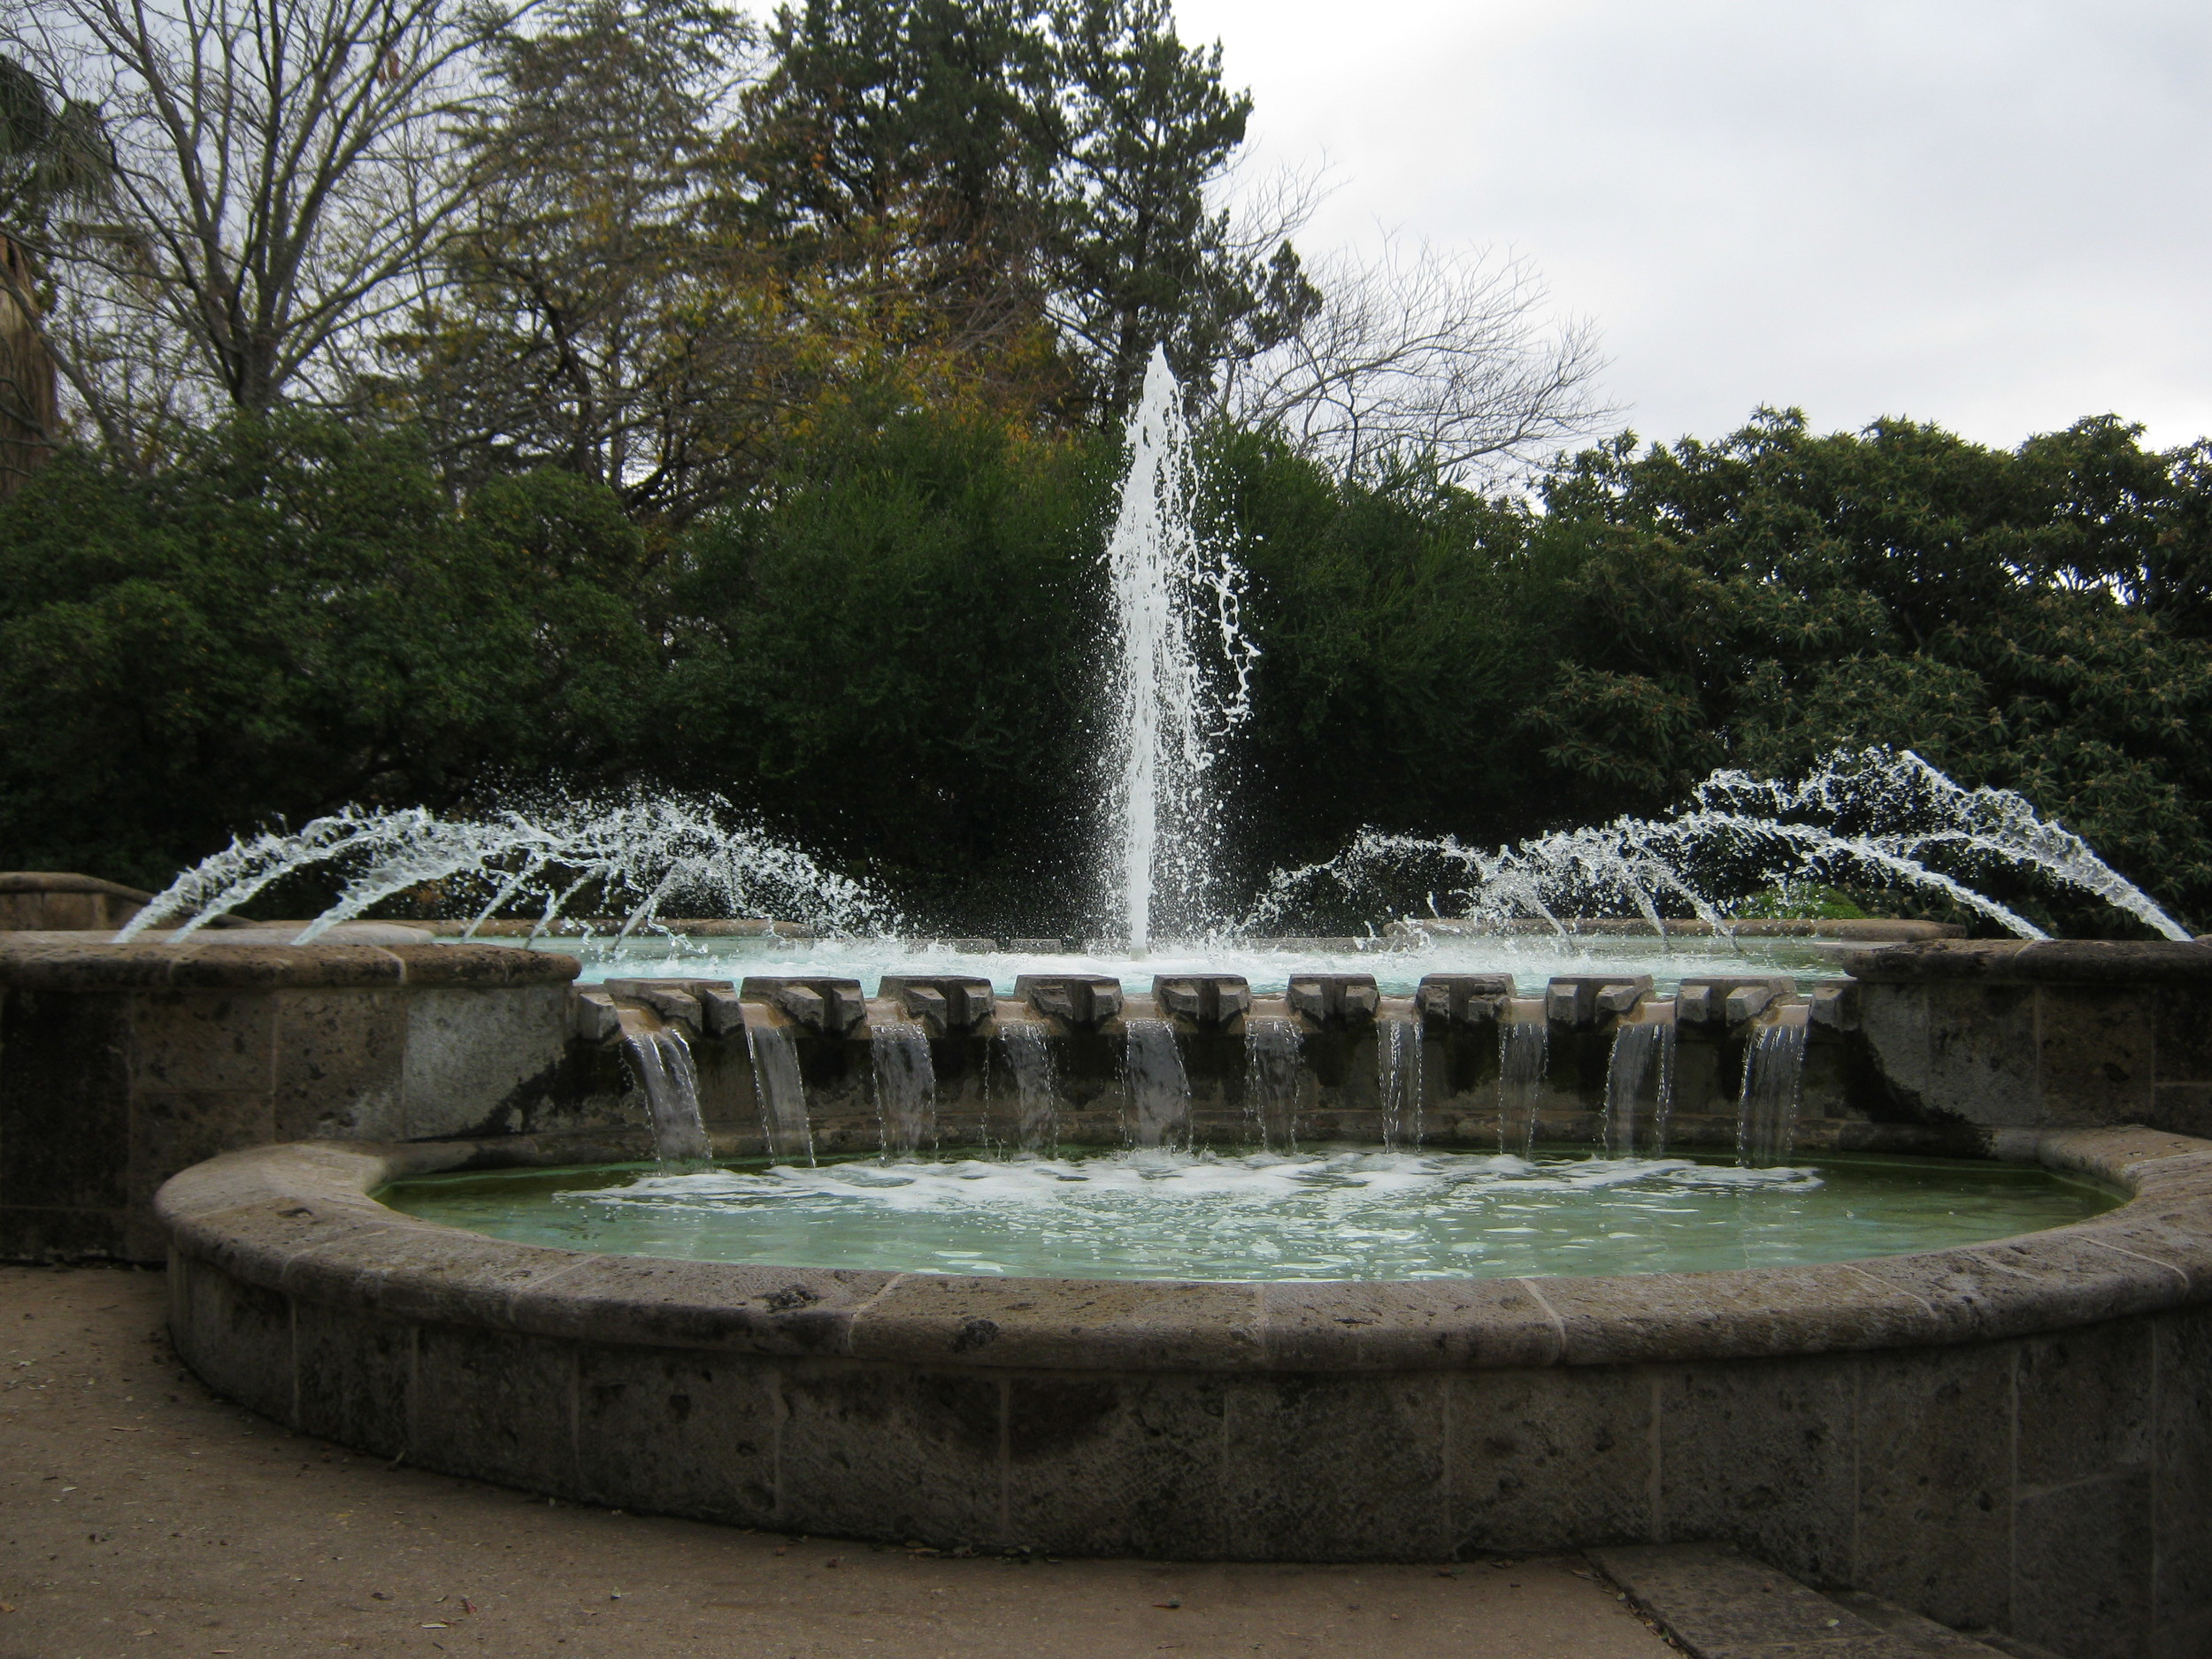
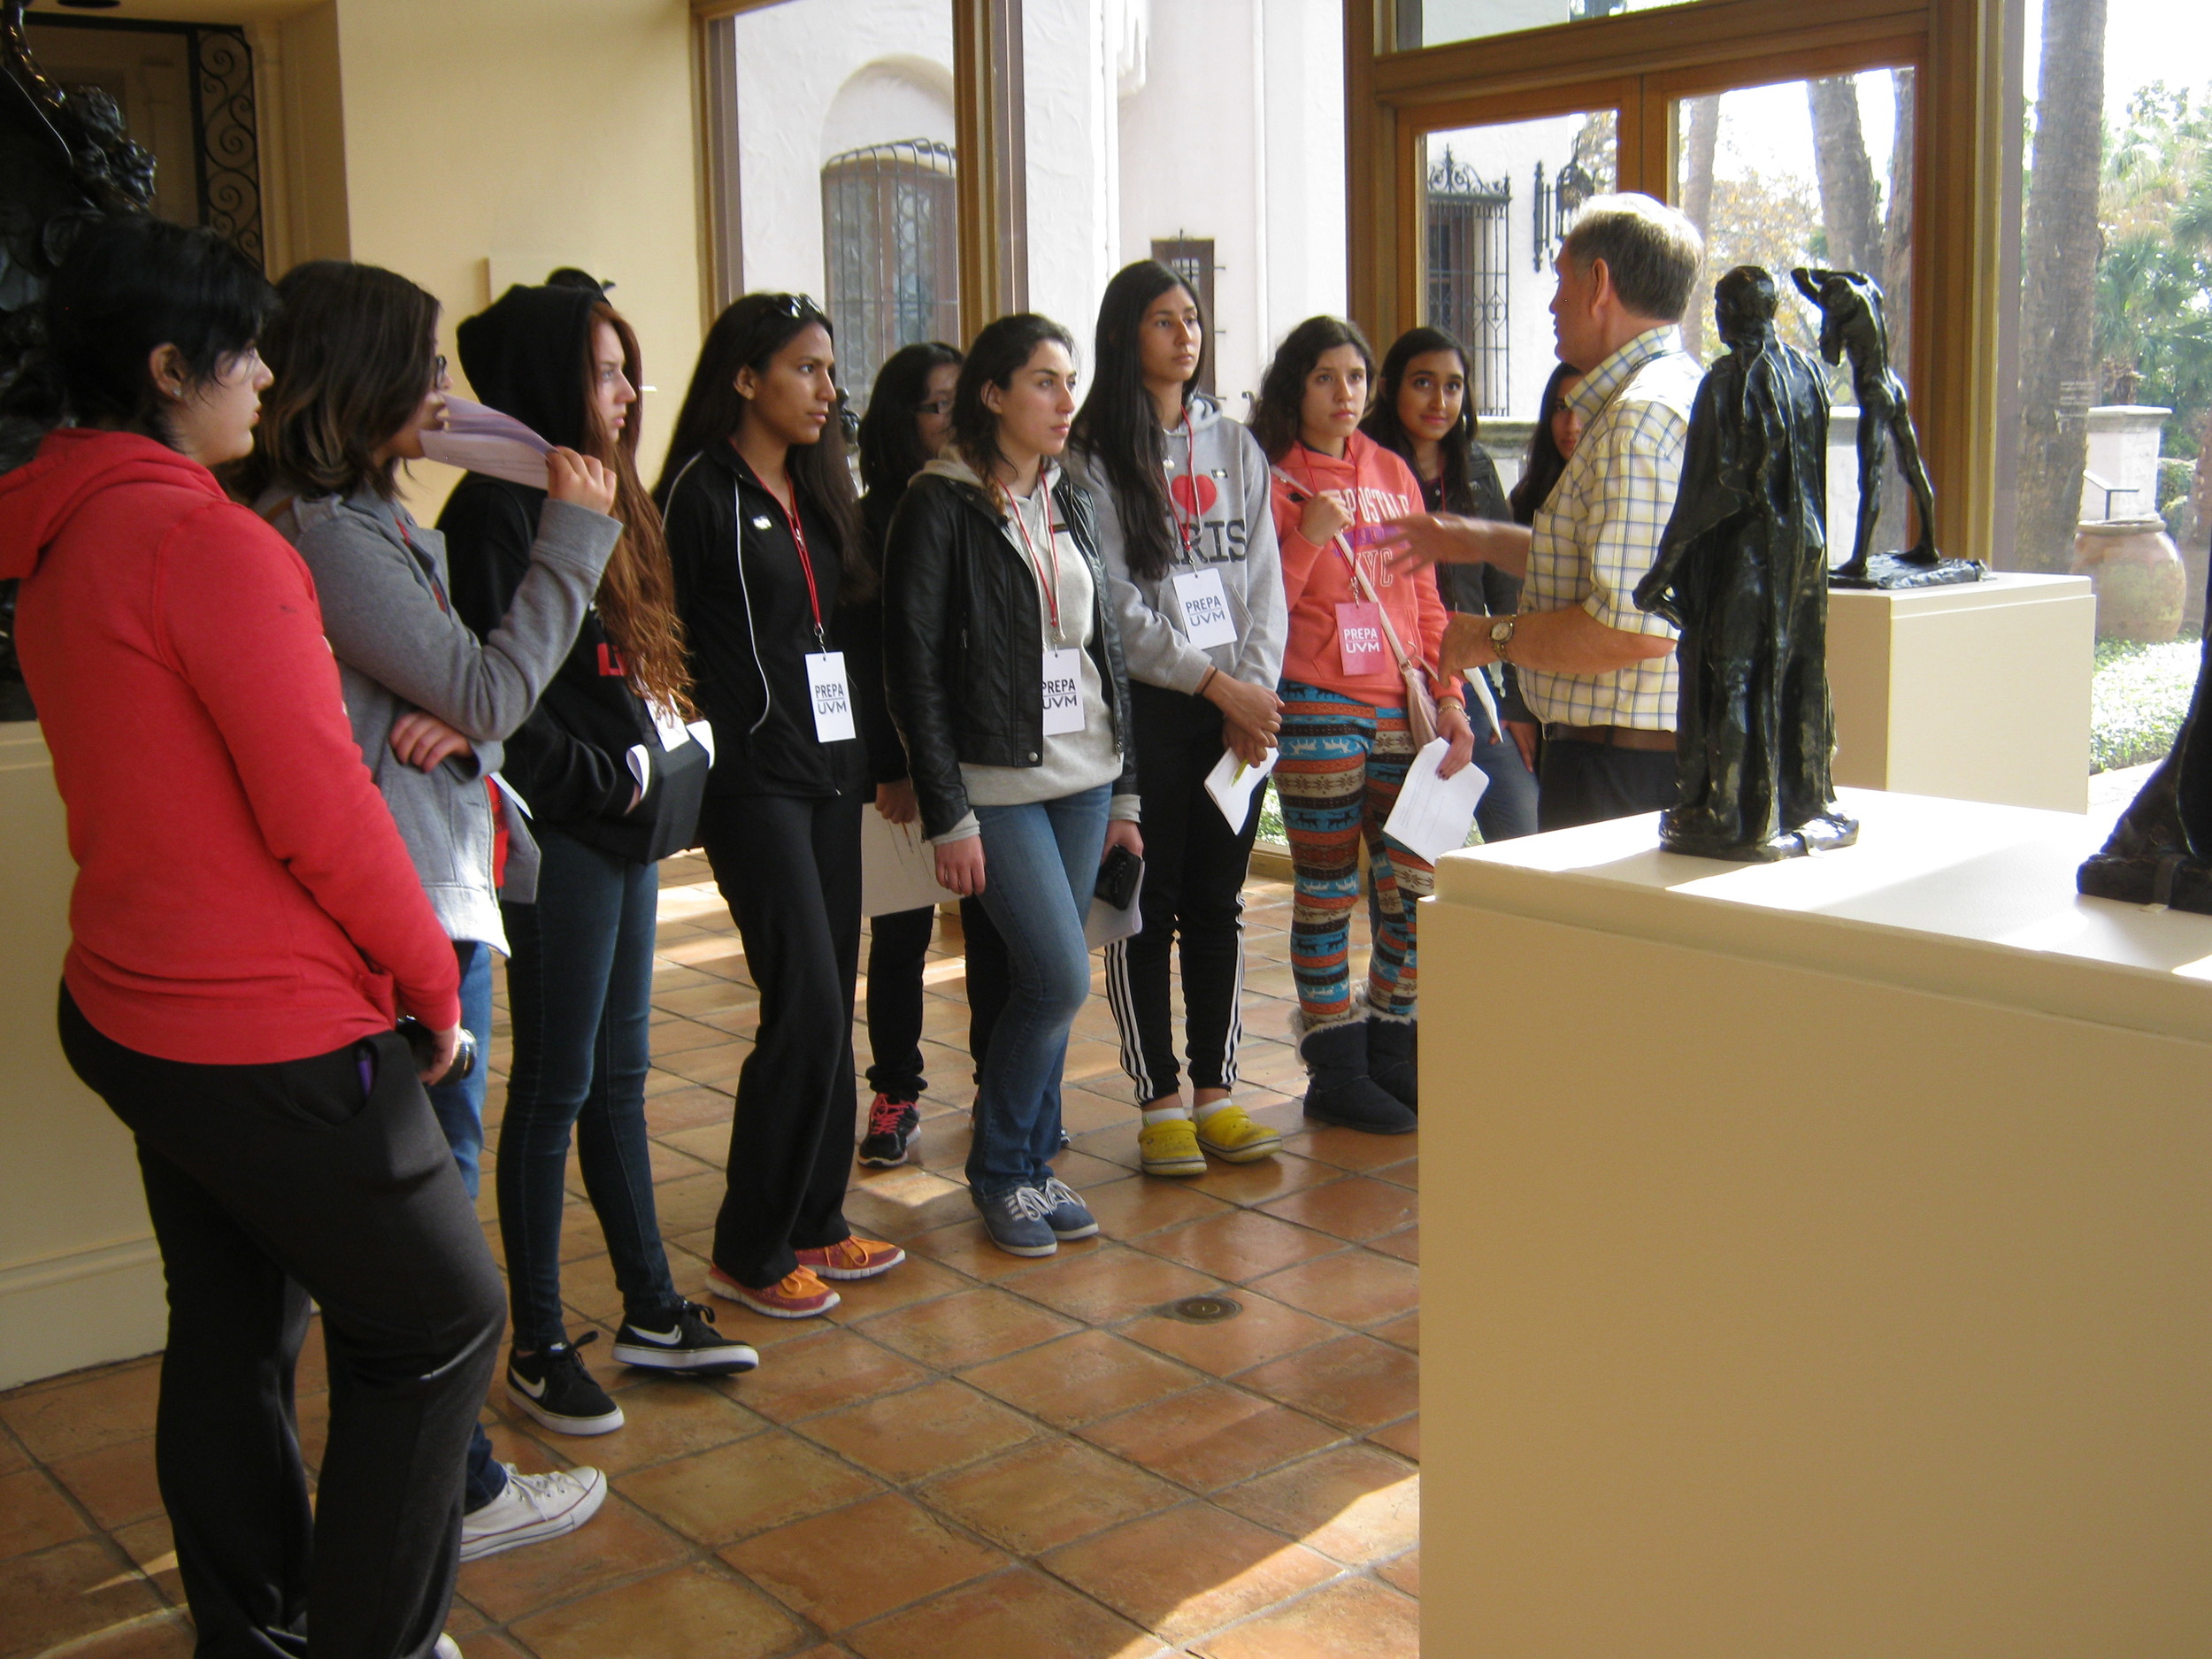
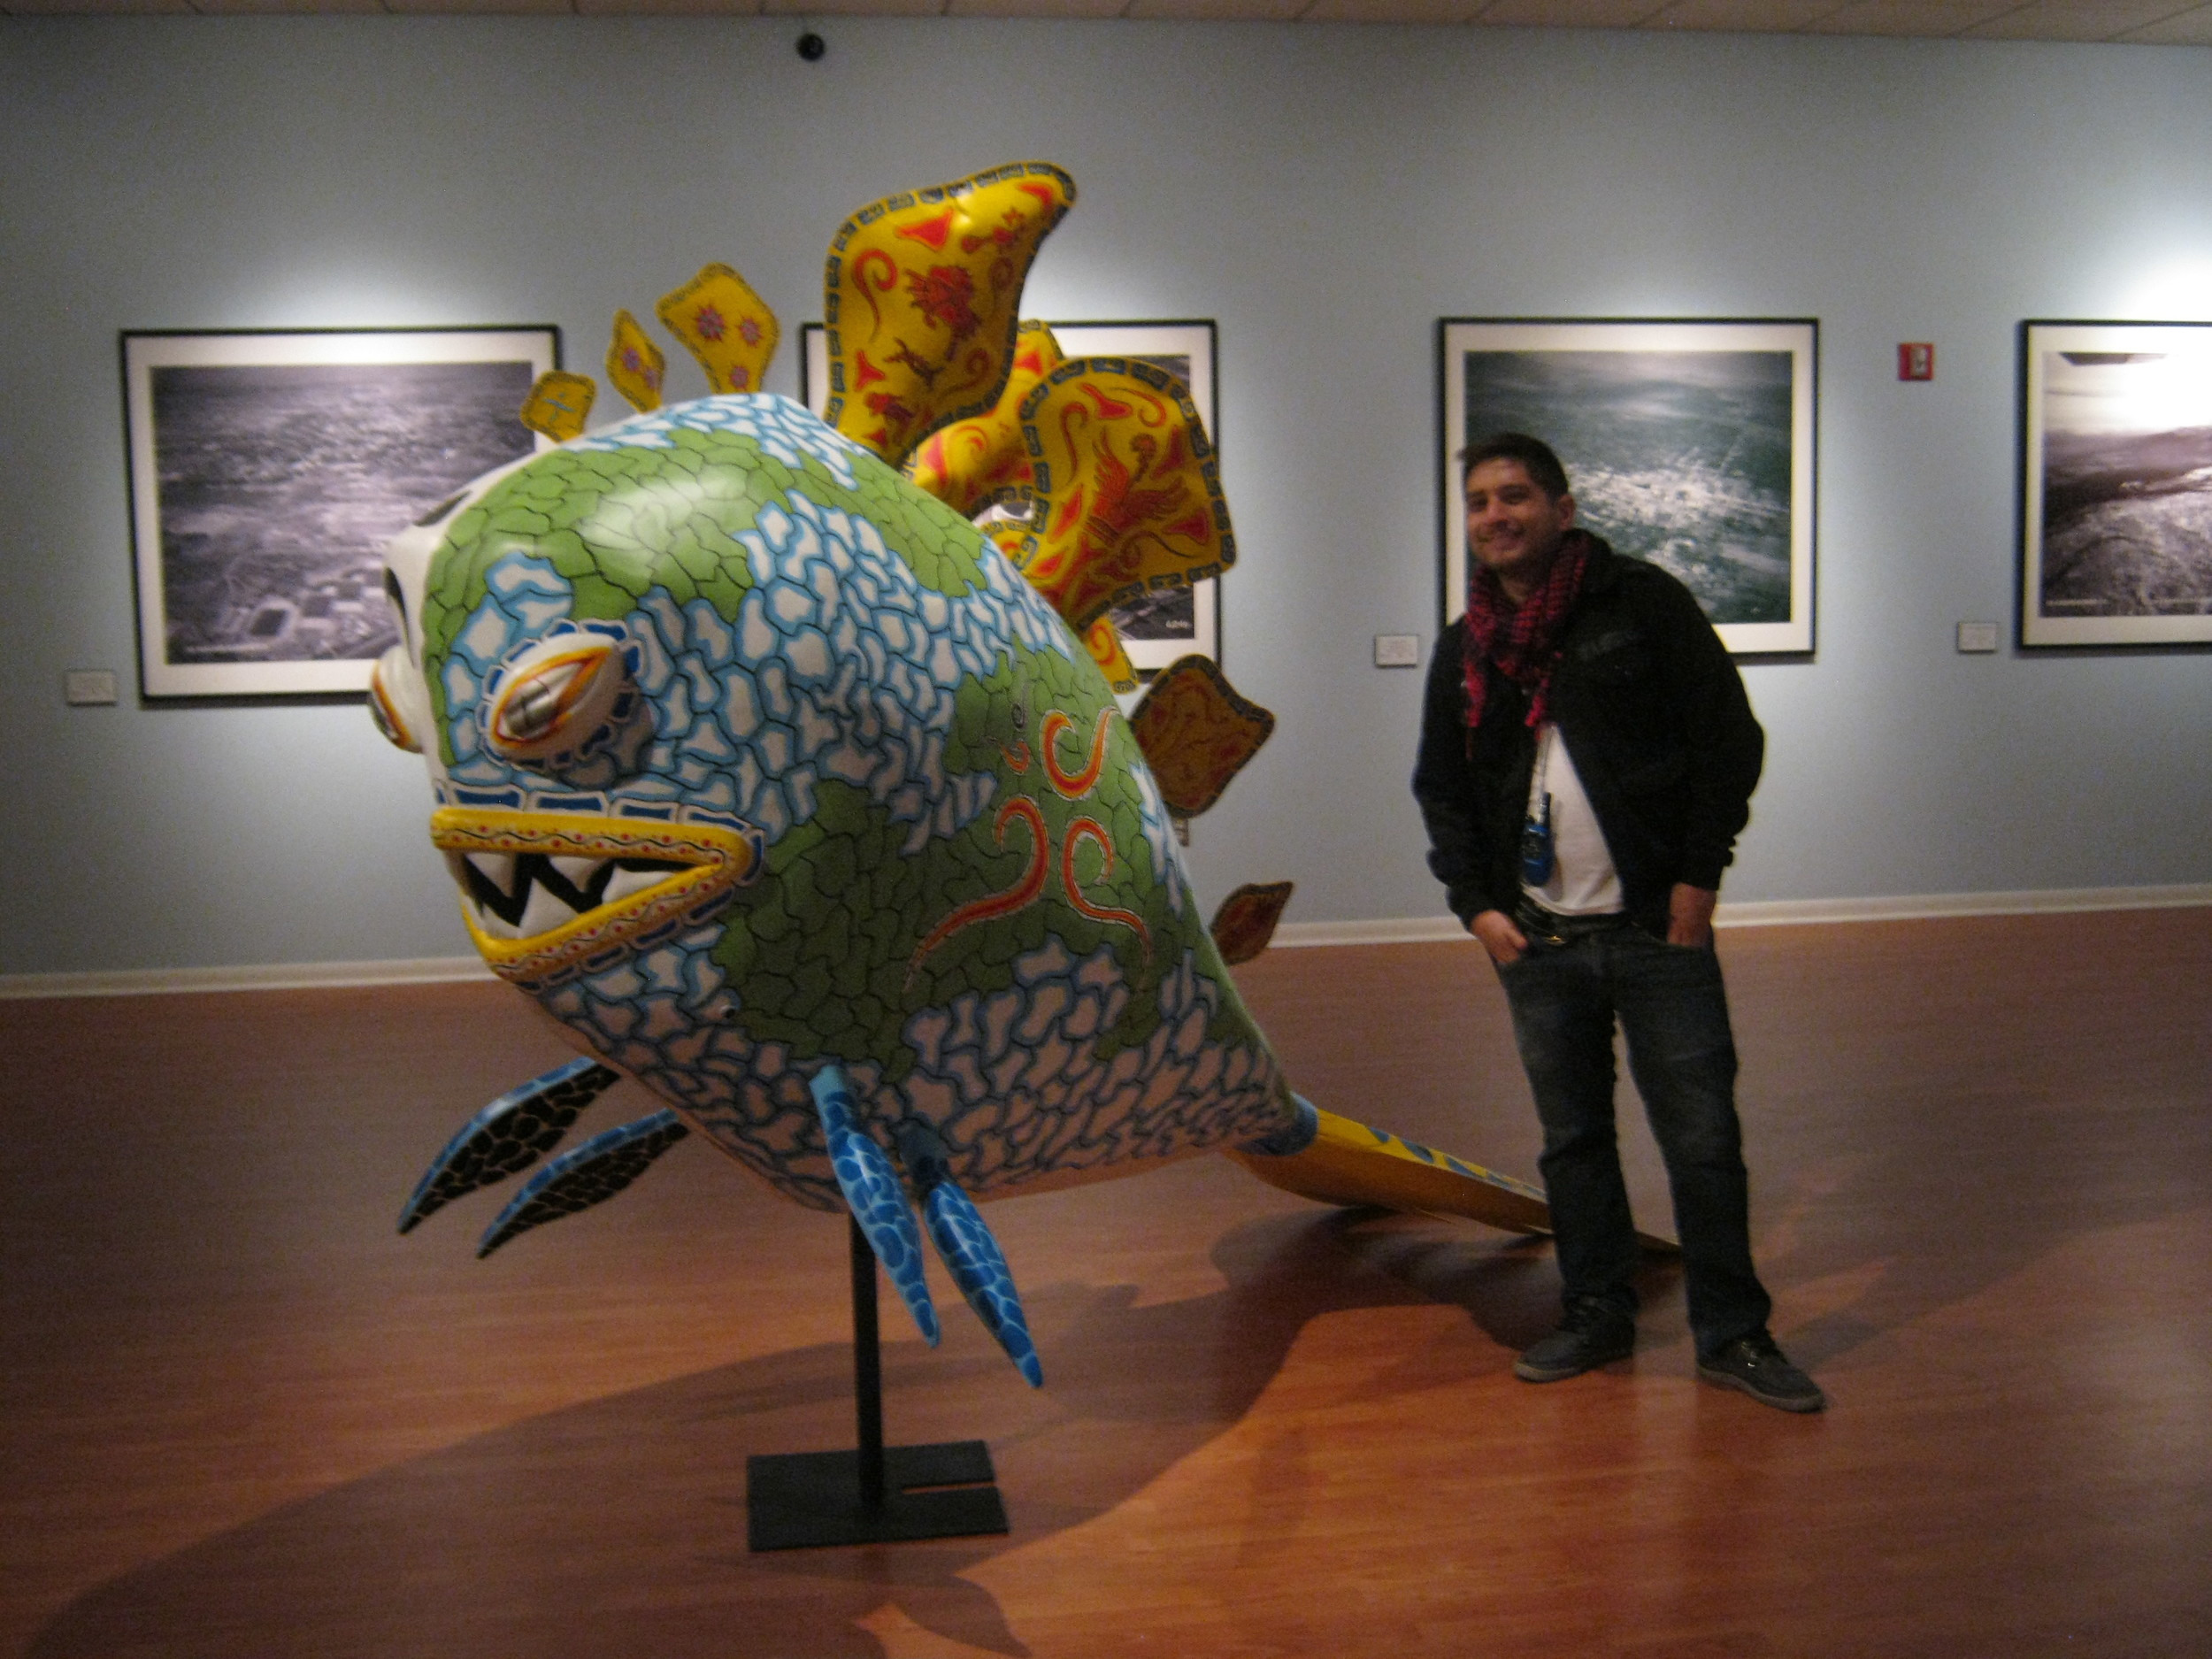
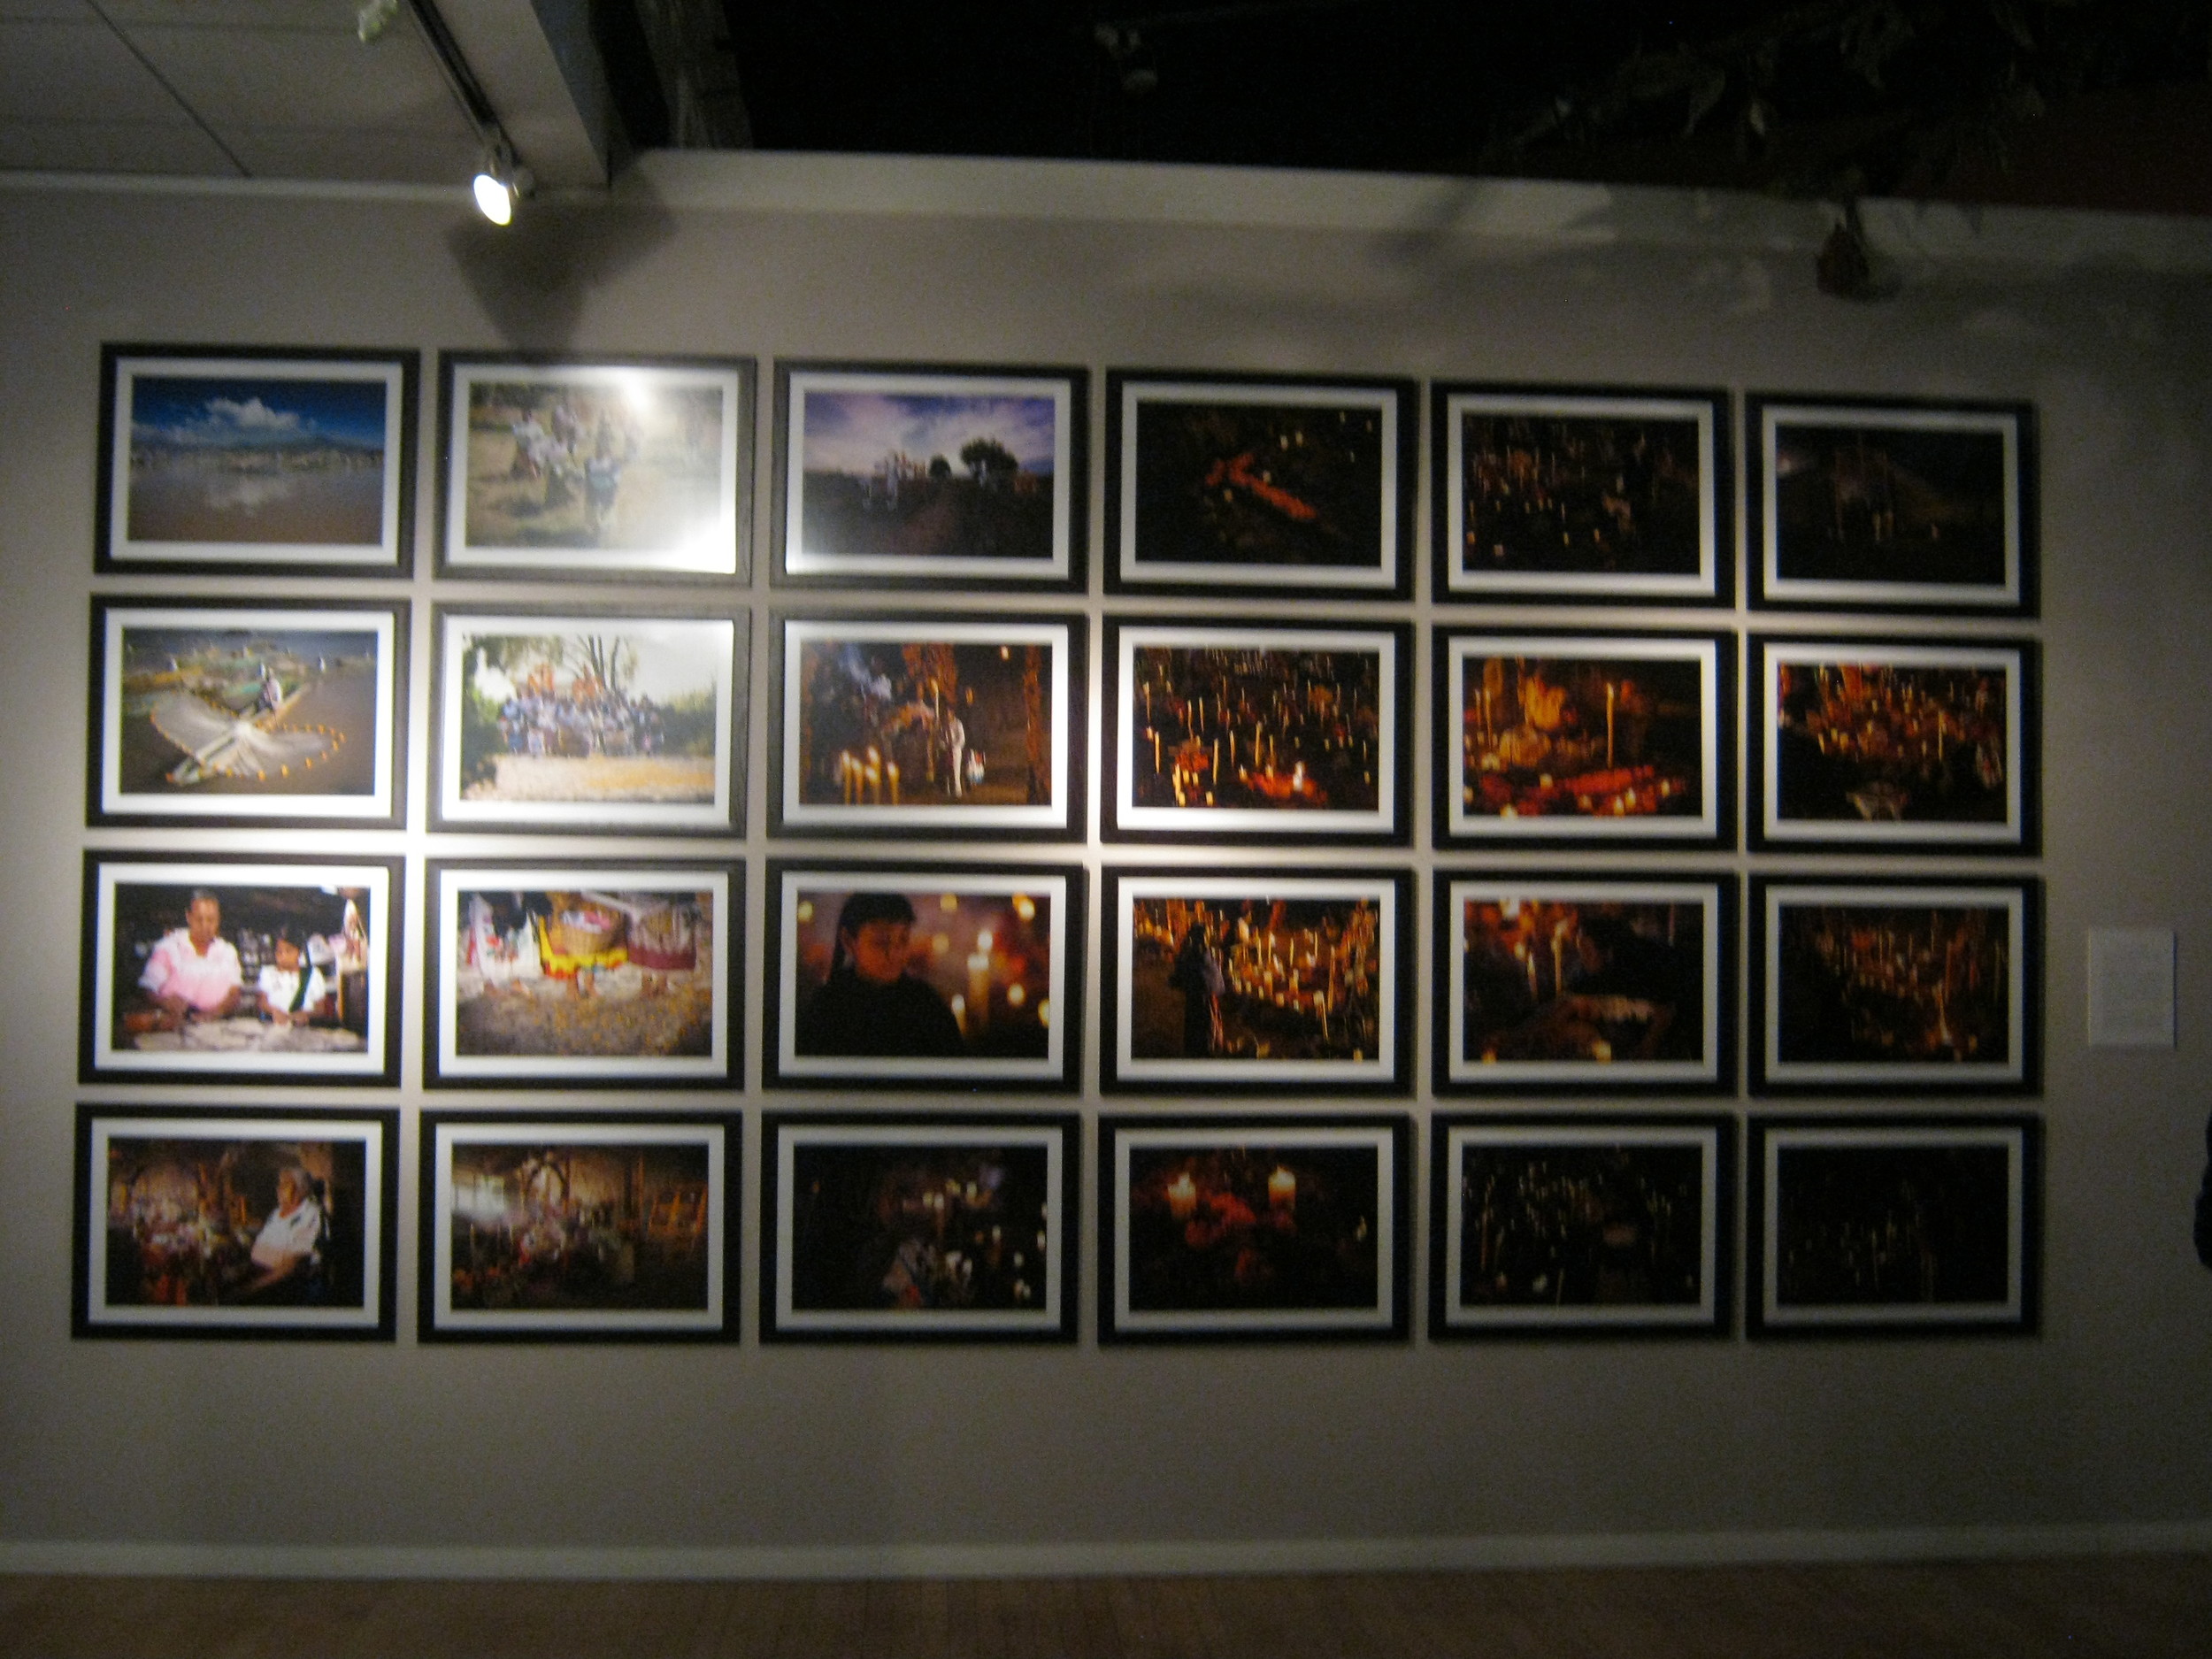
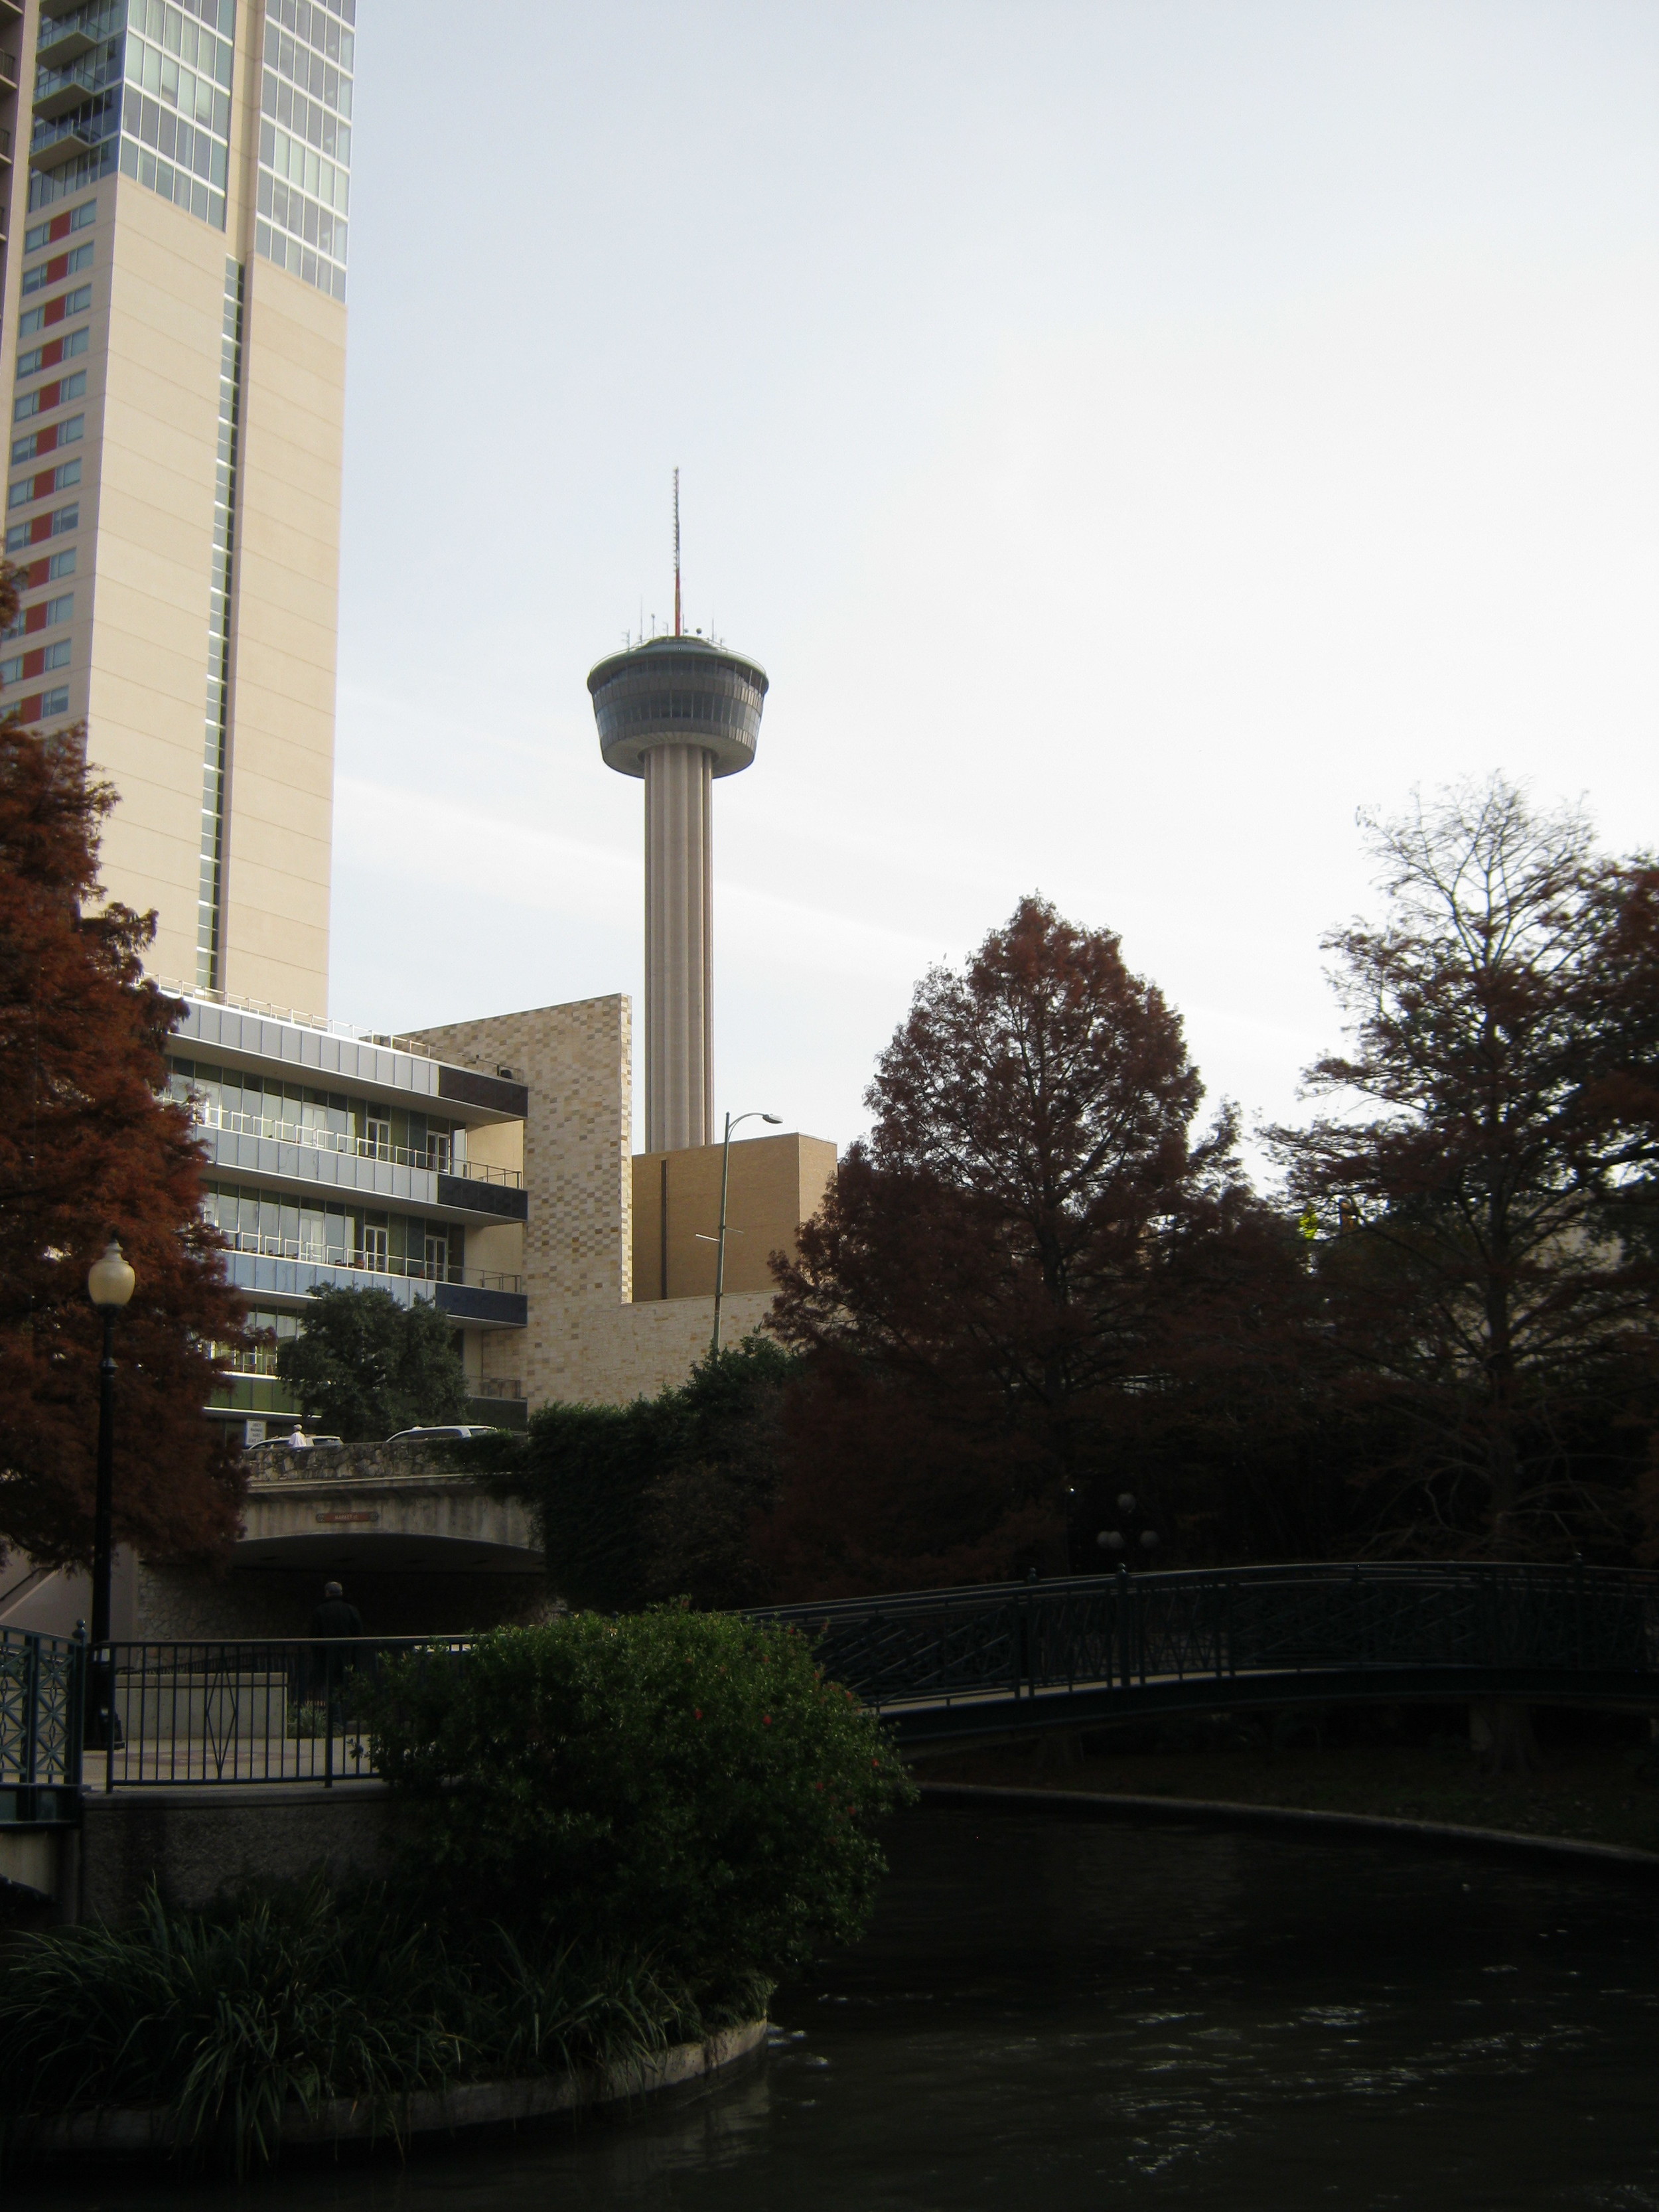
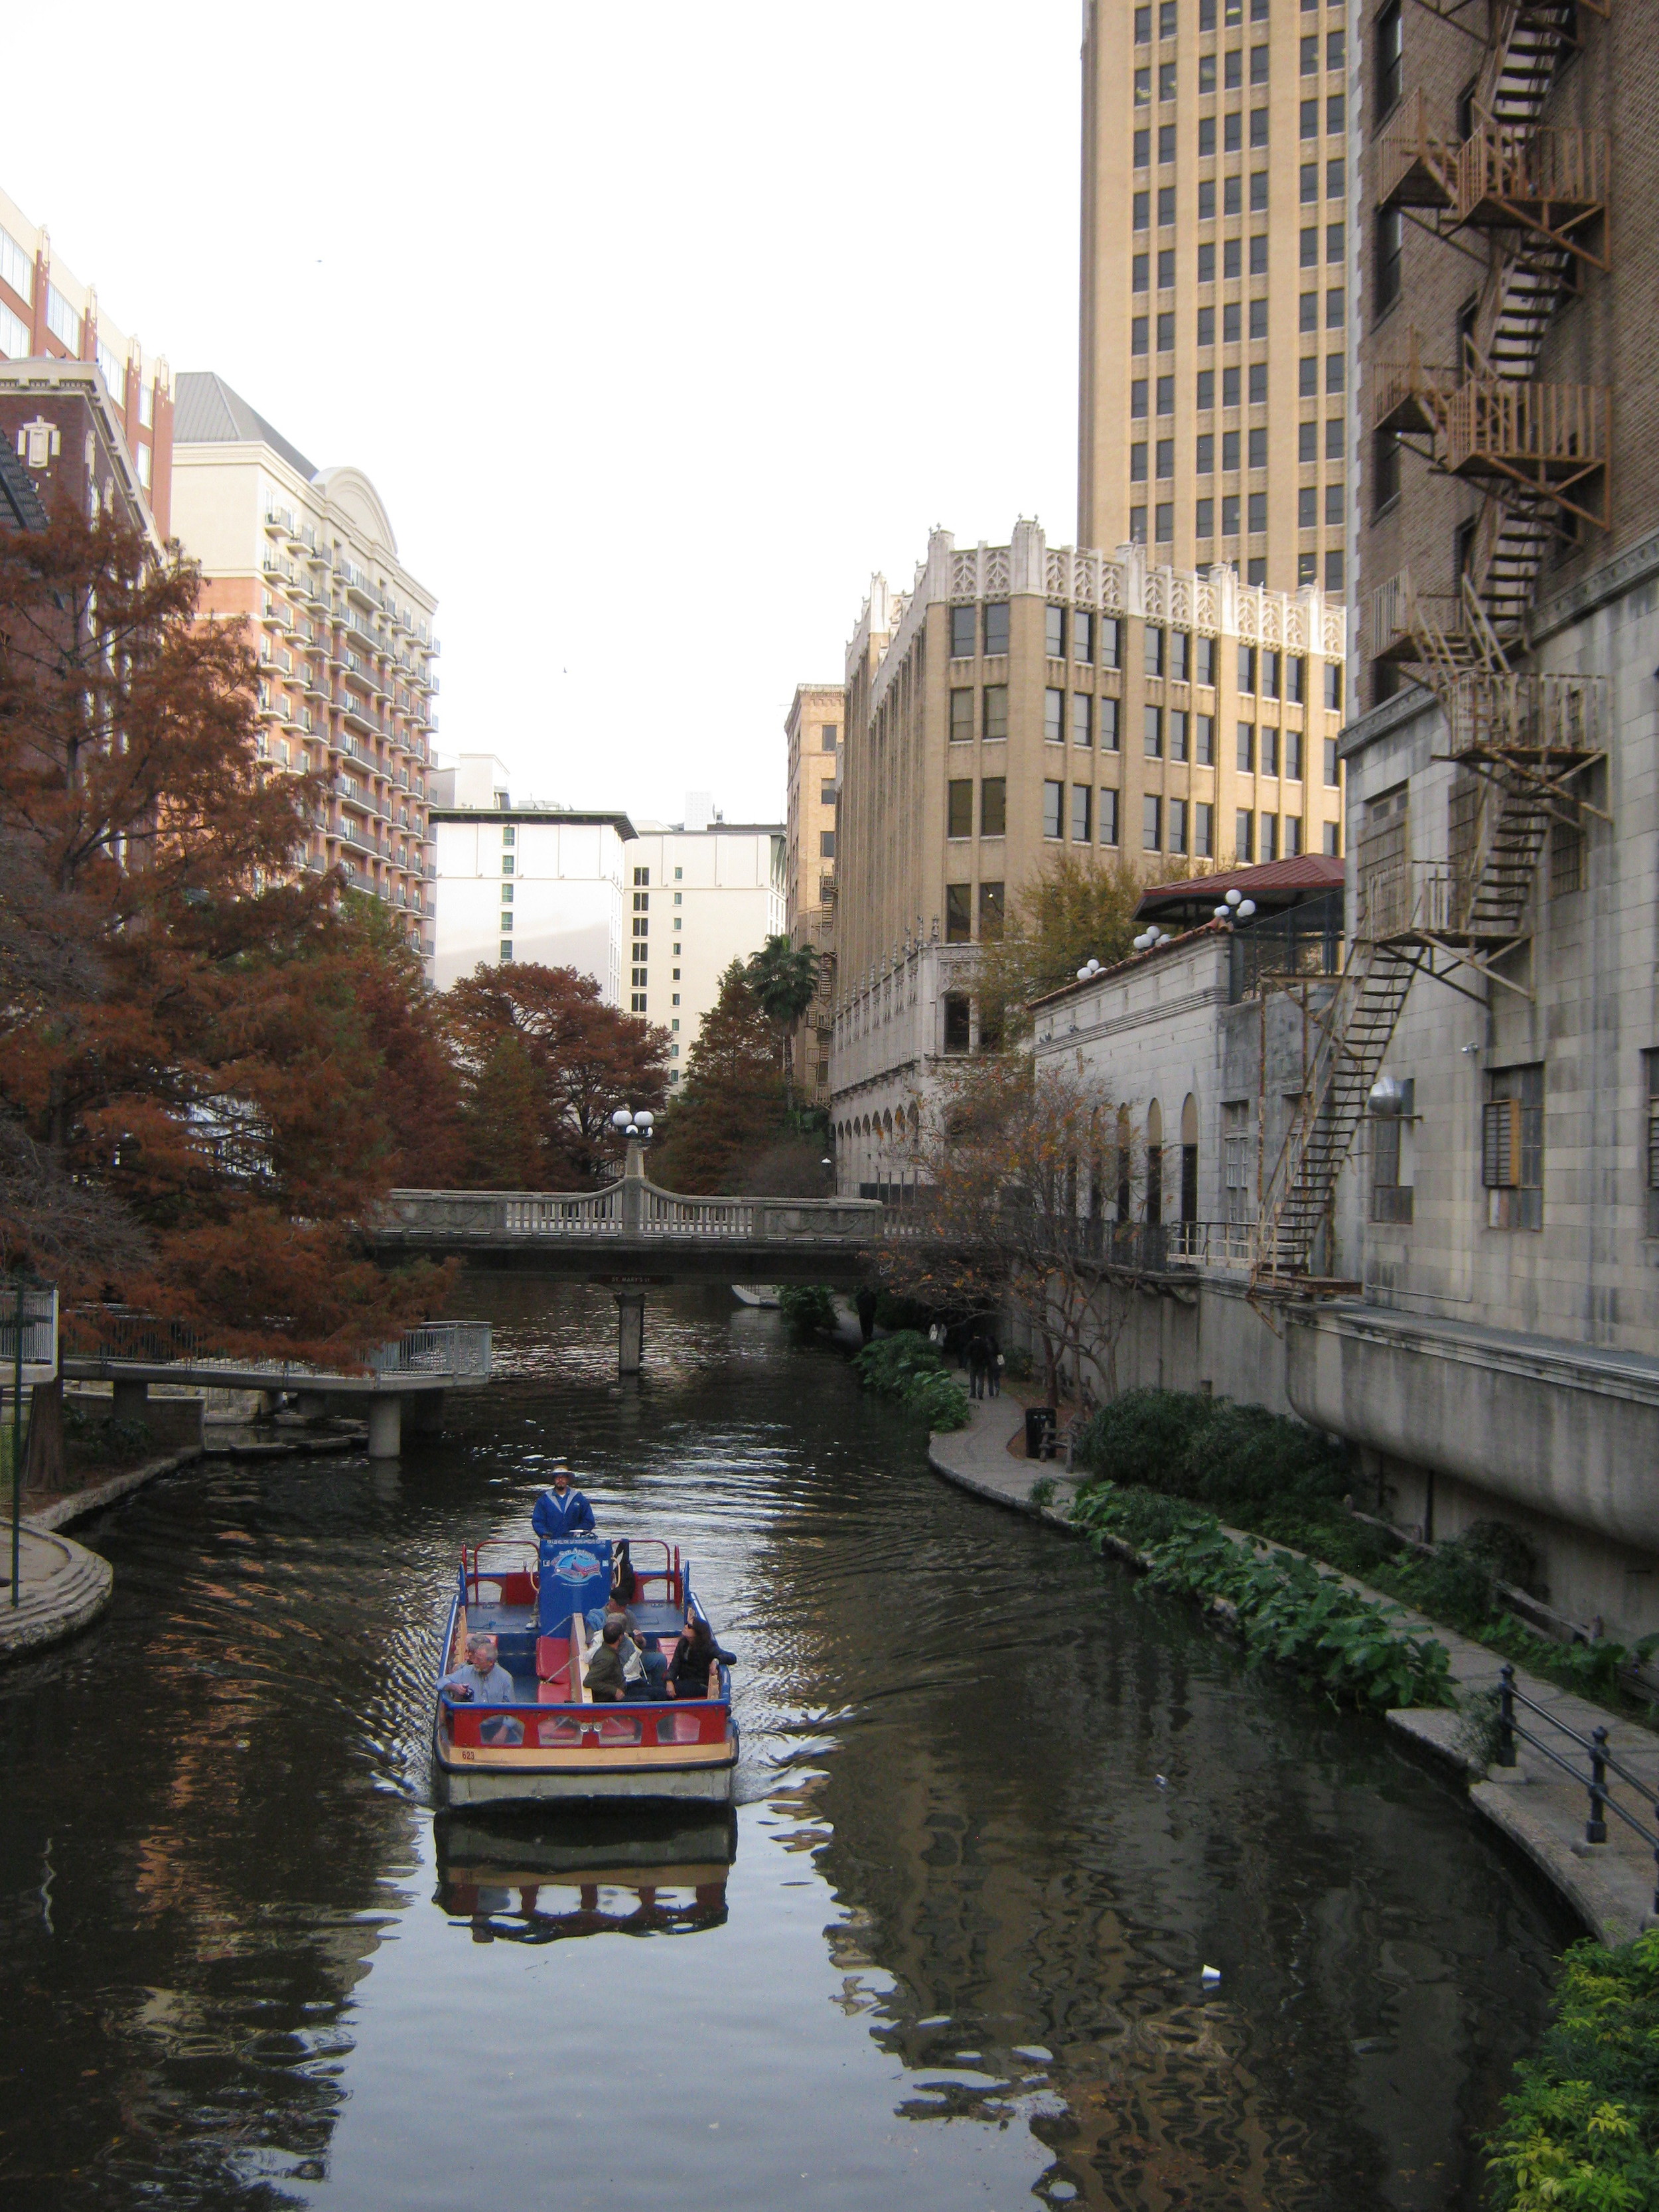
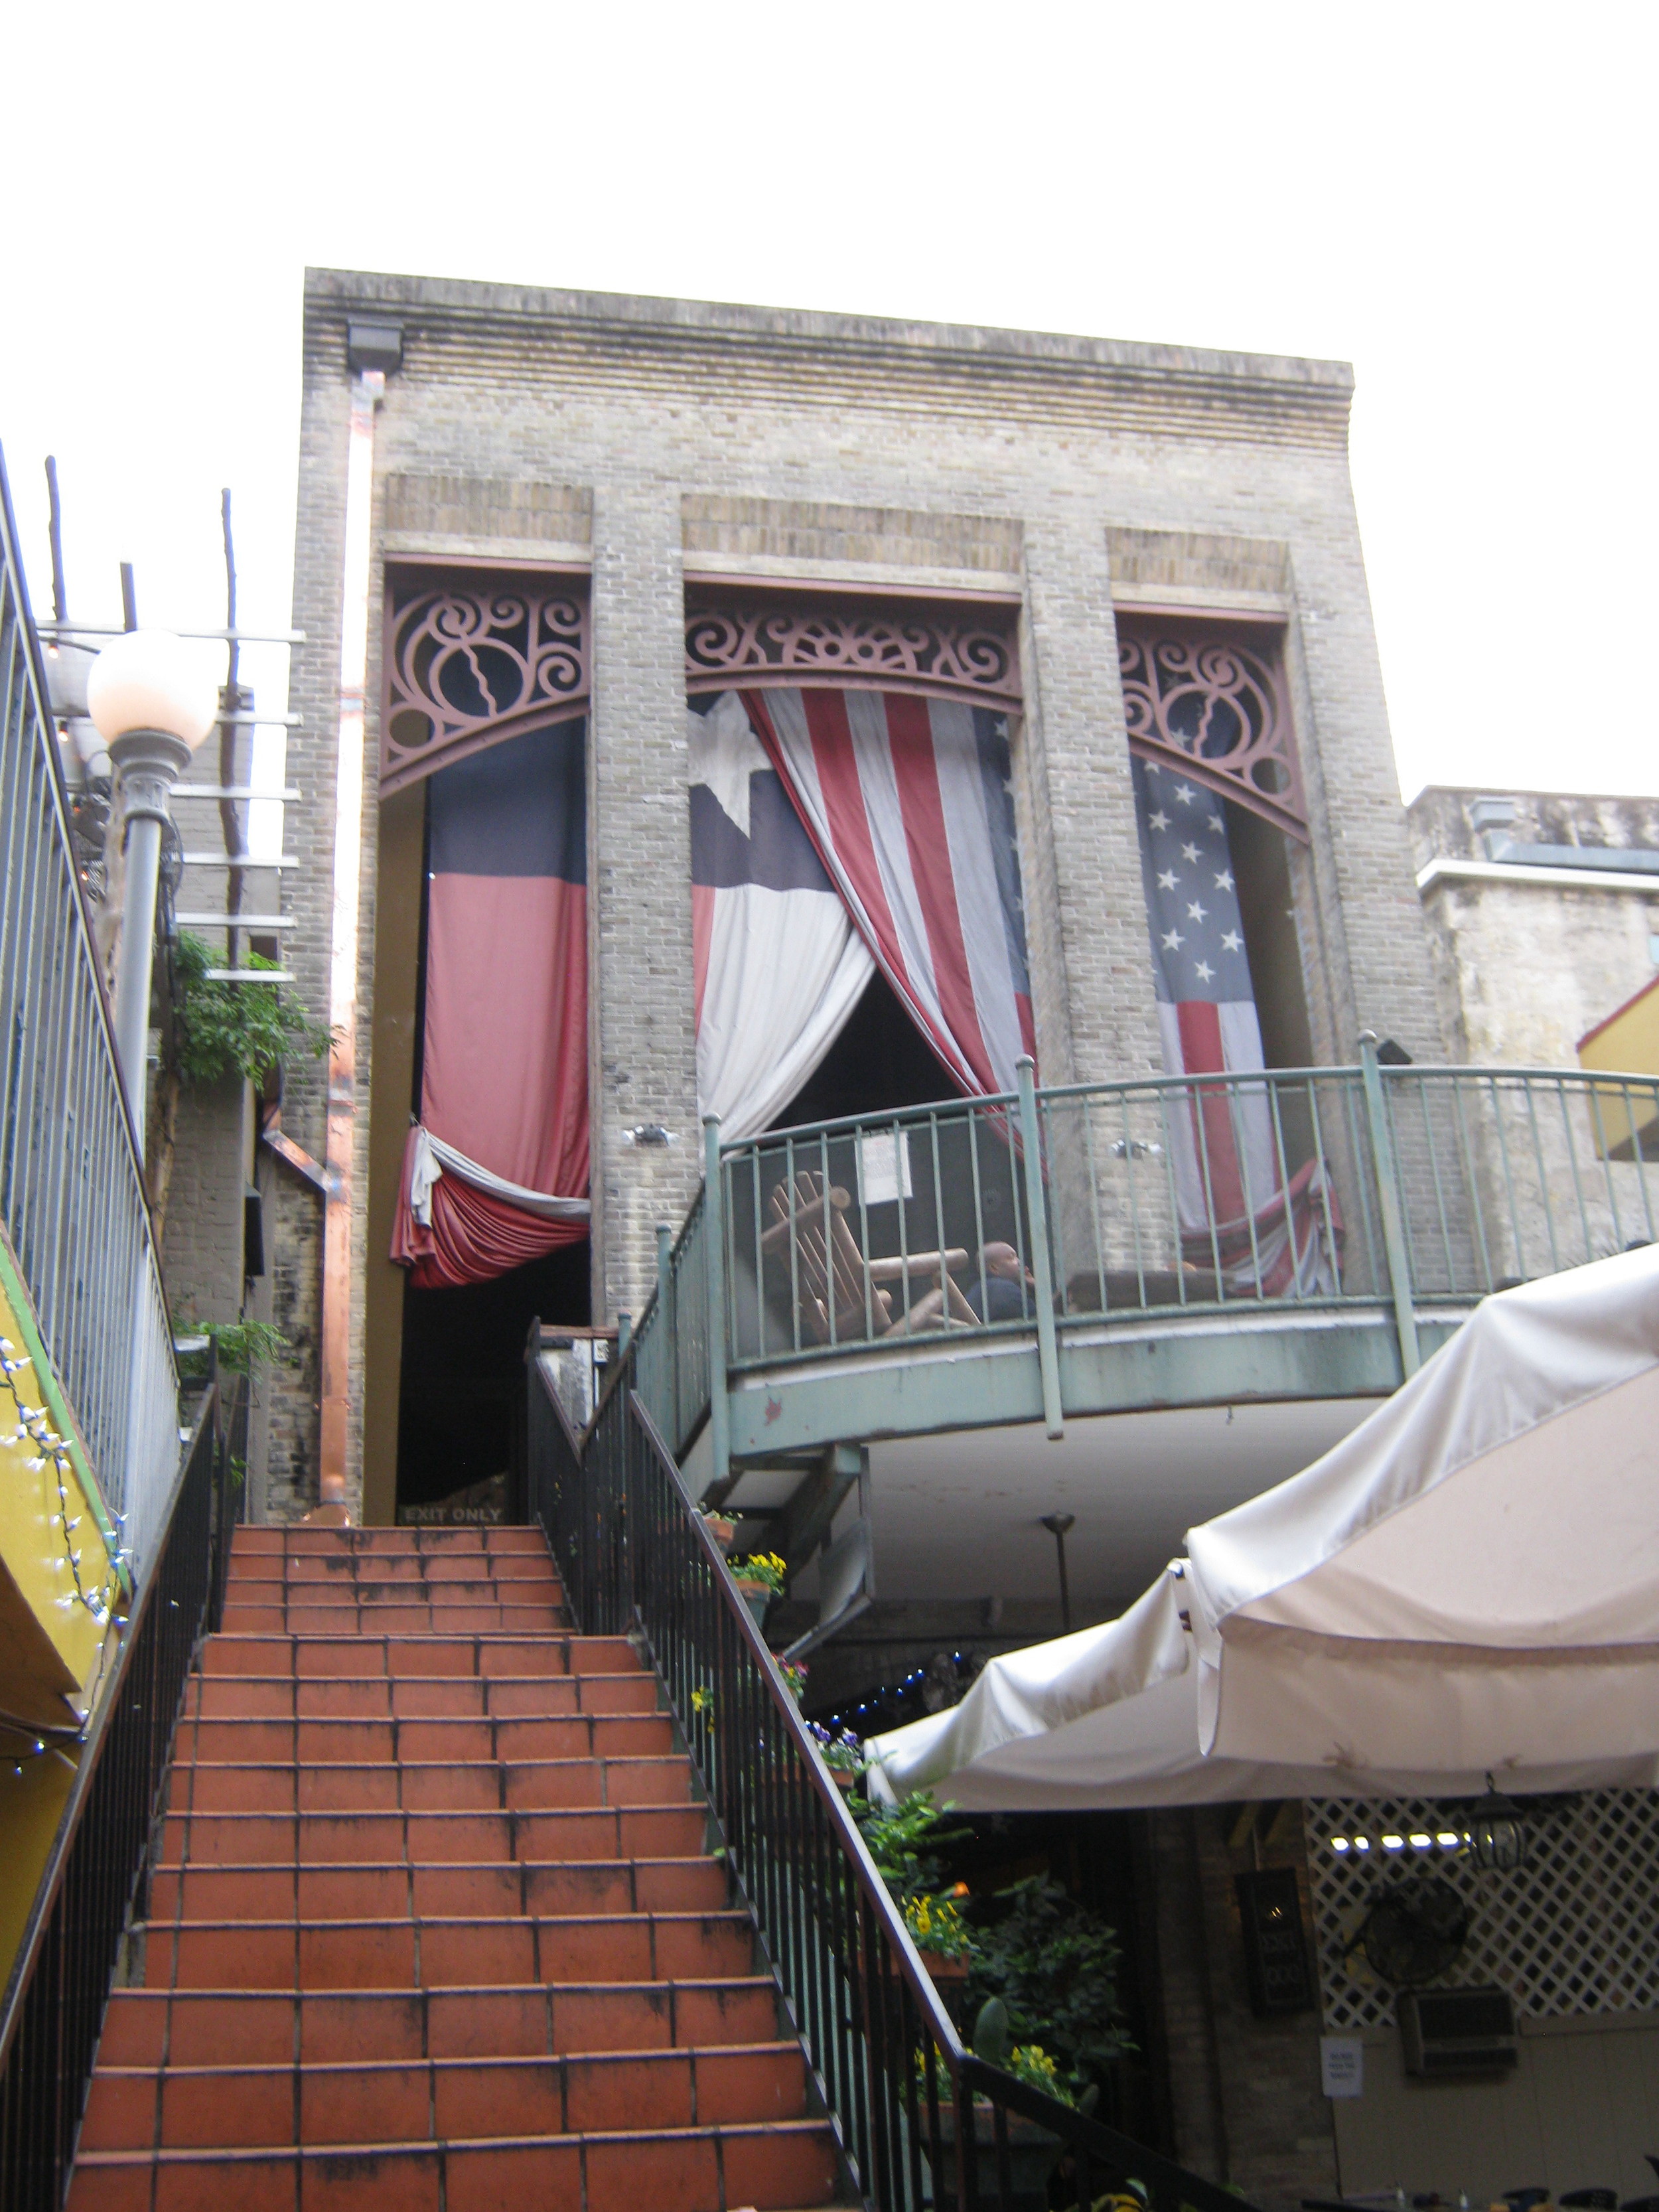
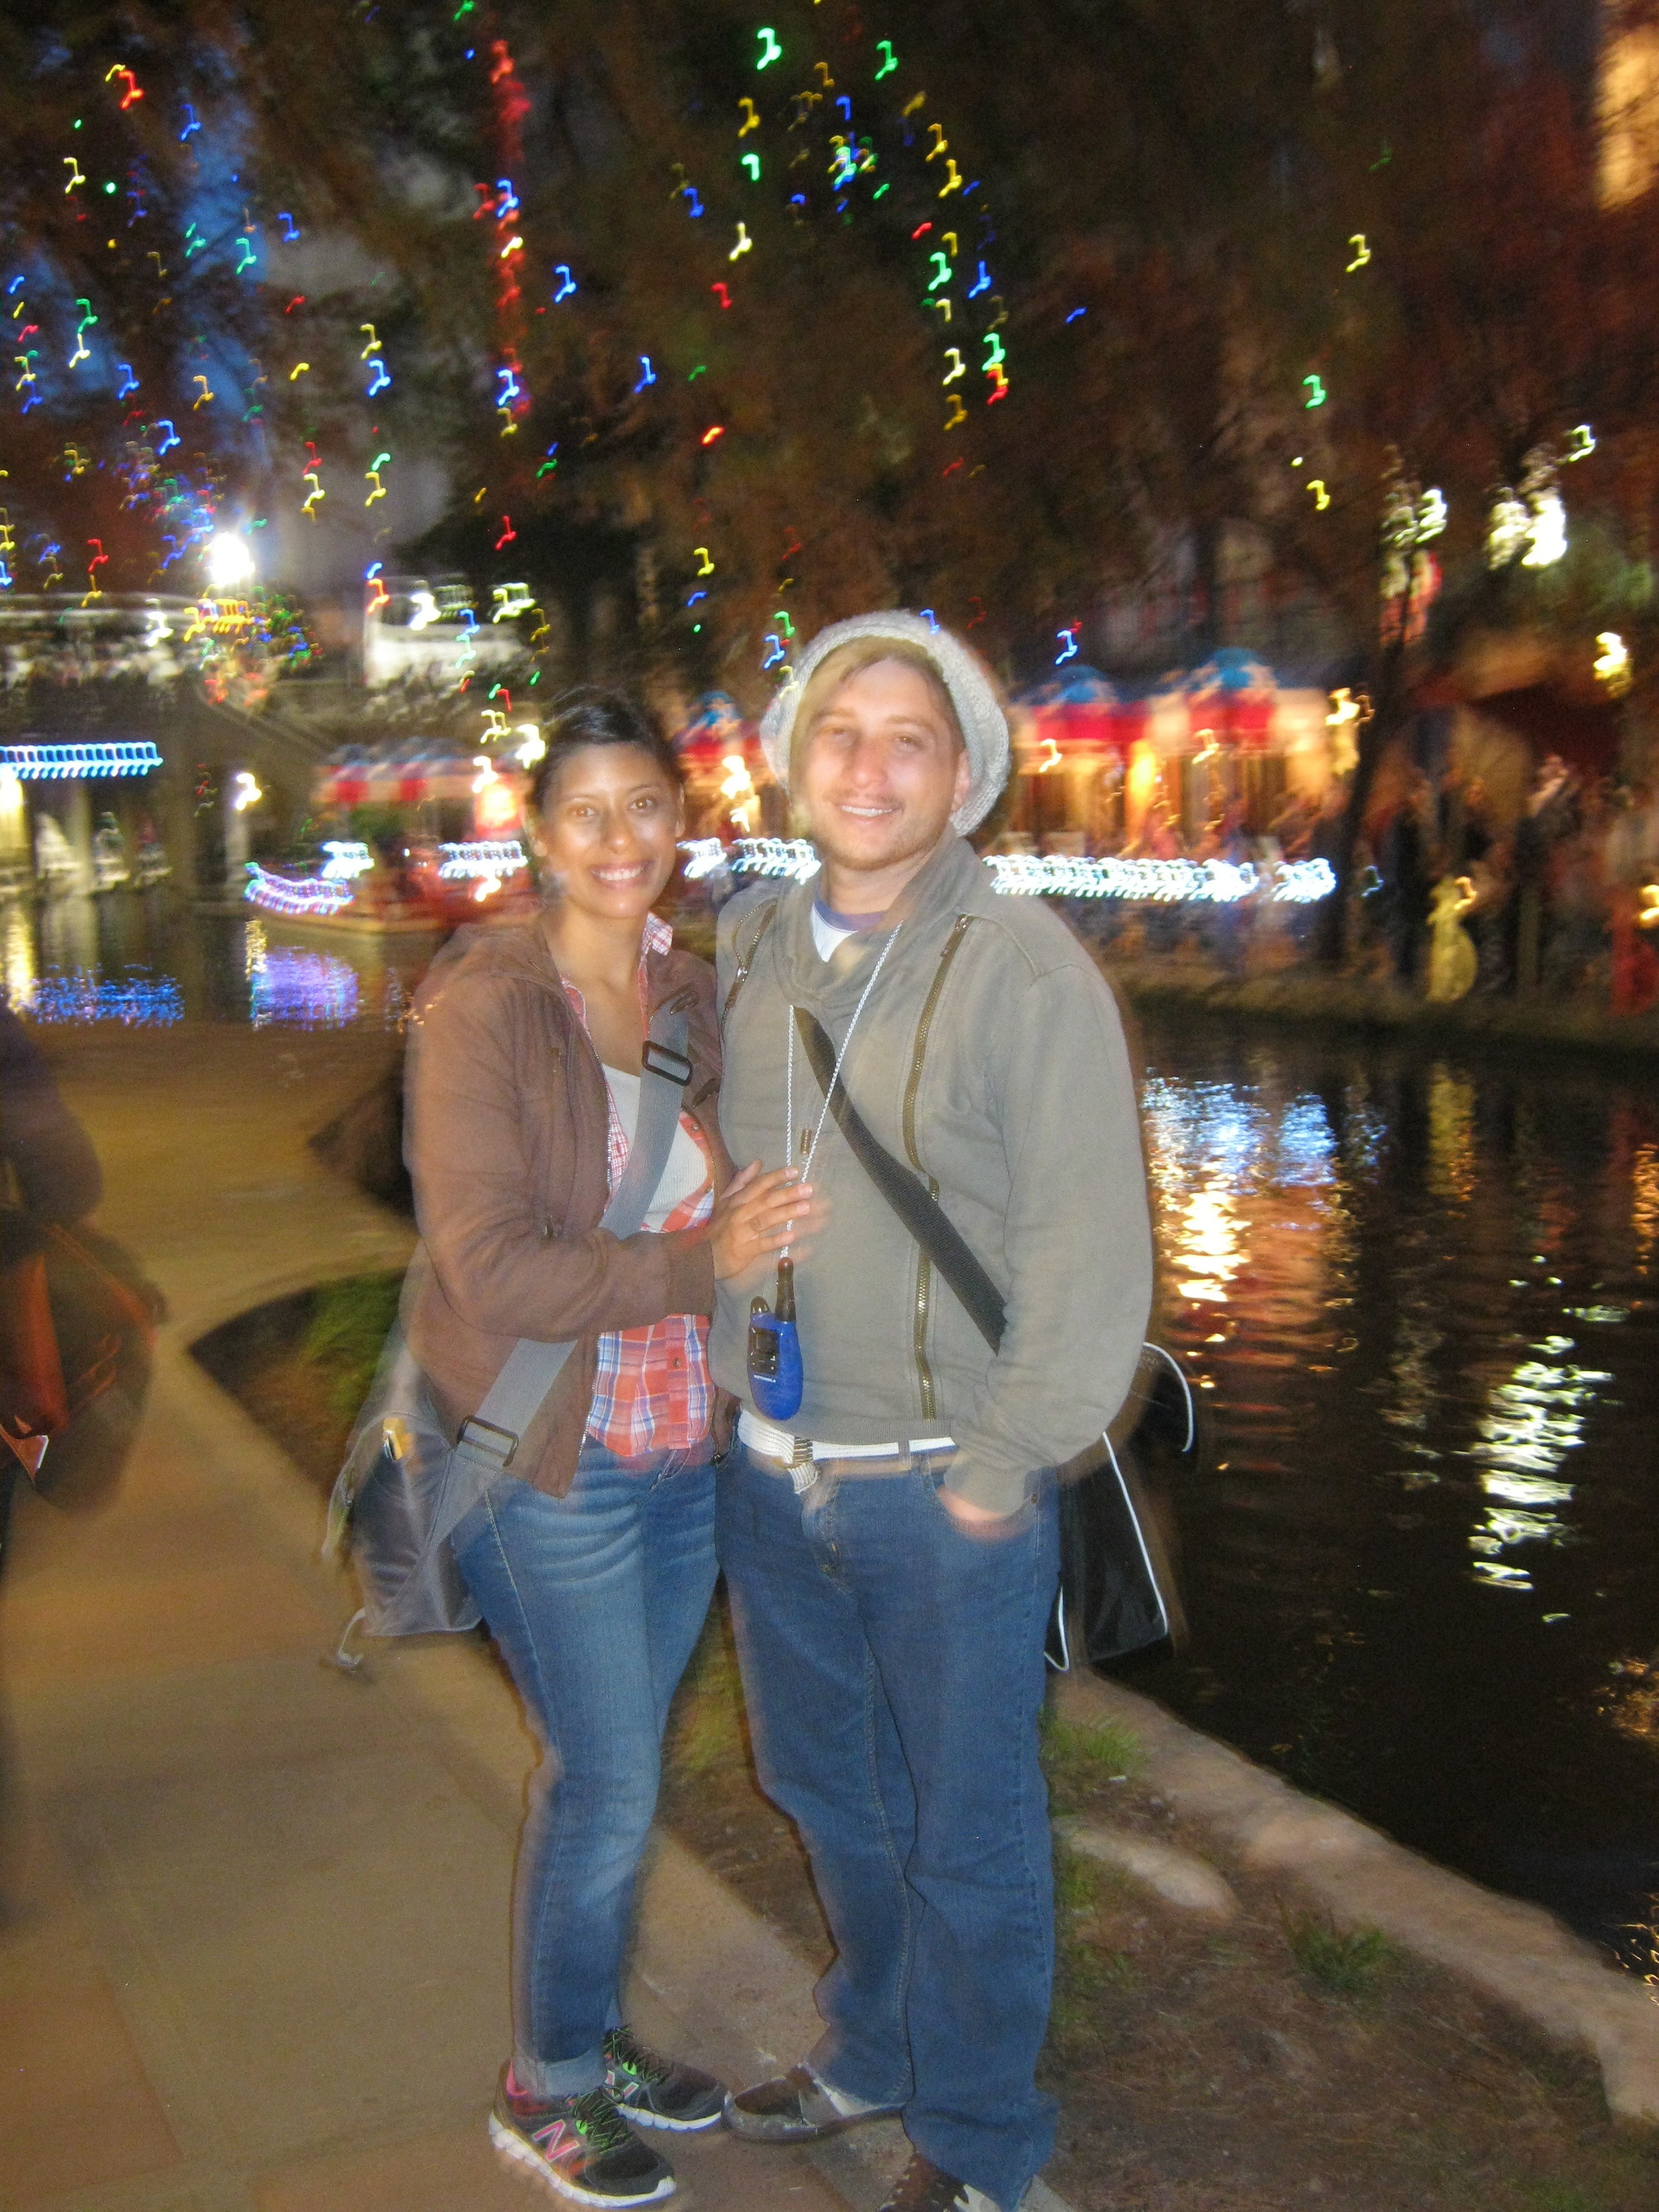
We had the opportunity to go to San Antonio with the school we work for and make sure that the hs kids didn't get left behind. To be honest, I haven't traveled much of the United States, so this was a first trip for me to San Antonio.
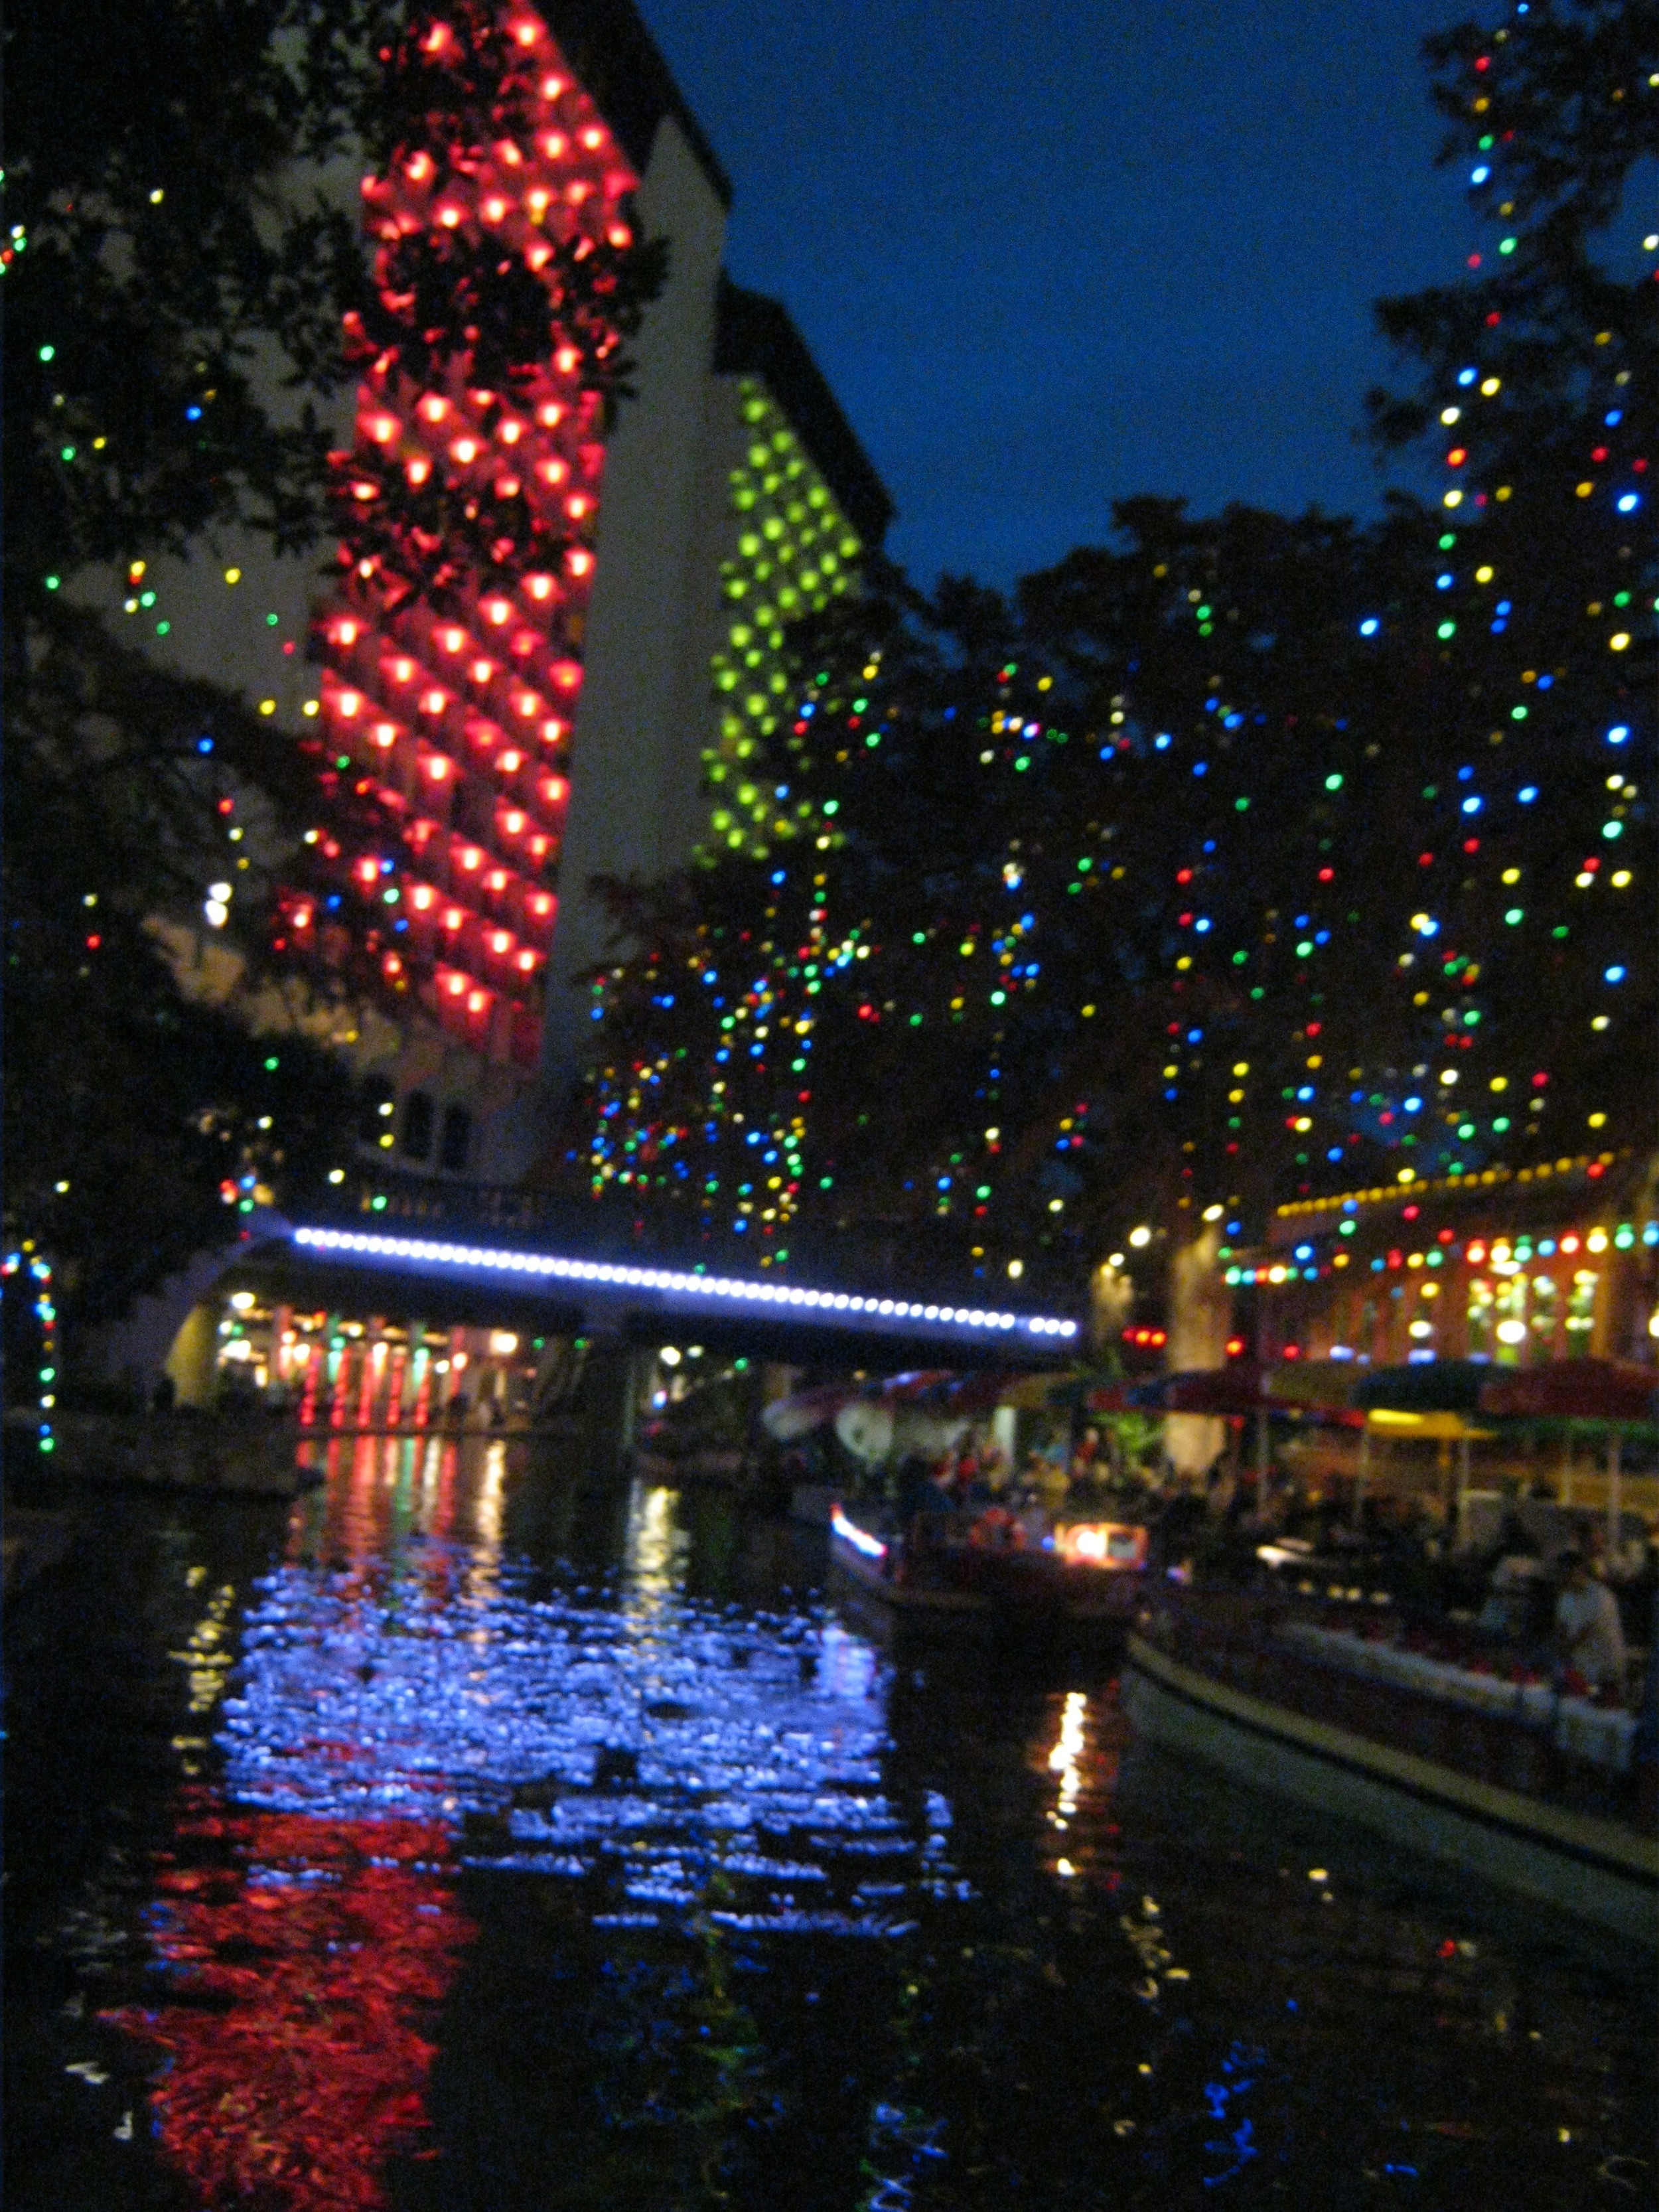
It was amazing being able to see San Antonio in all of it's Christmas splendor! We visited a few museums, a couple of missions, the outlets (which wasn't my cup of tea, but we did go to Outback Steakhouse so yum!), Six Flags, and the Riverwalk - which was my favorite place of all!
Looking at the photos, I already want to go back!






There are no words to describe how honored I am to do what I do. To be able to create once in a lifetime photos for families, couples, kids, and babies. Thank you to all of my clients for letting me be a part of your lives and for having me photograph you!
I look forward to seeing many more familiar as well as new faces this year!
Happy 2015 everyone!
I can't believe that we are at our 6 month mark! I'm liking this whole marriage deal. Wake up next to the person you love, endless cuddling before falling asleep, eating together as a family of two at our table, and traveling.
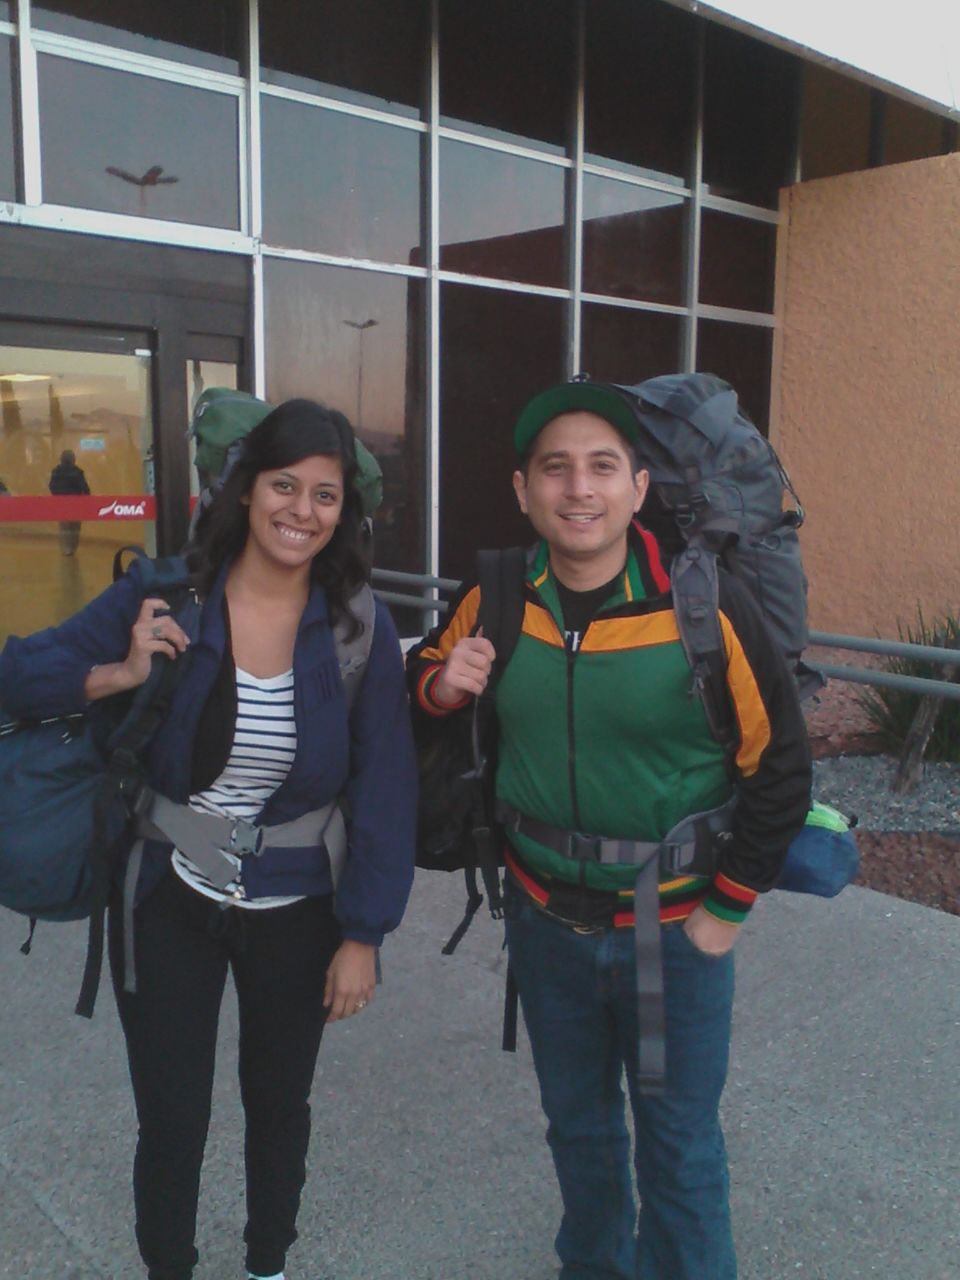
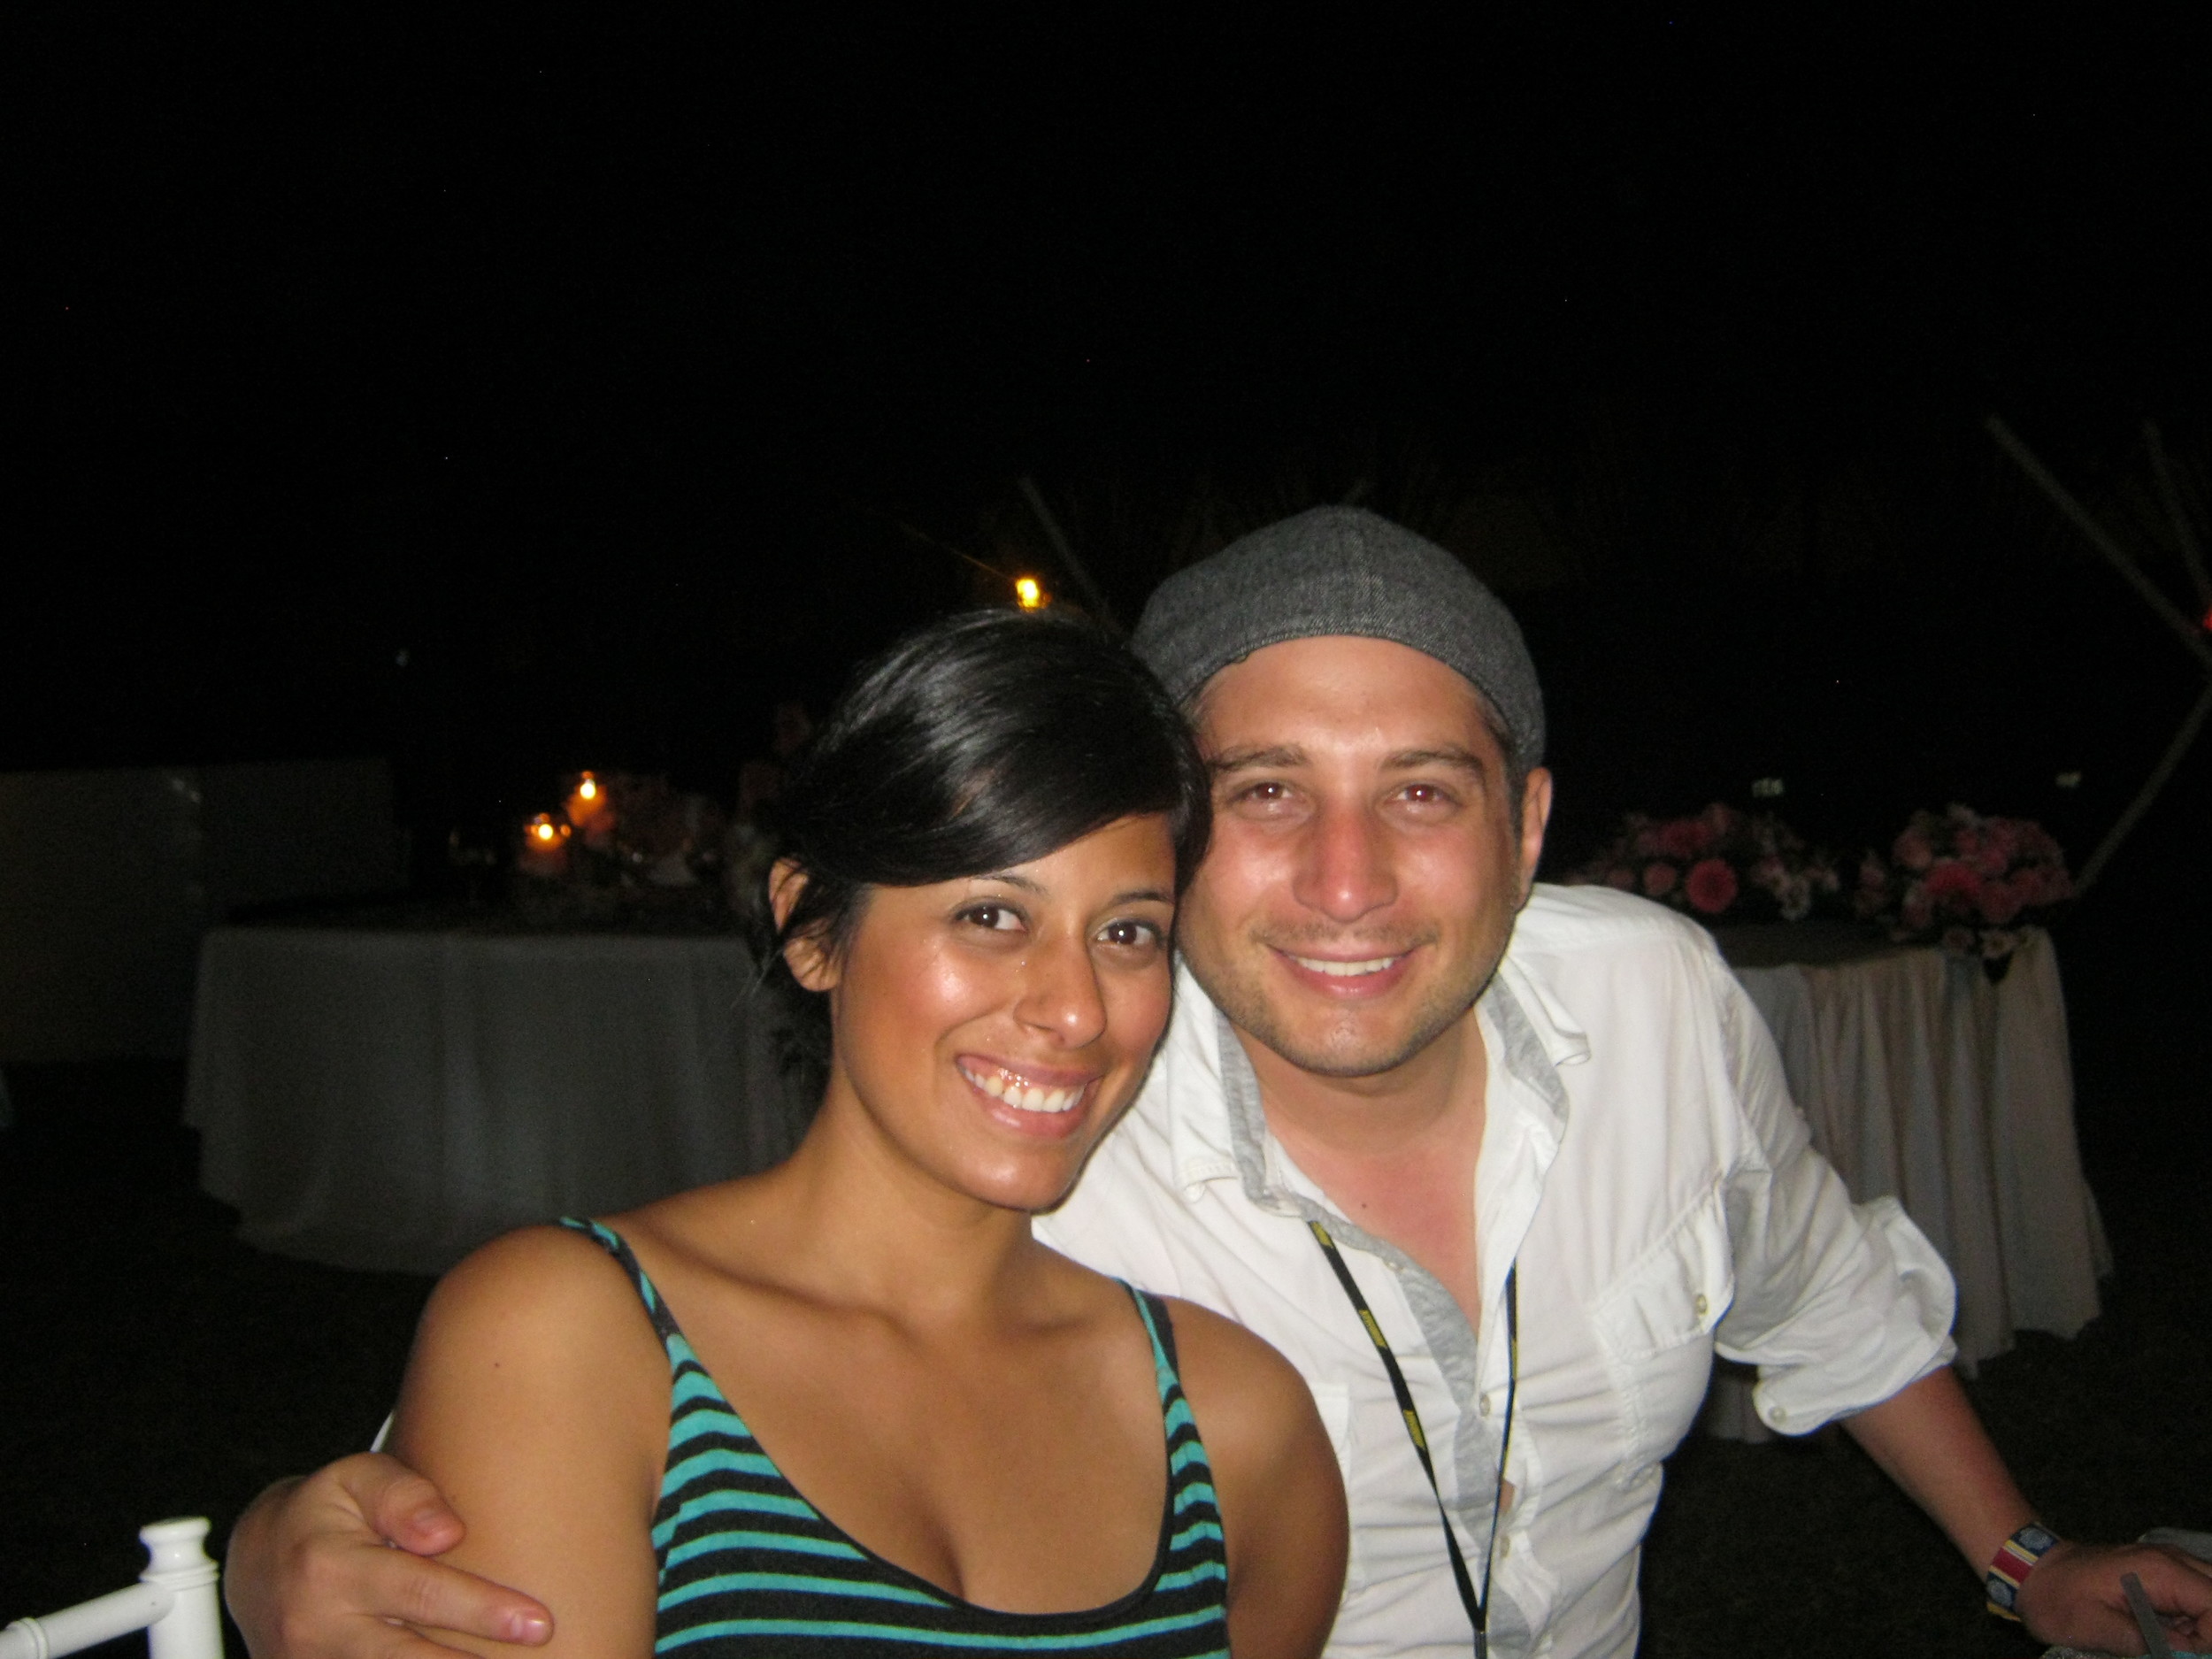
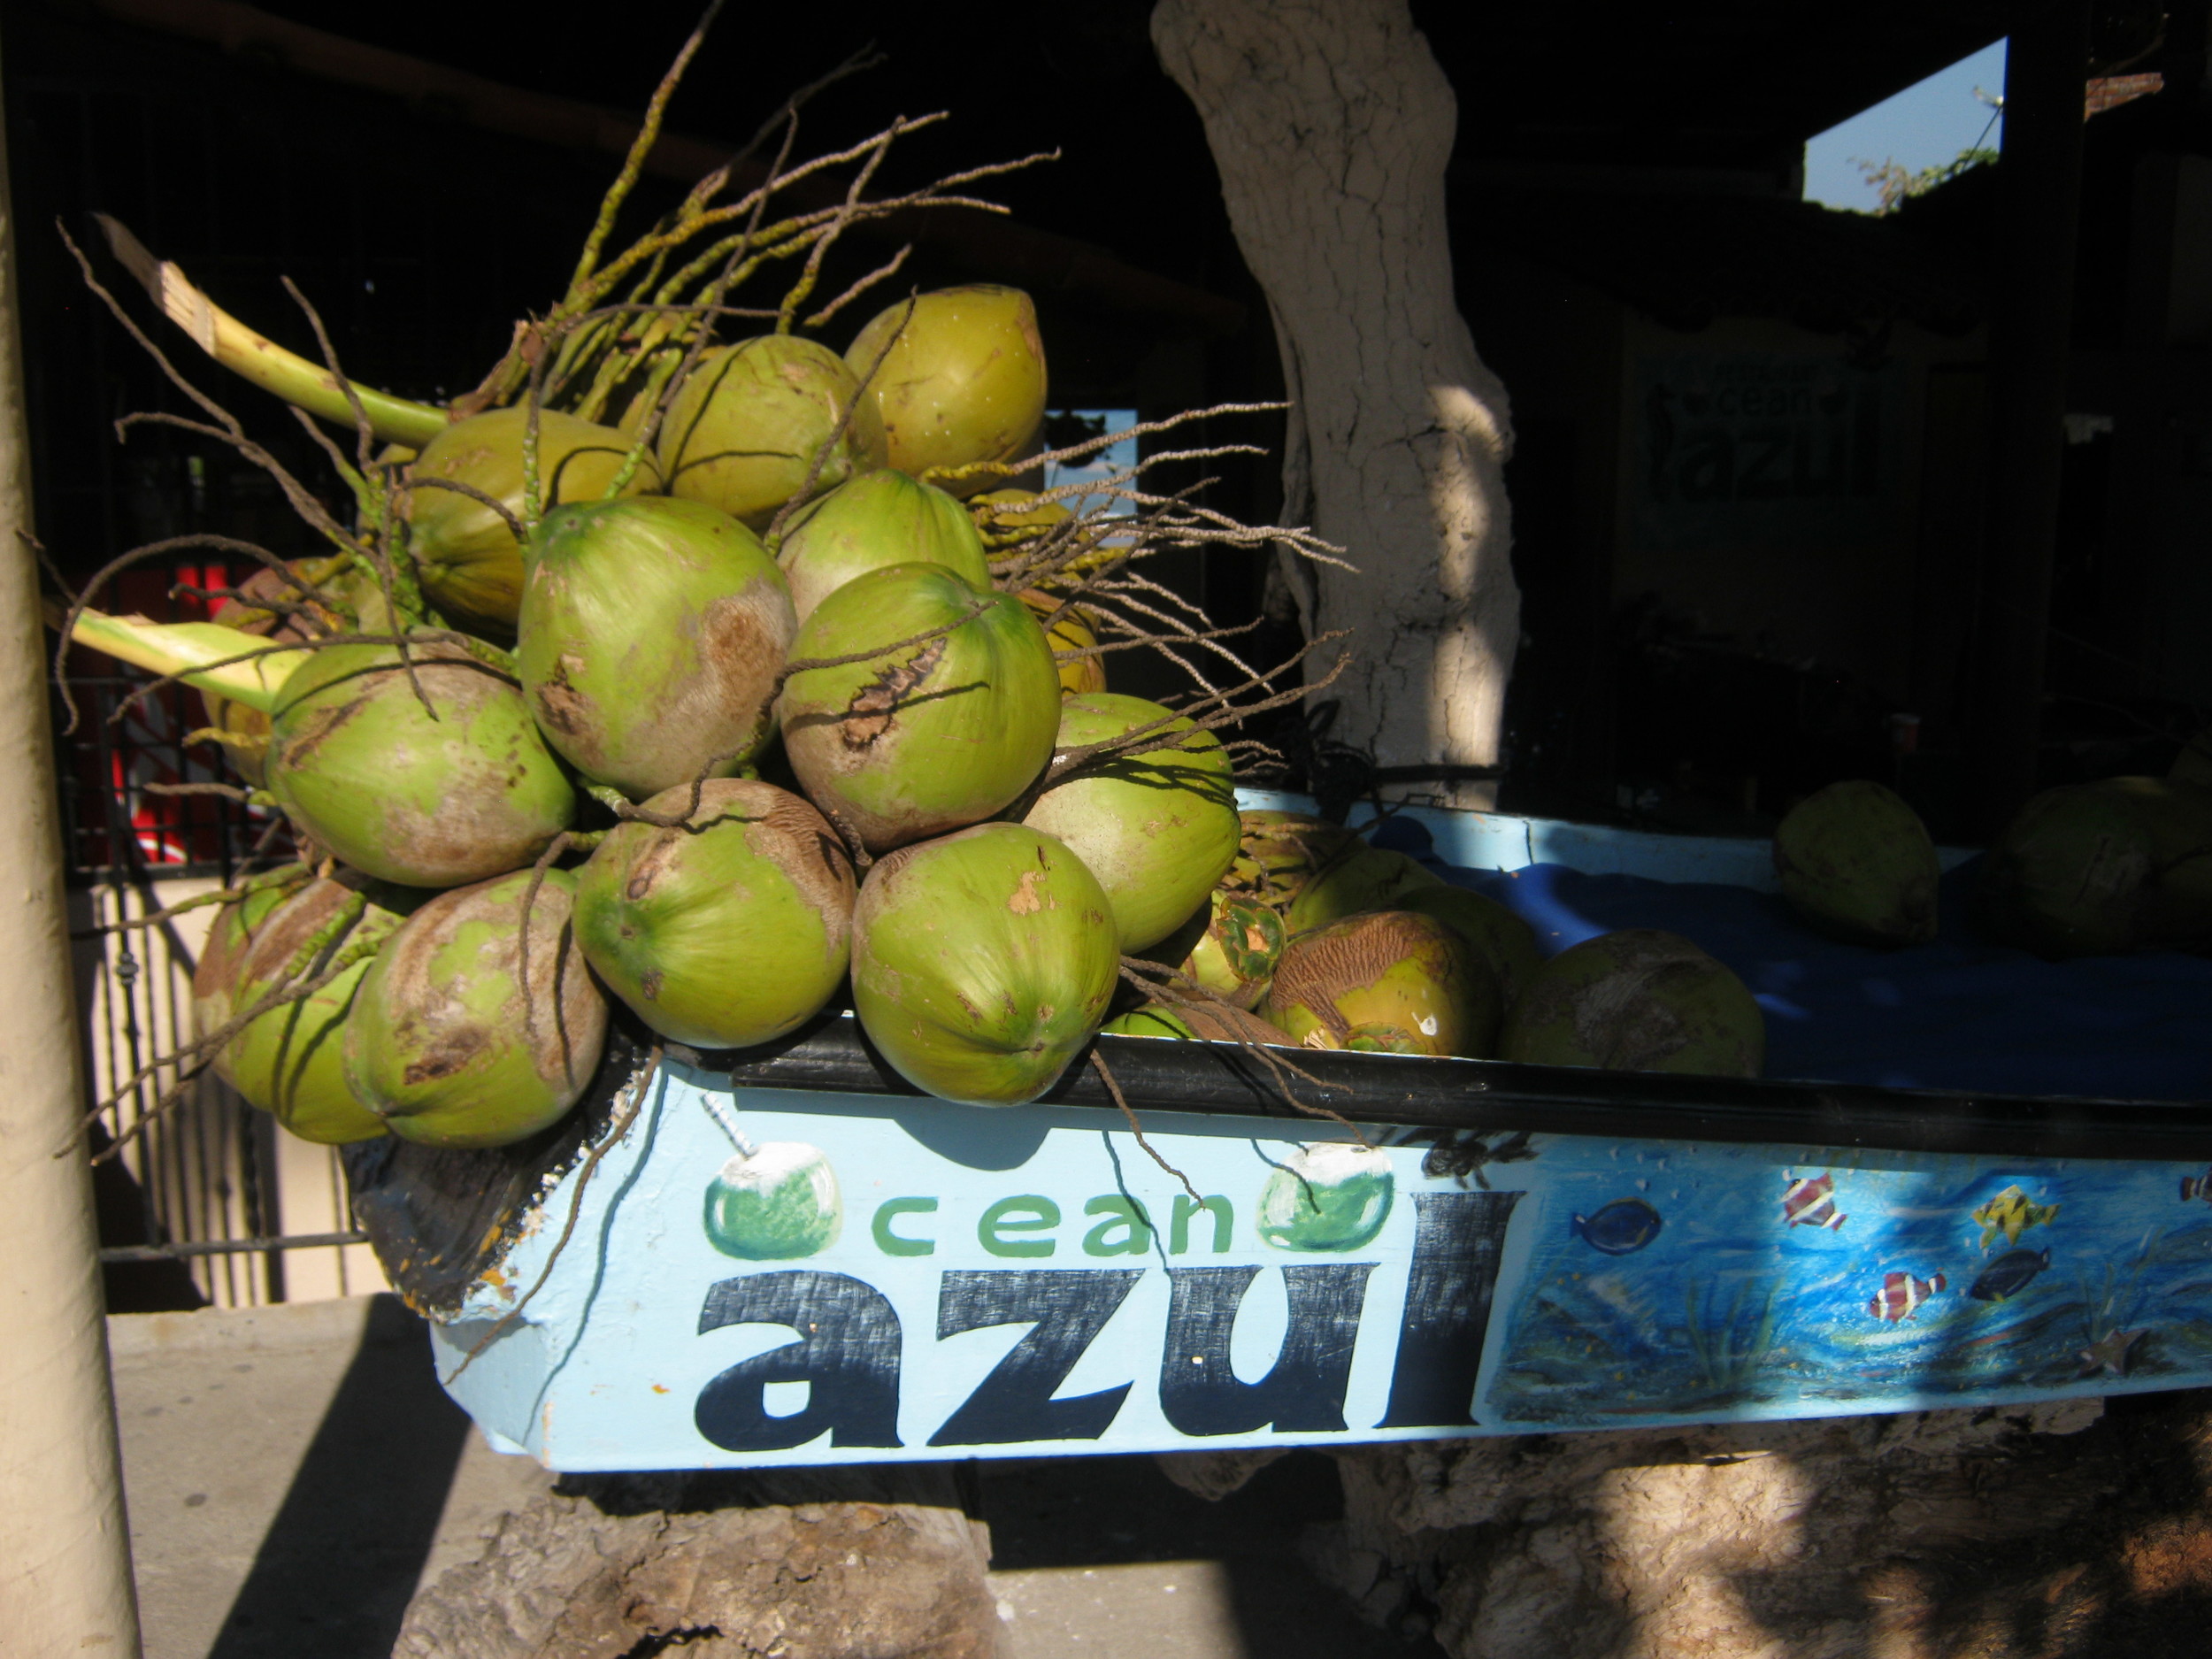
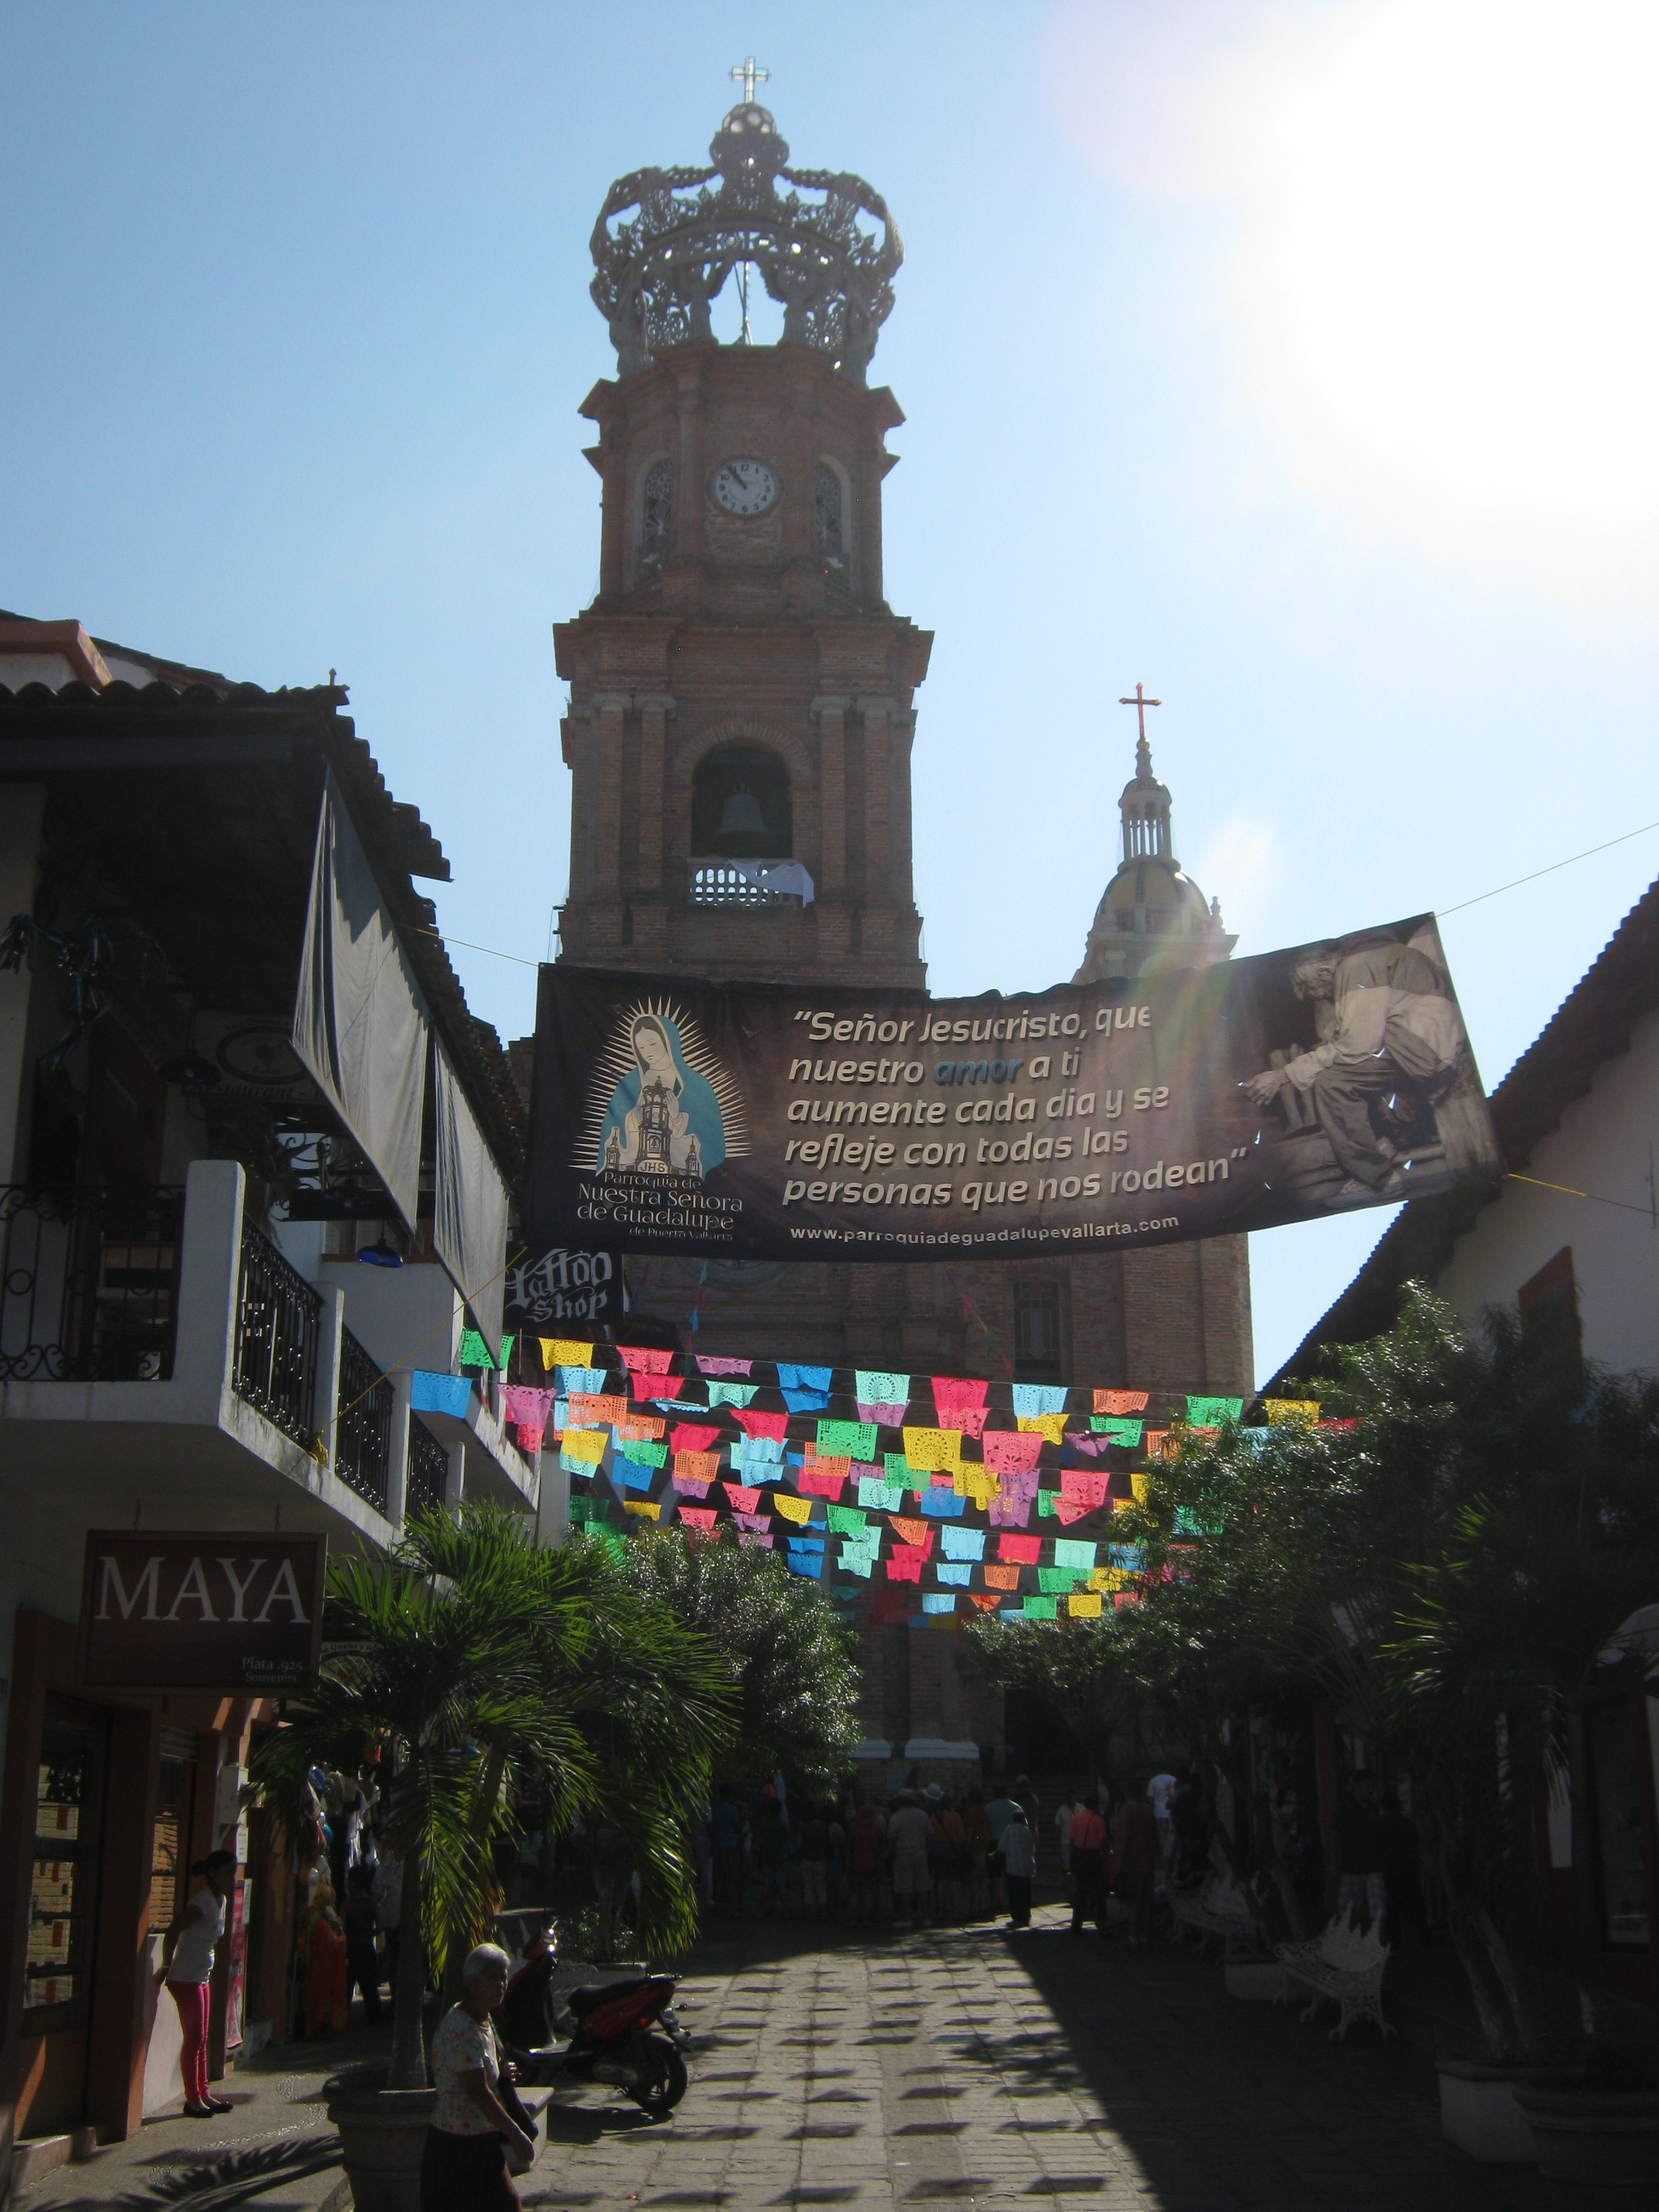
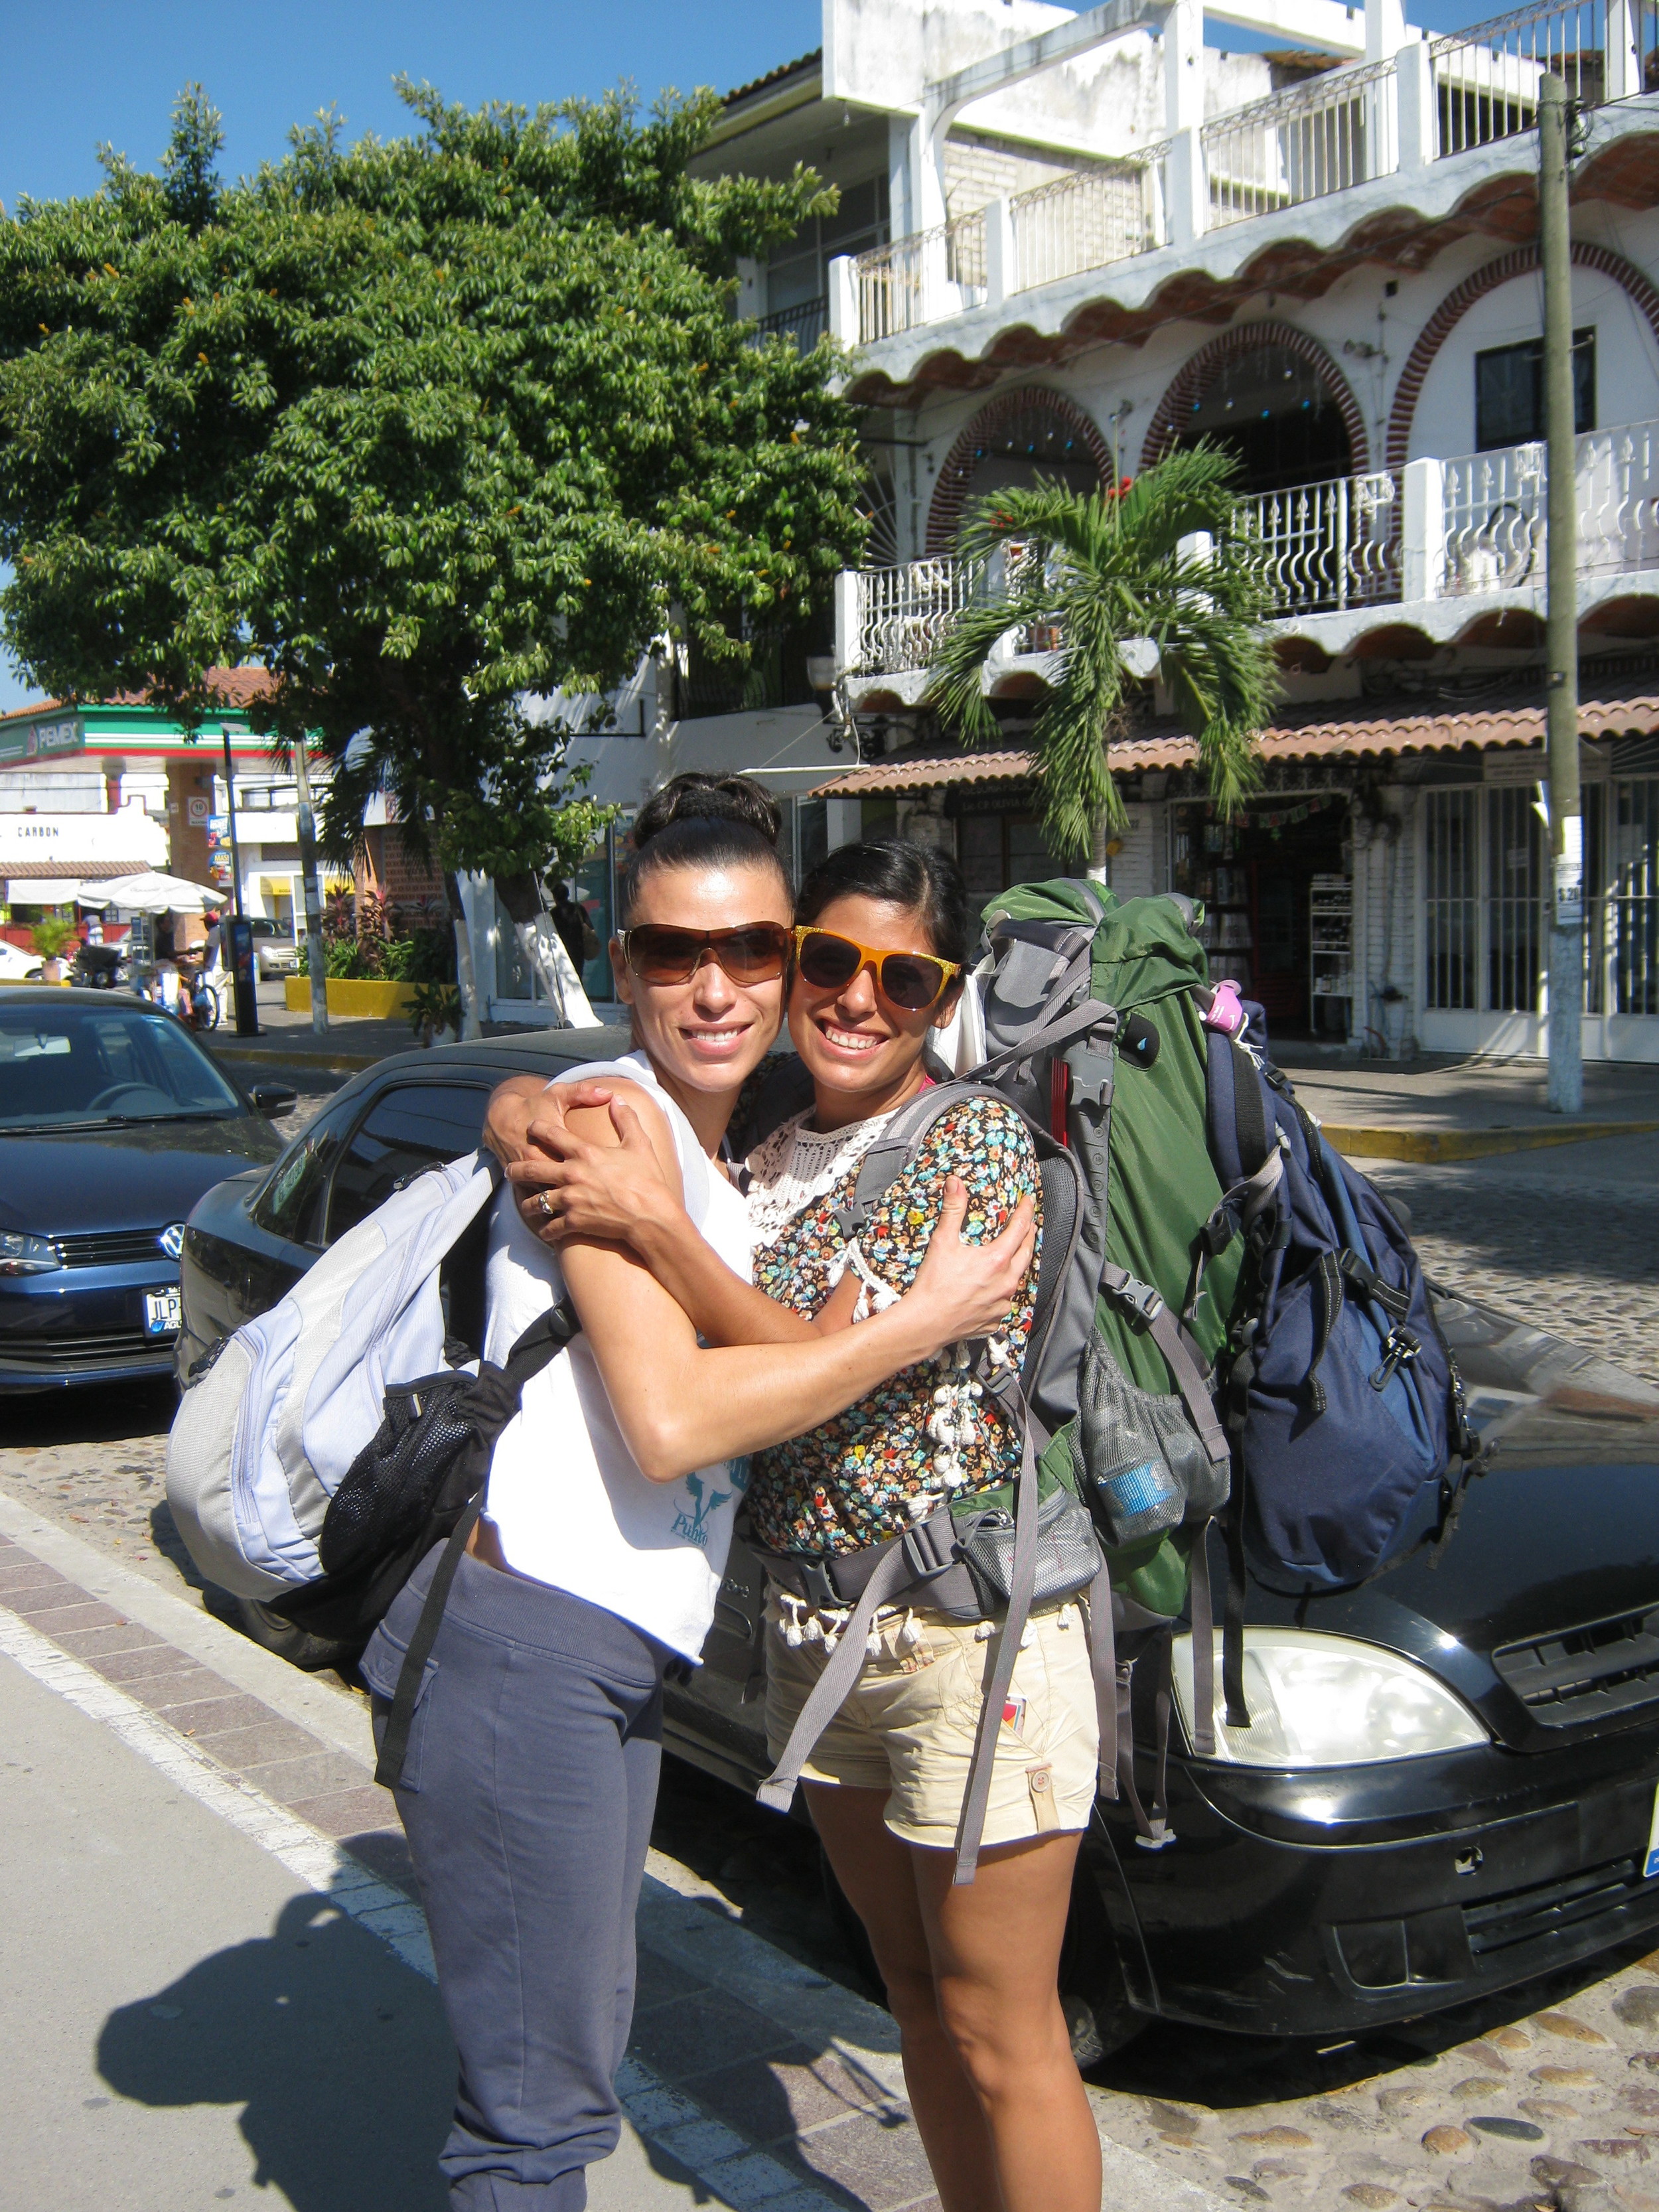
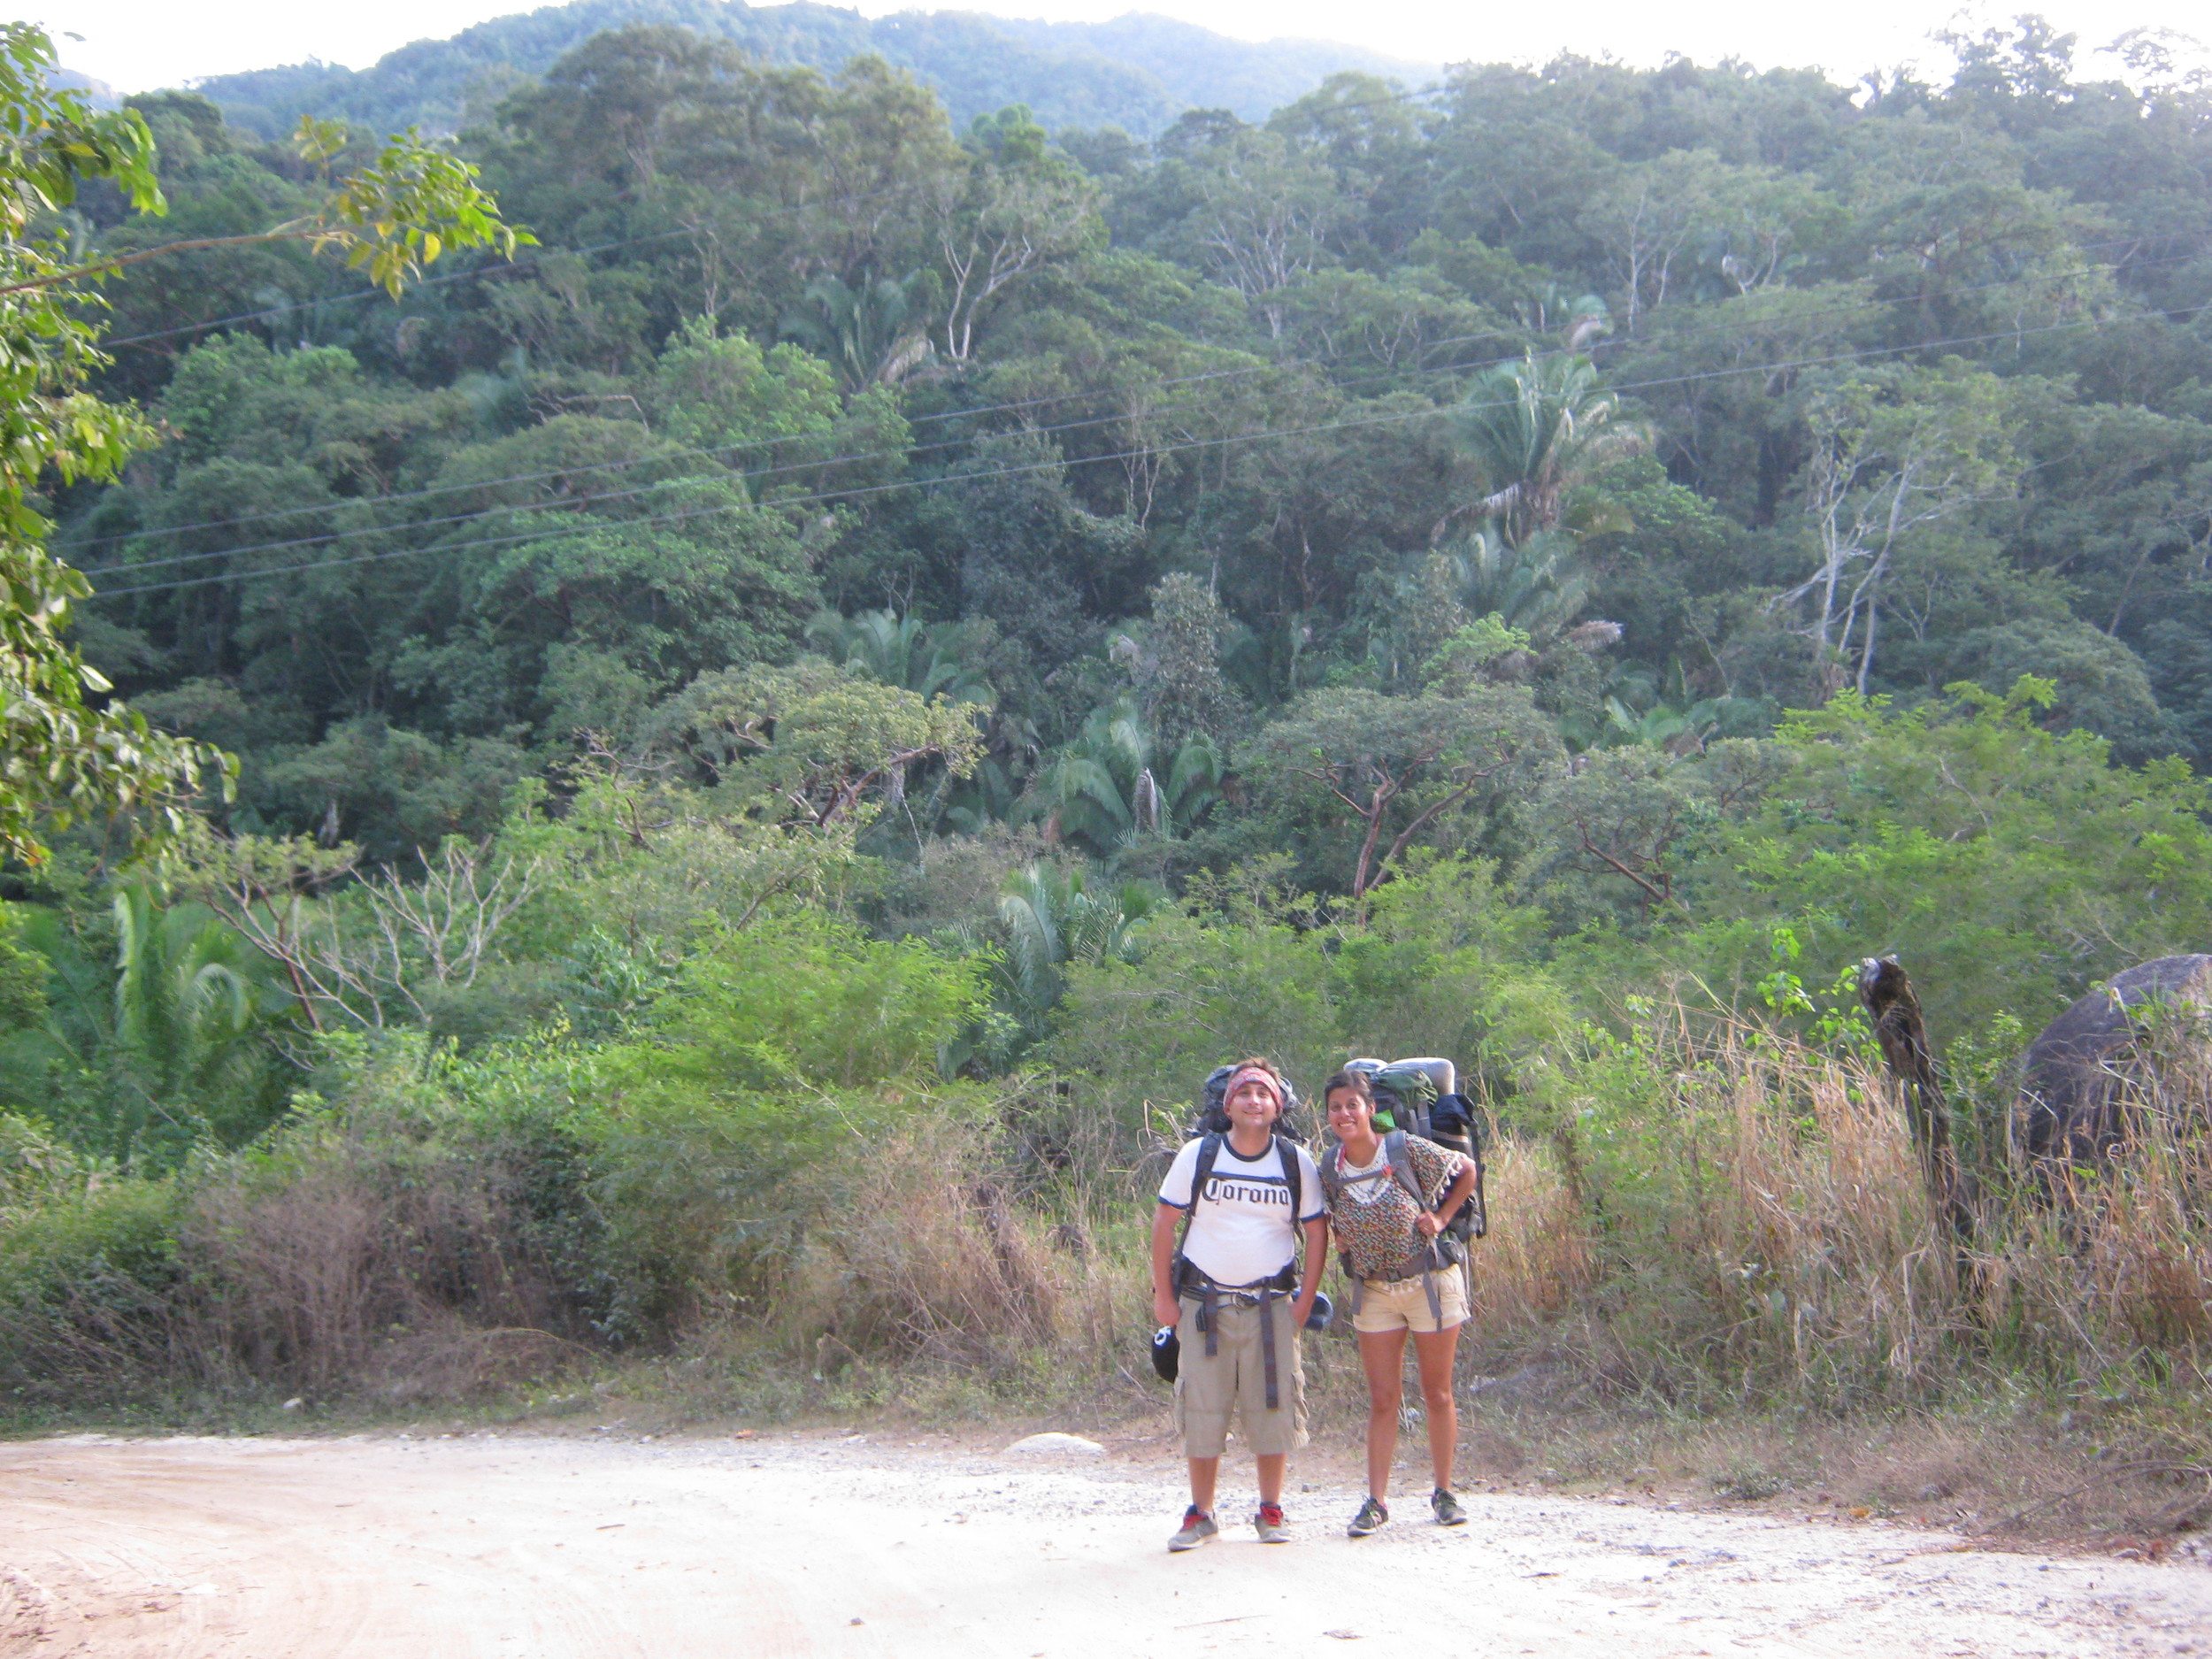
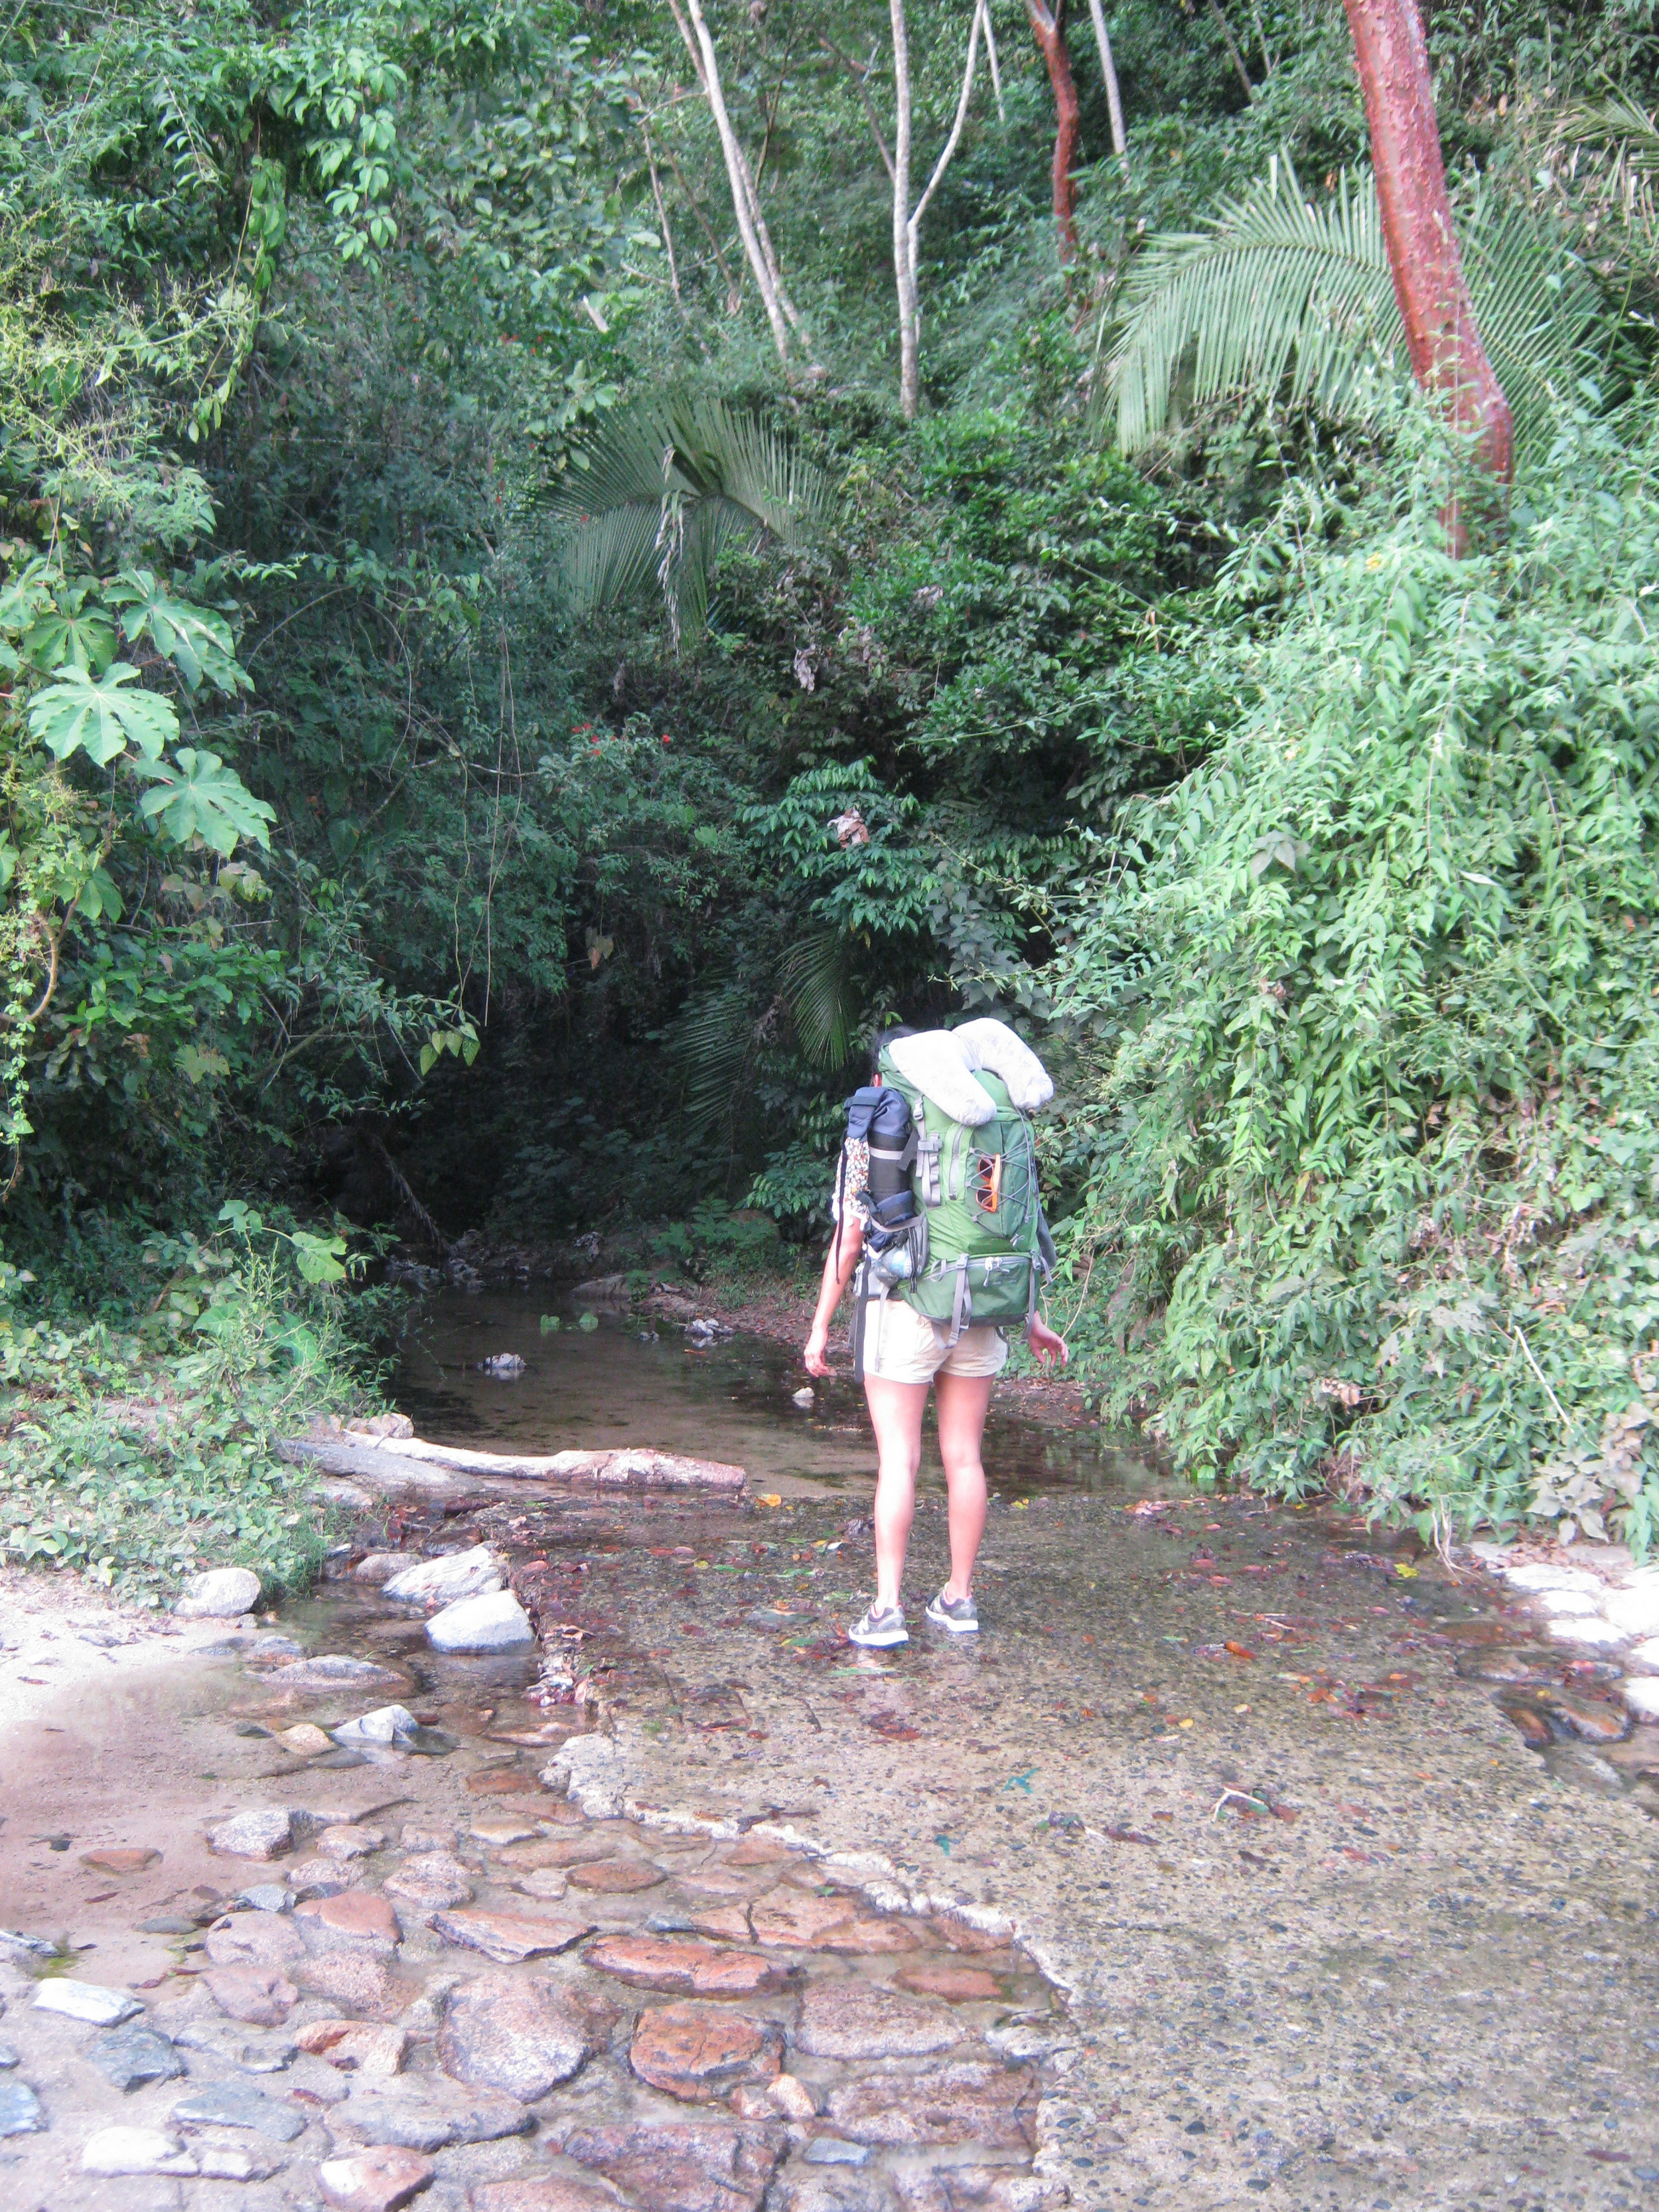
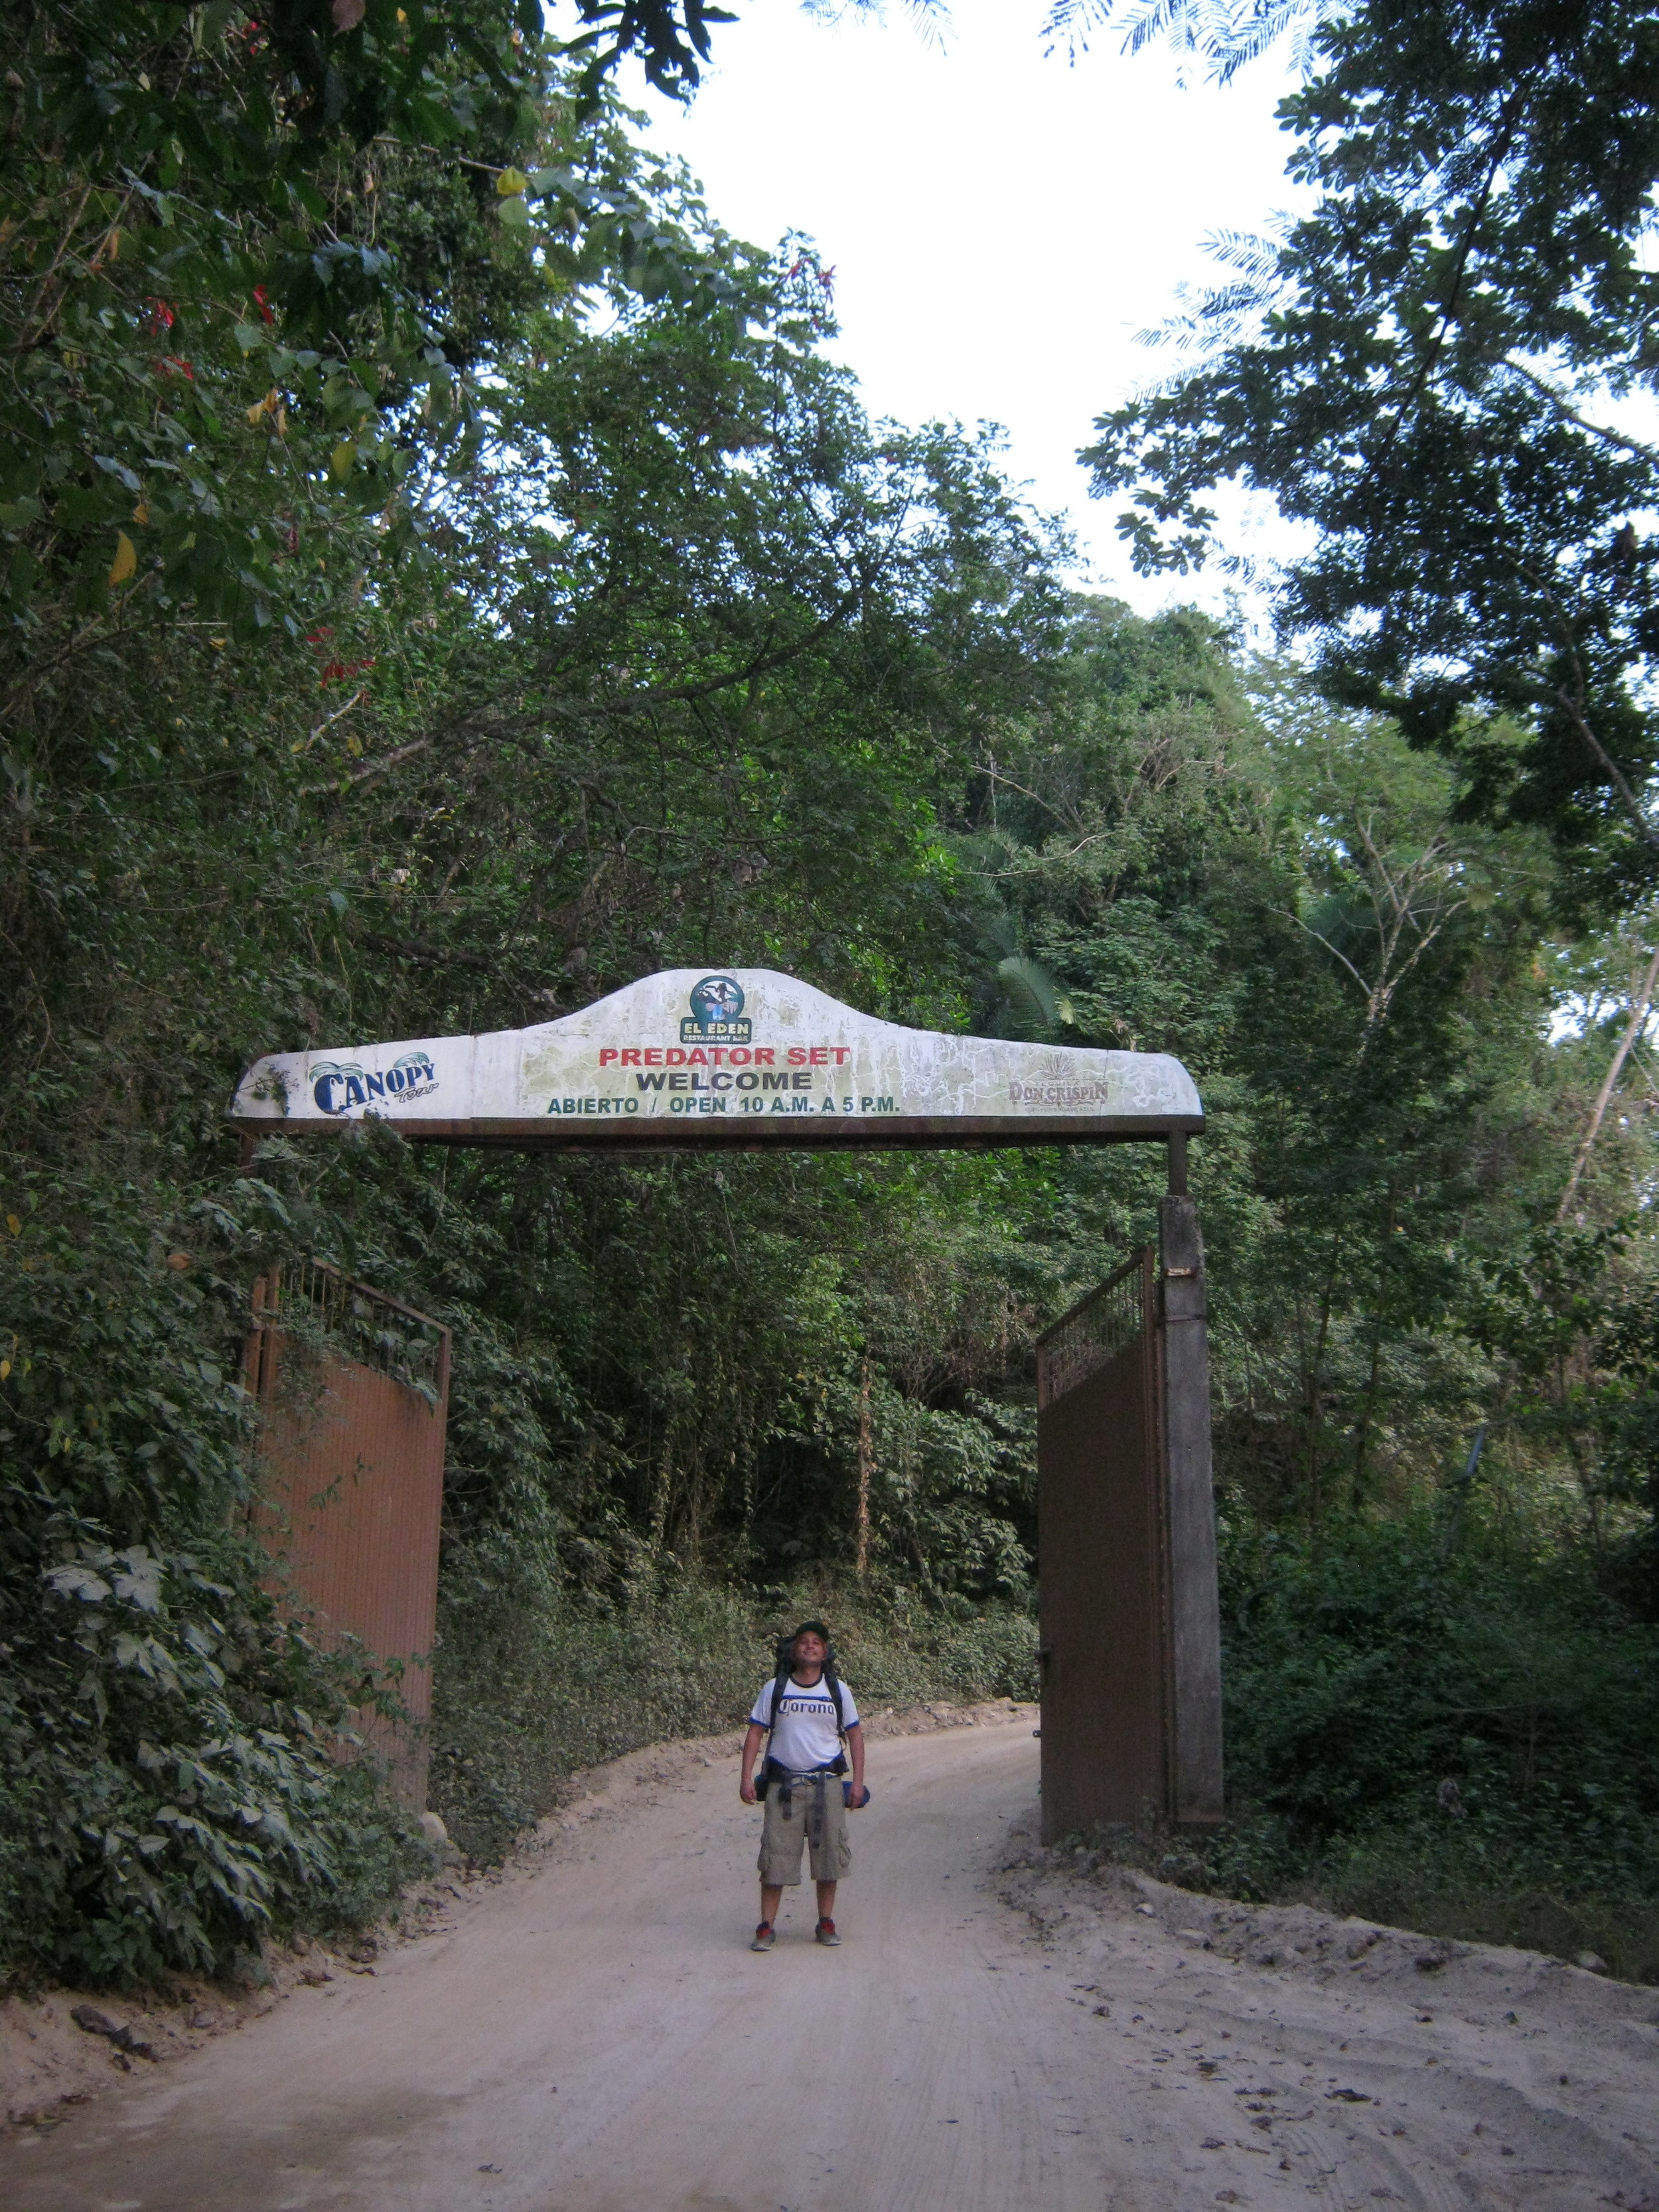
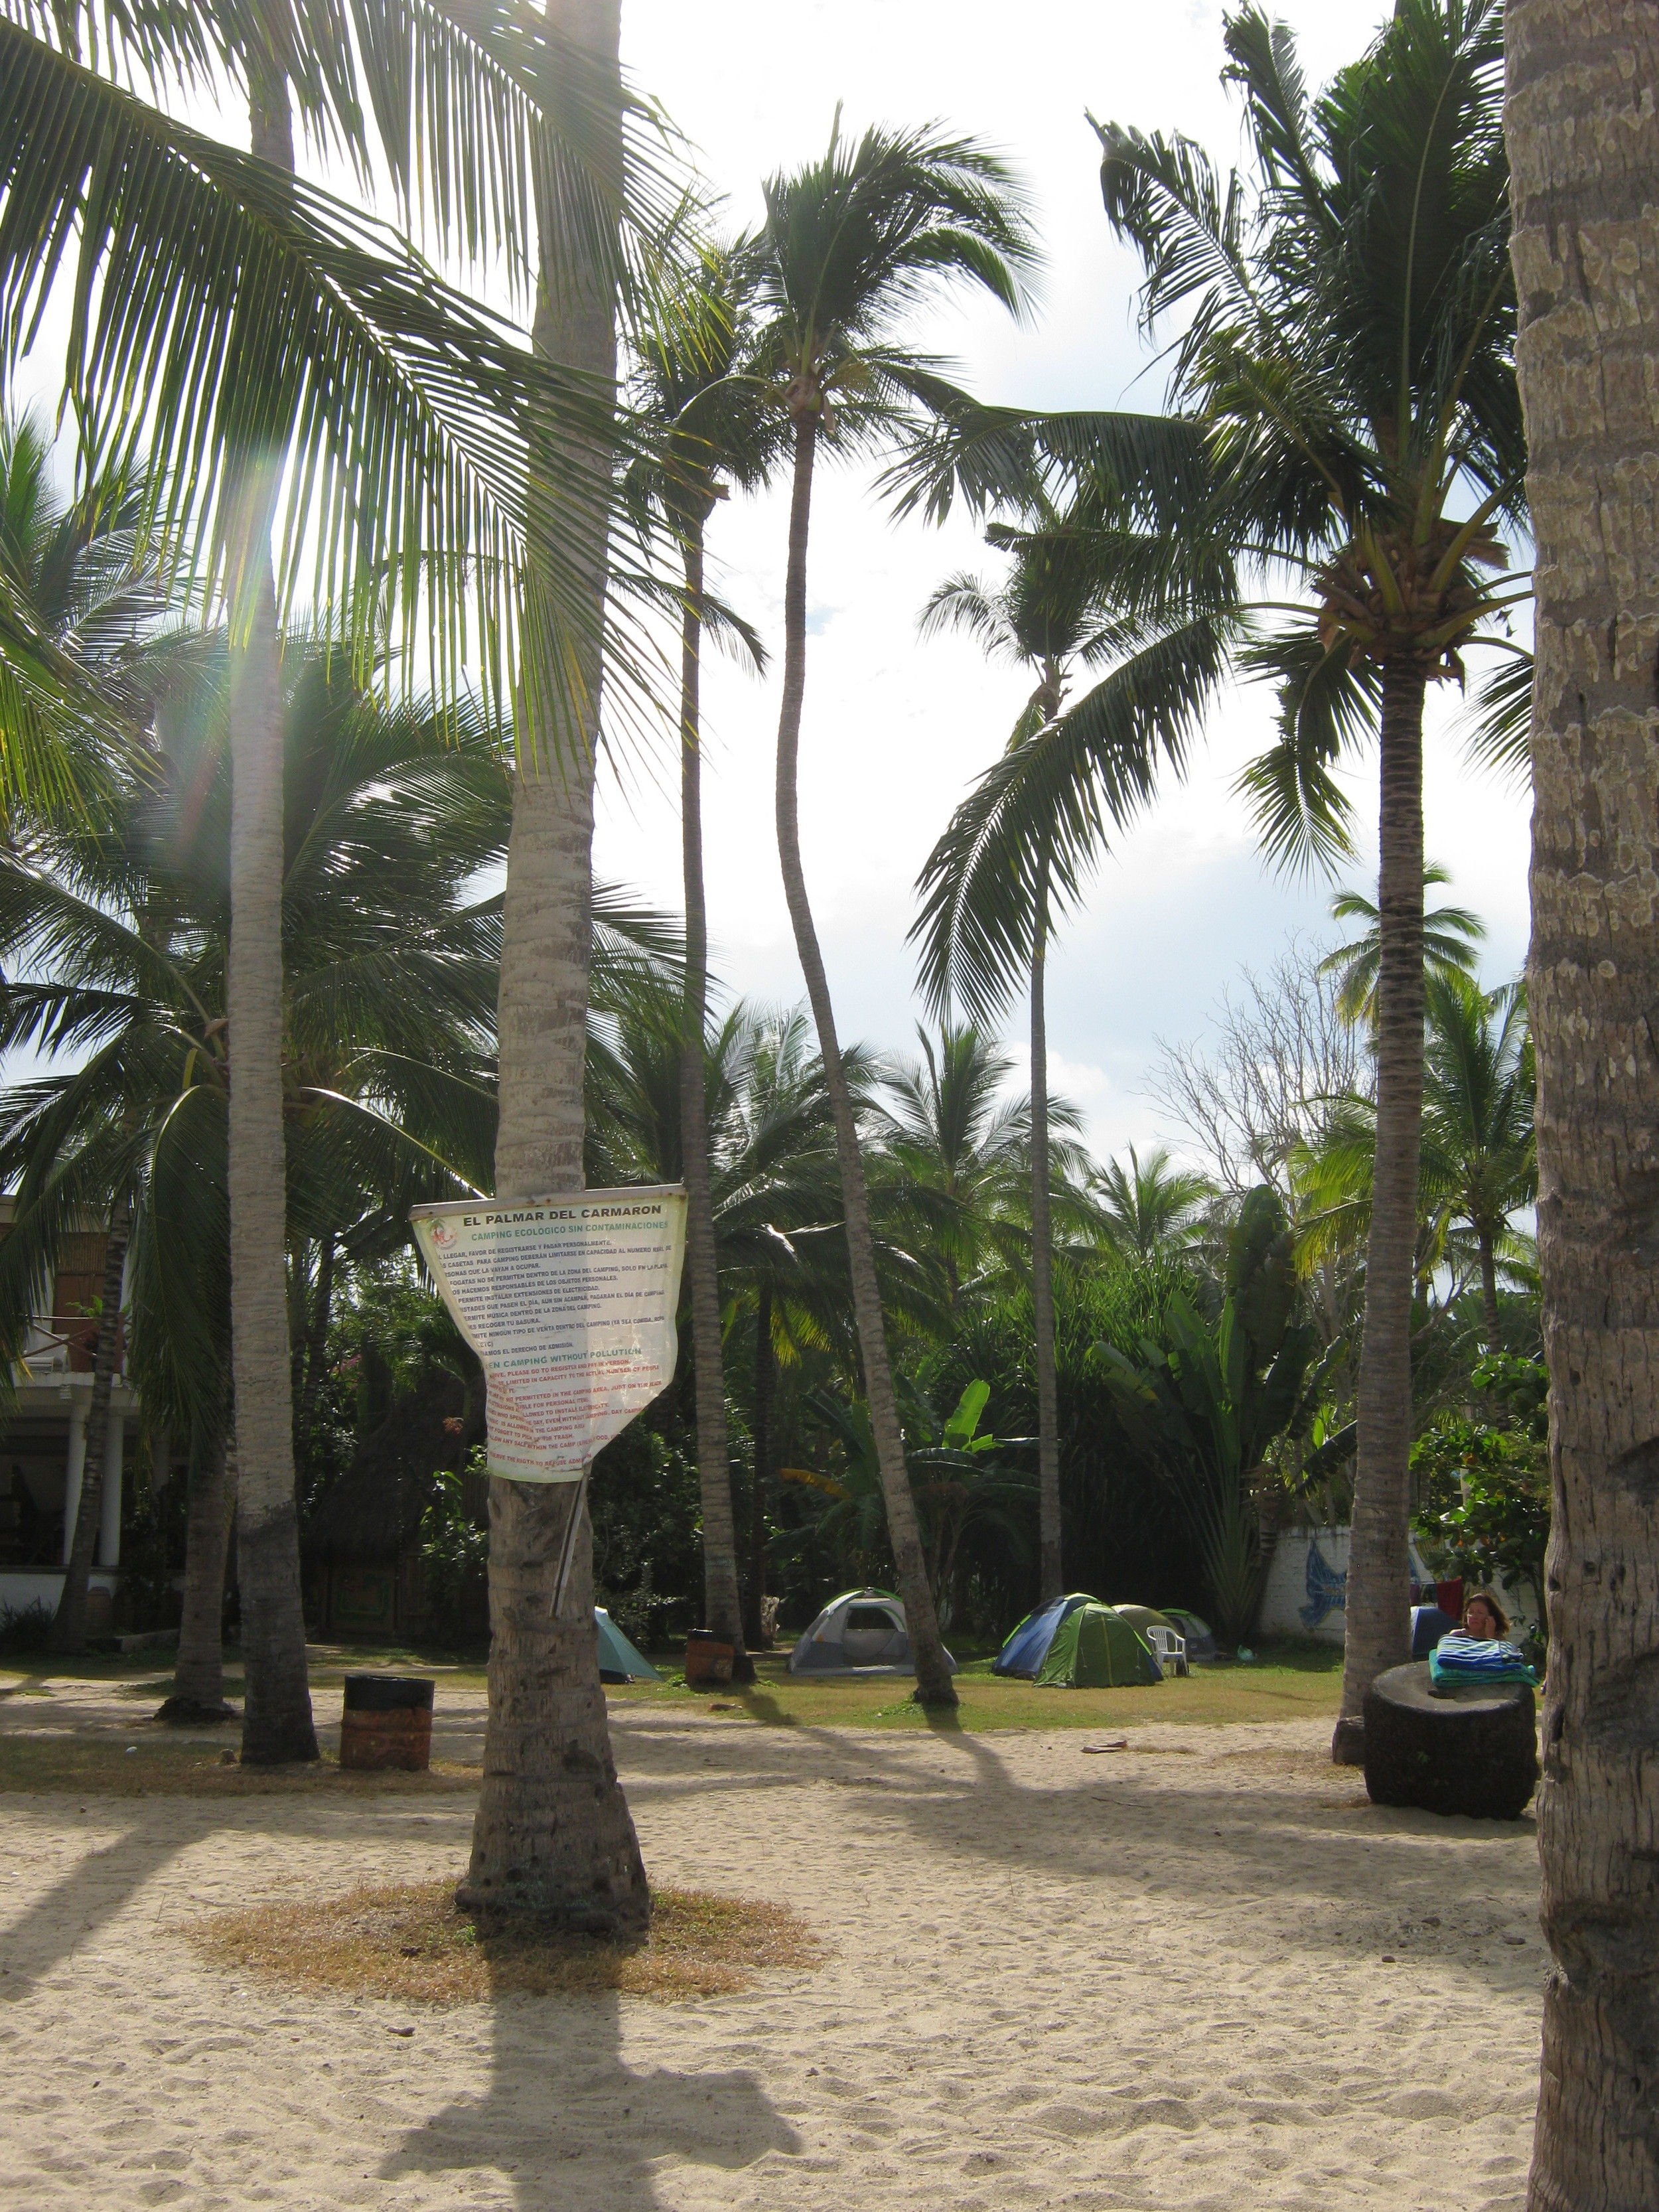
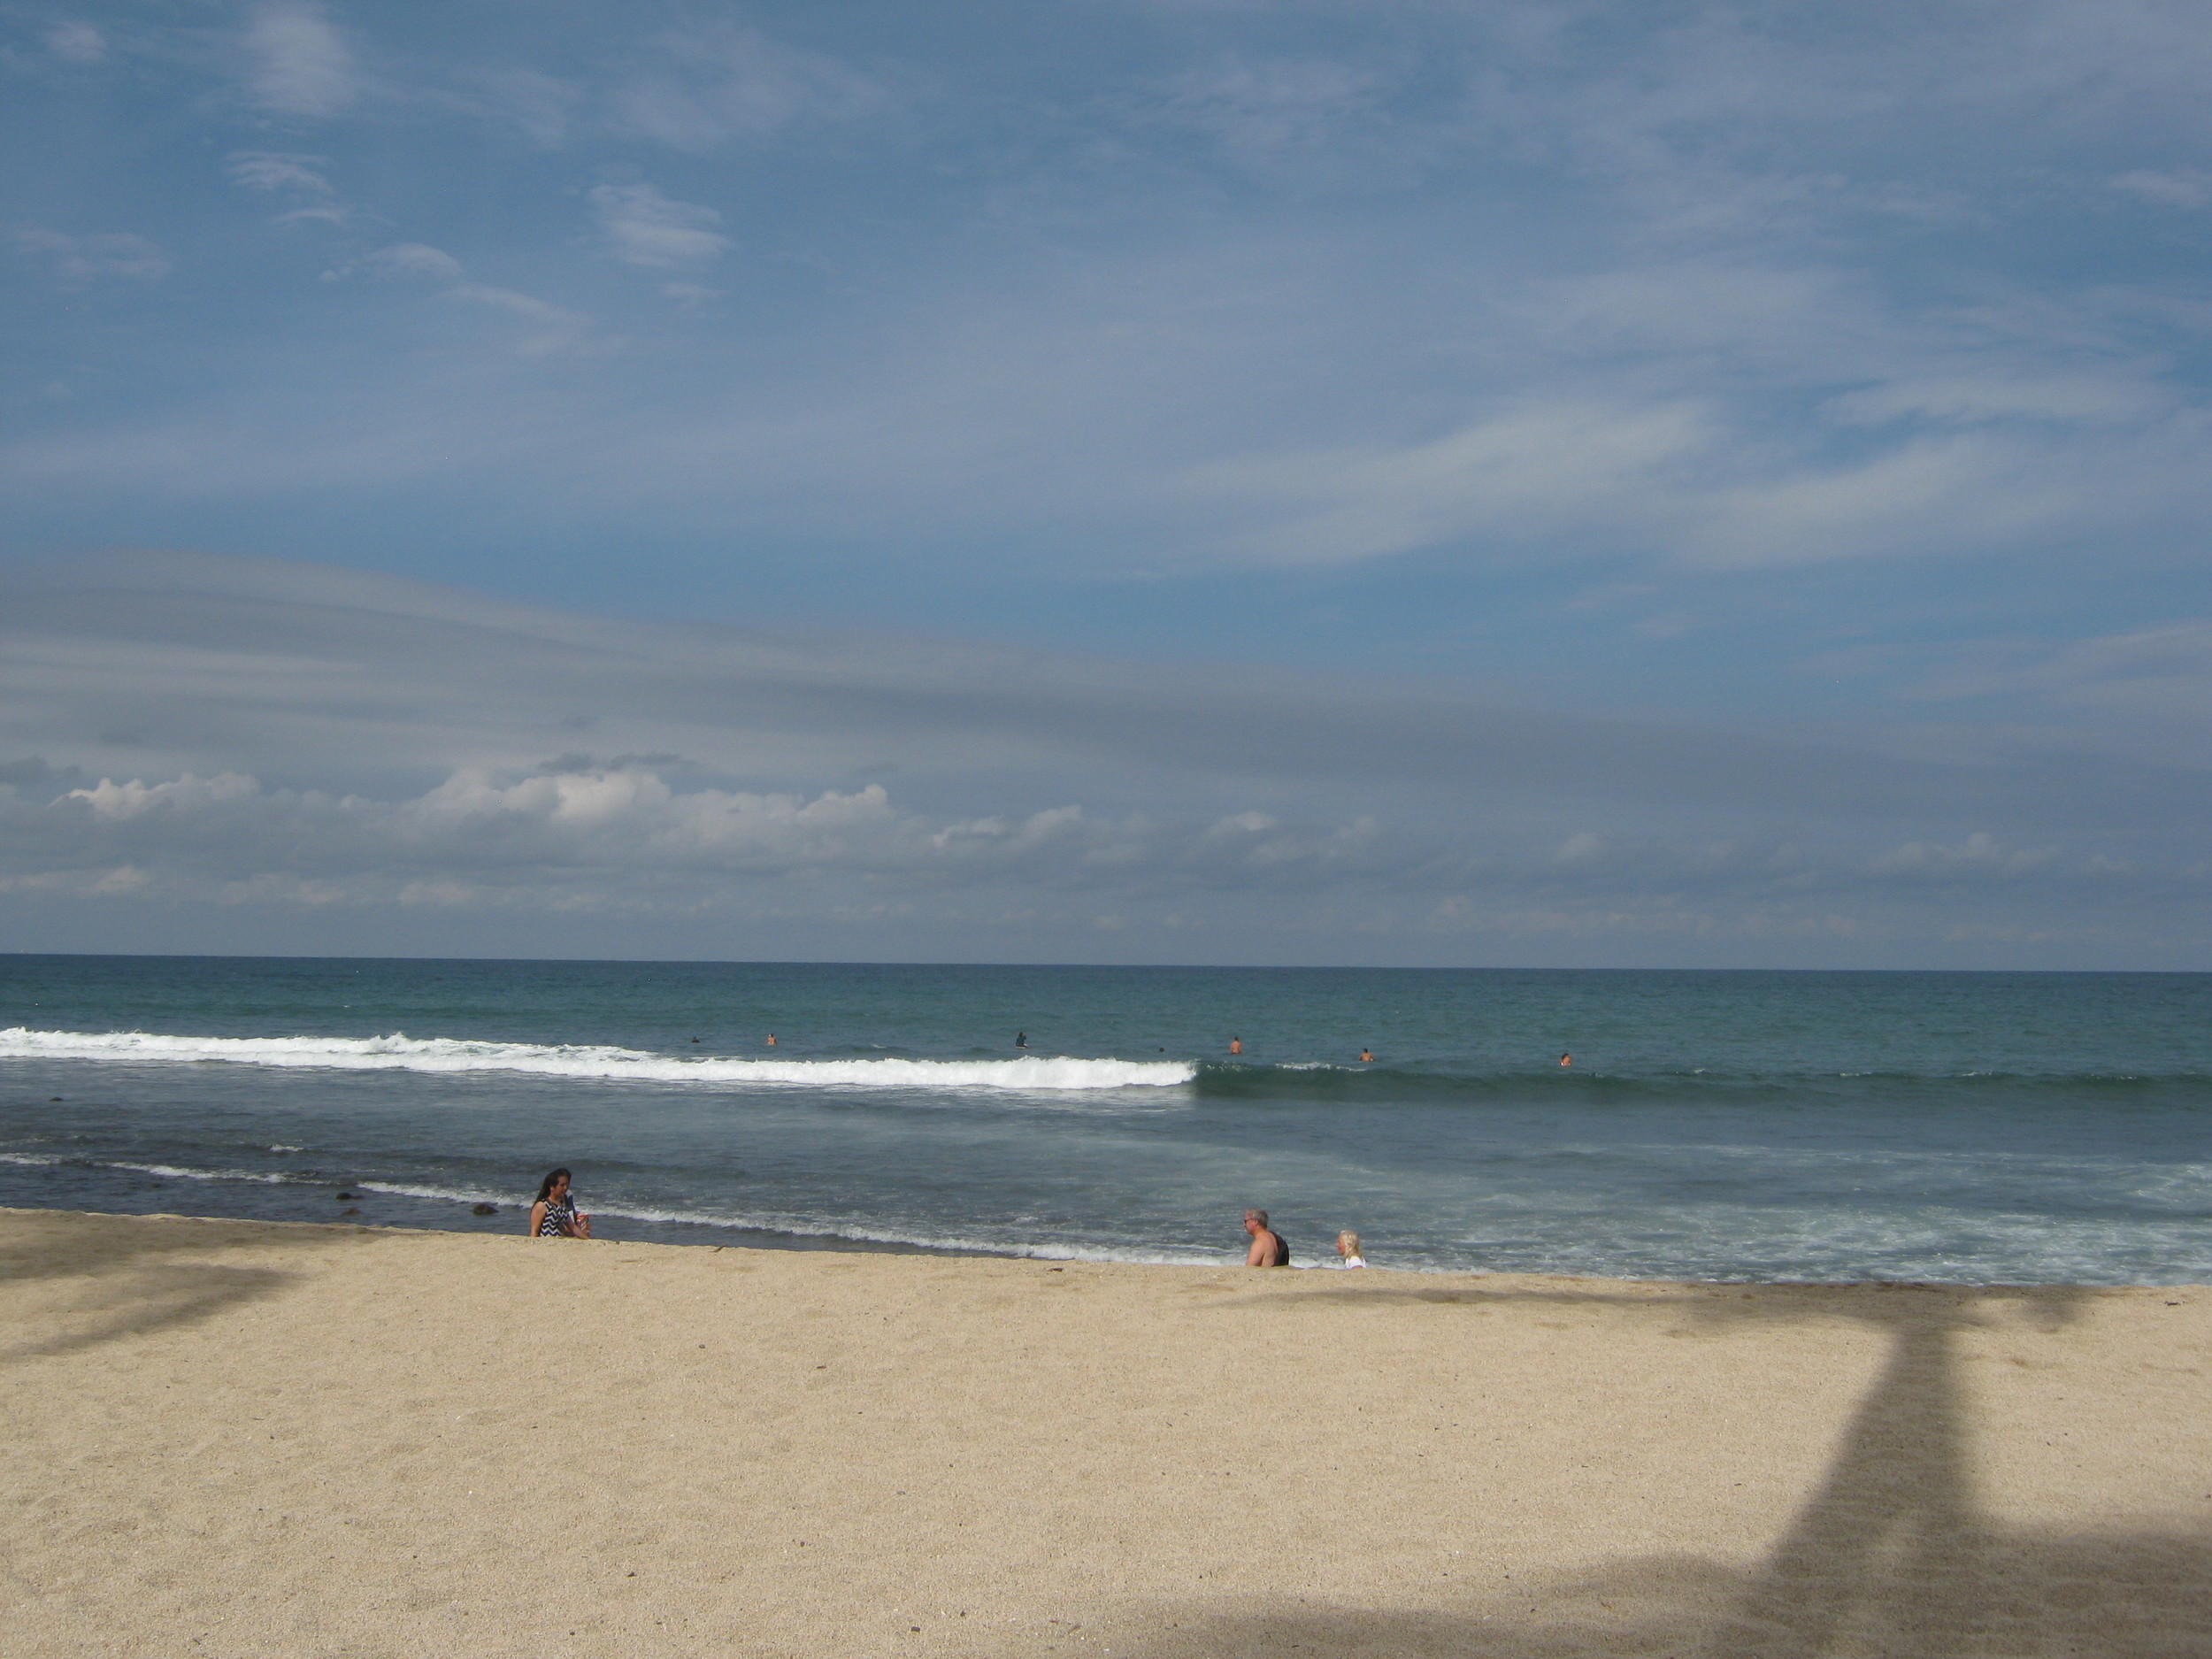
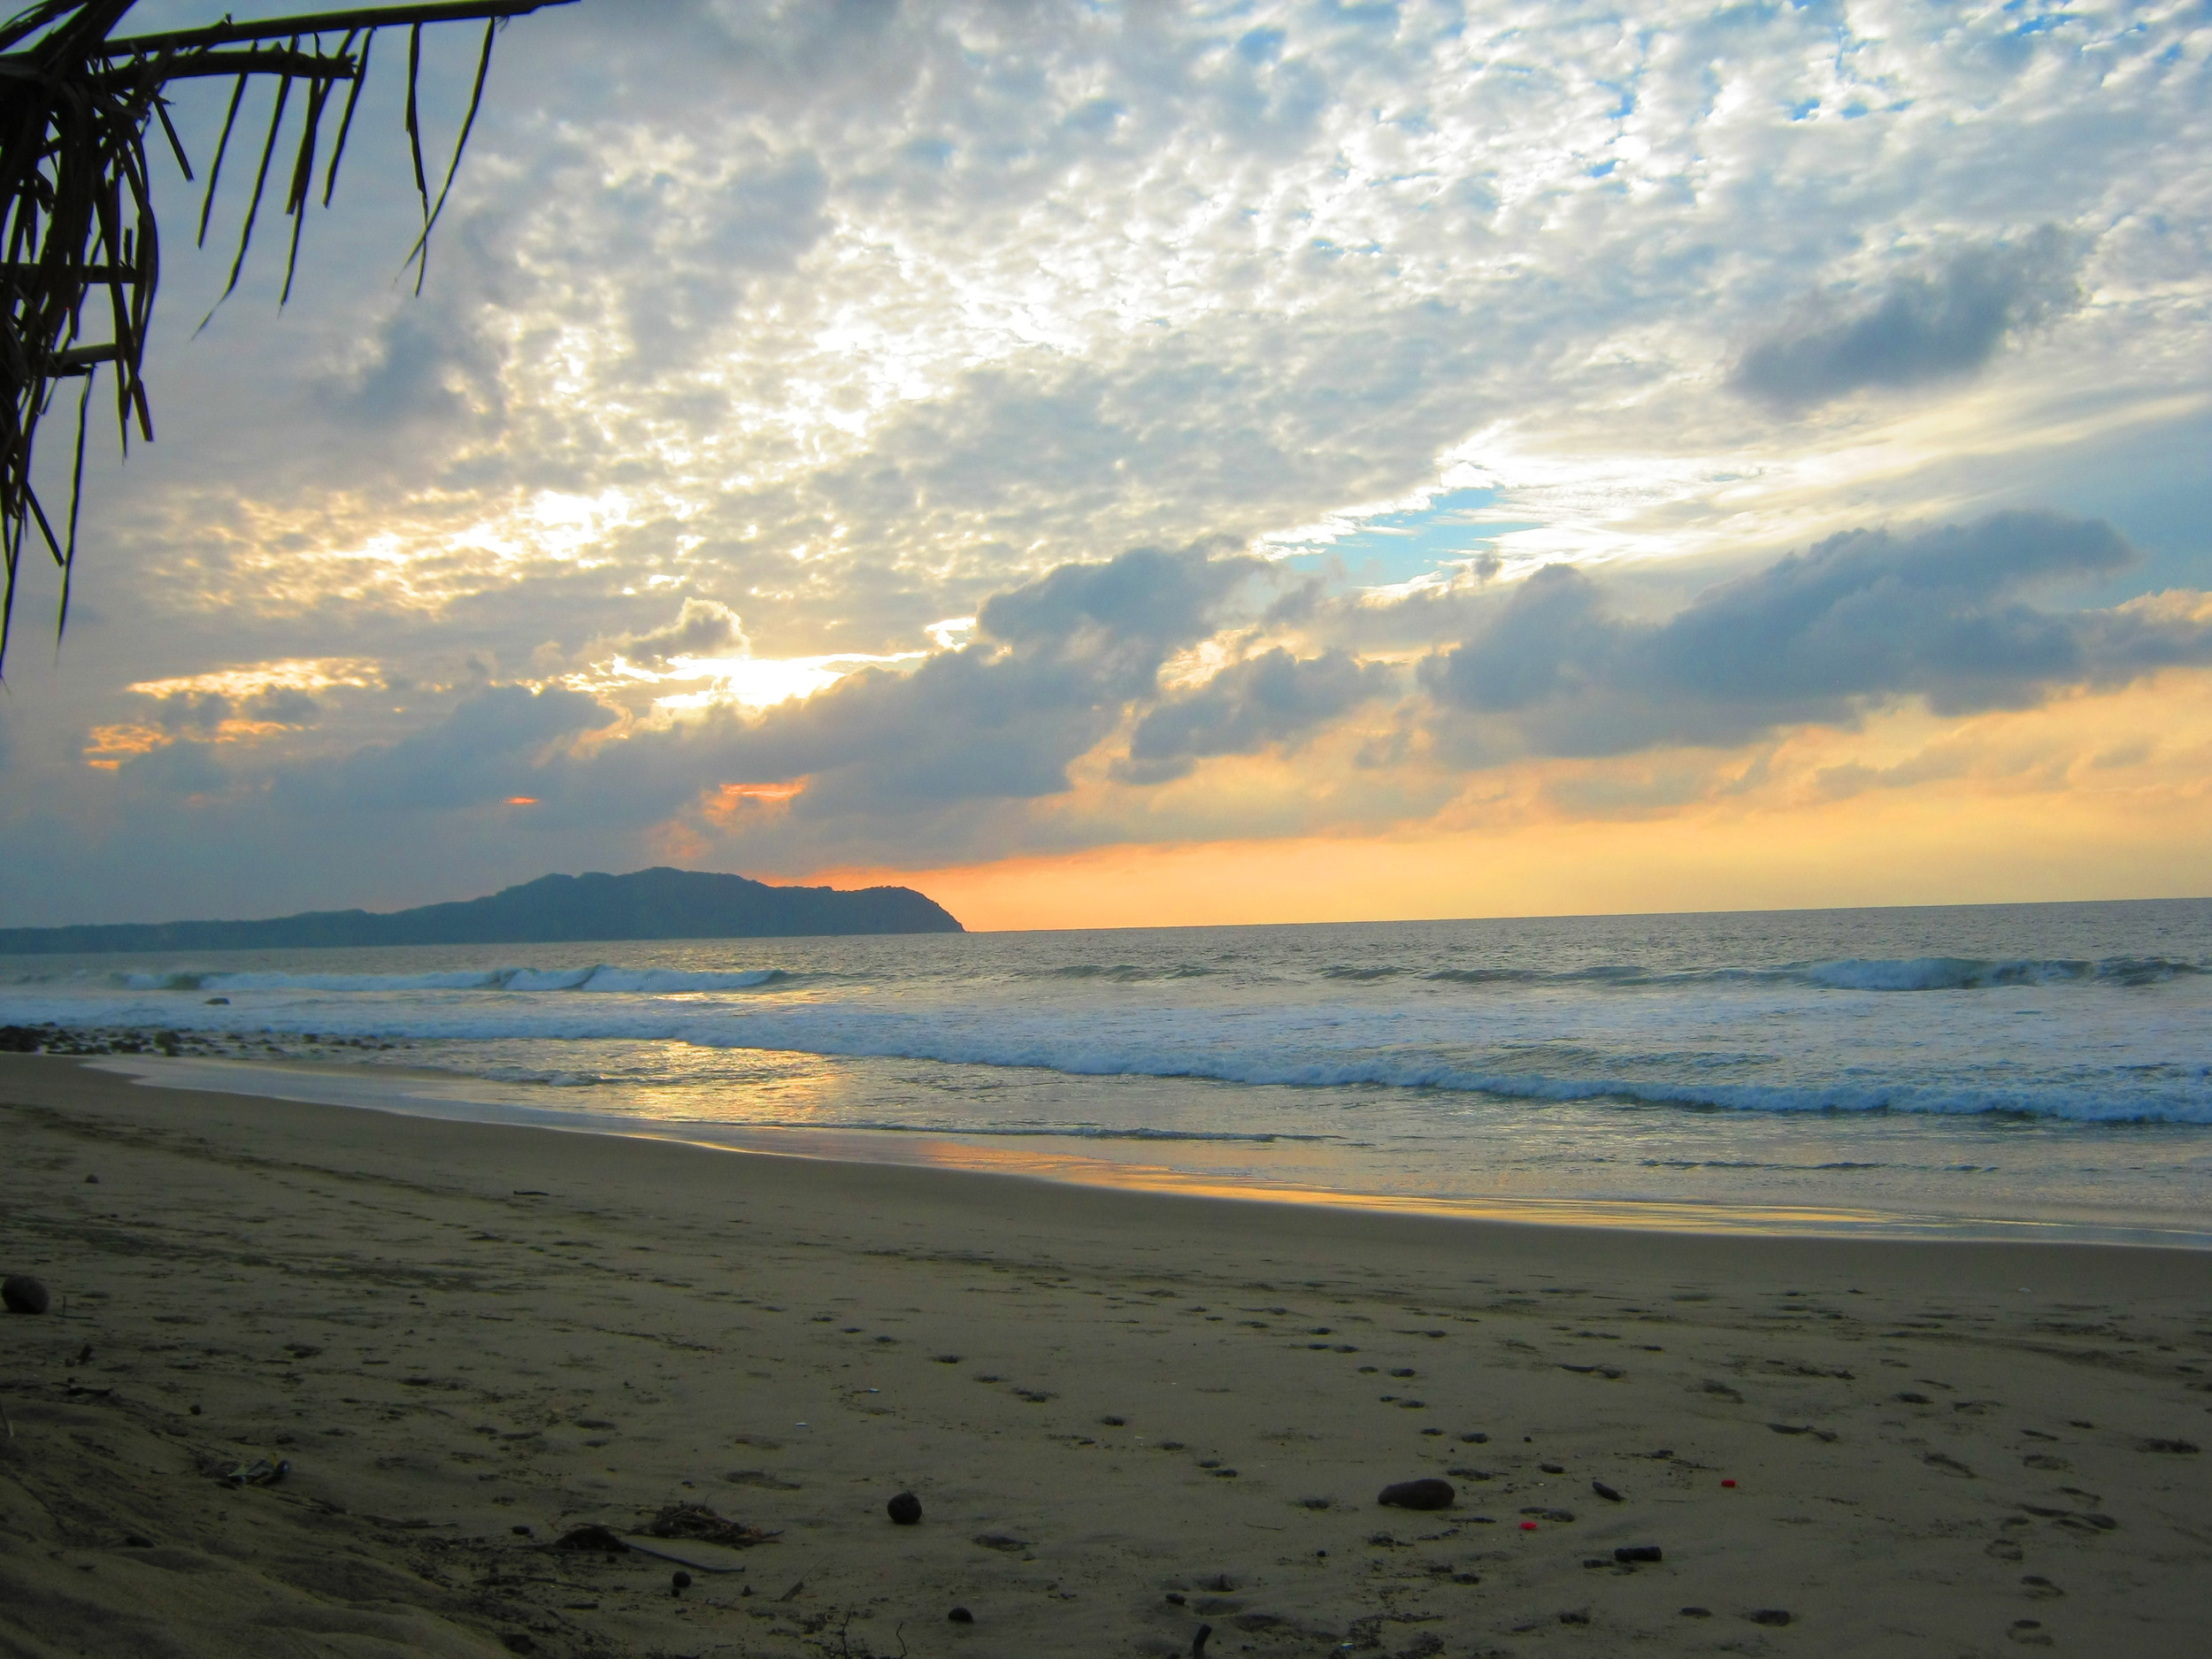
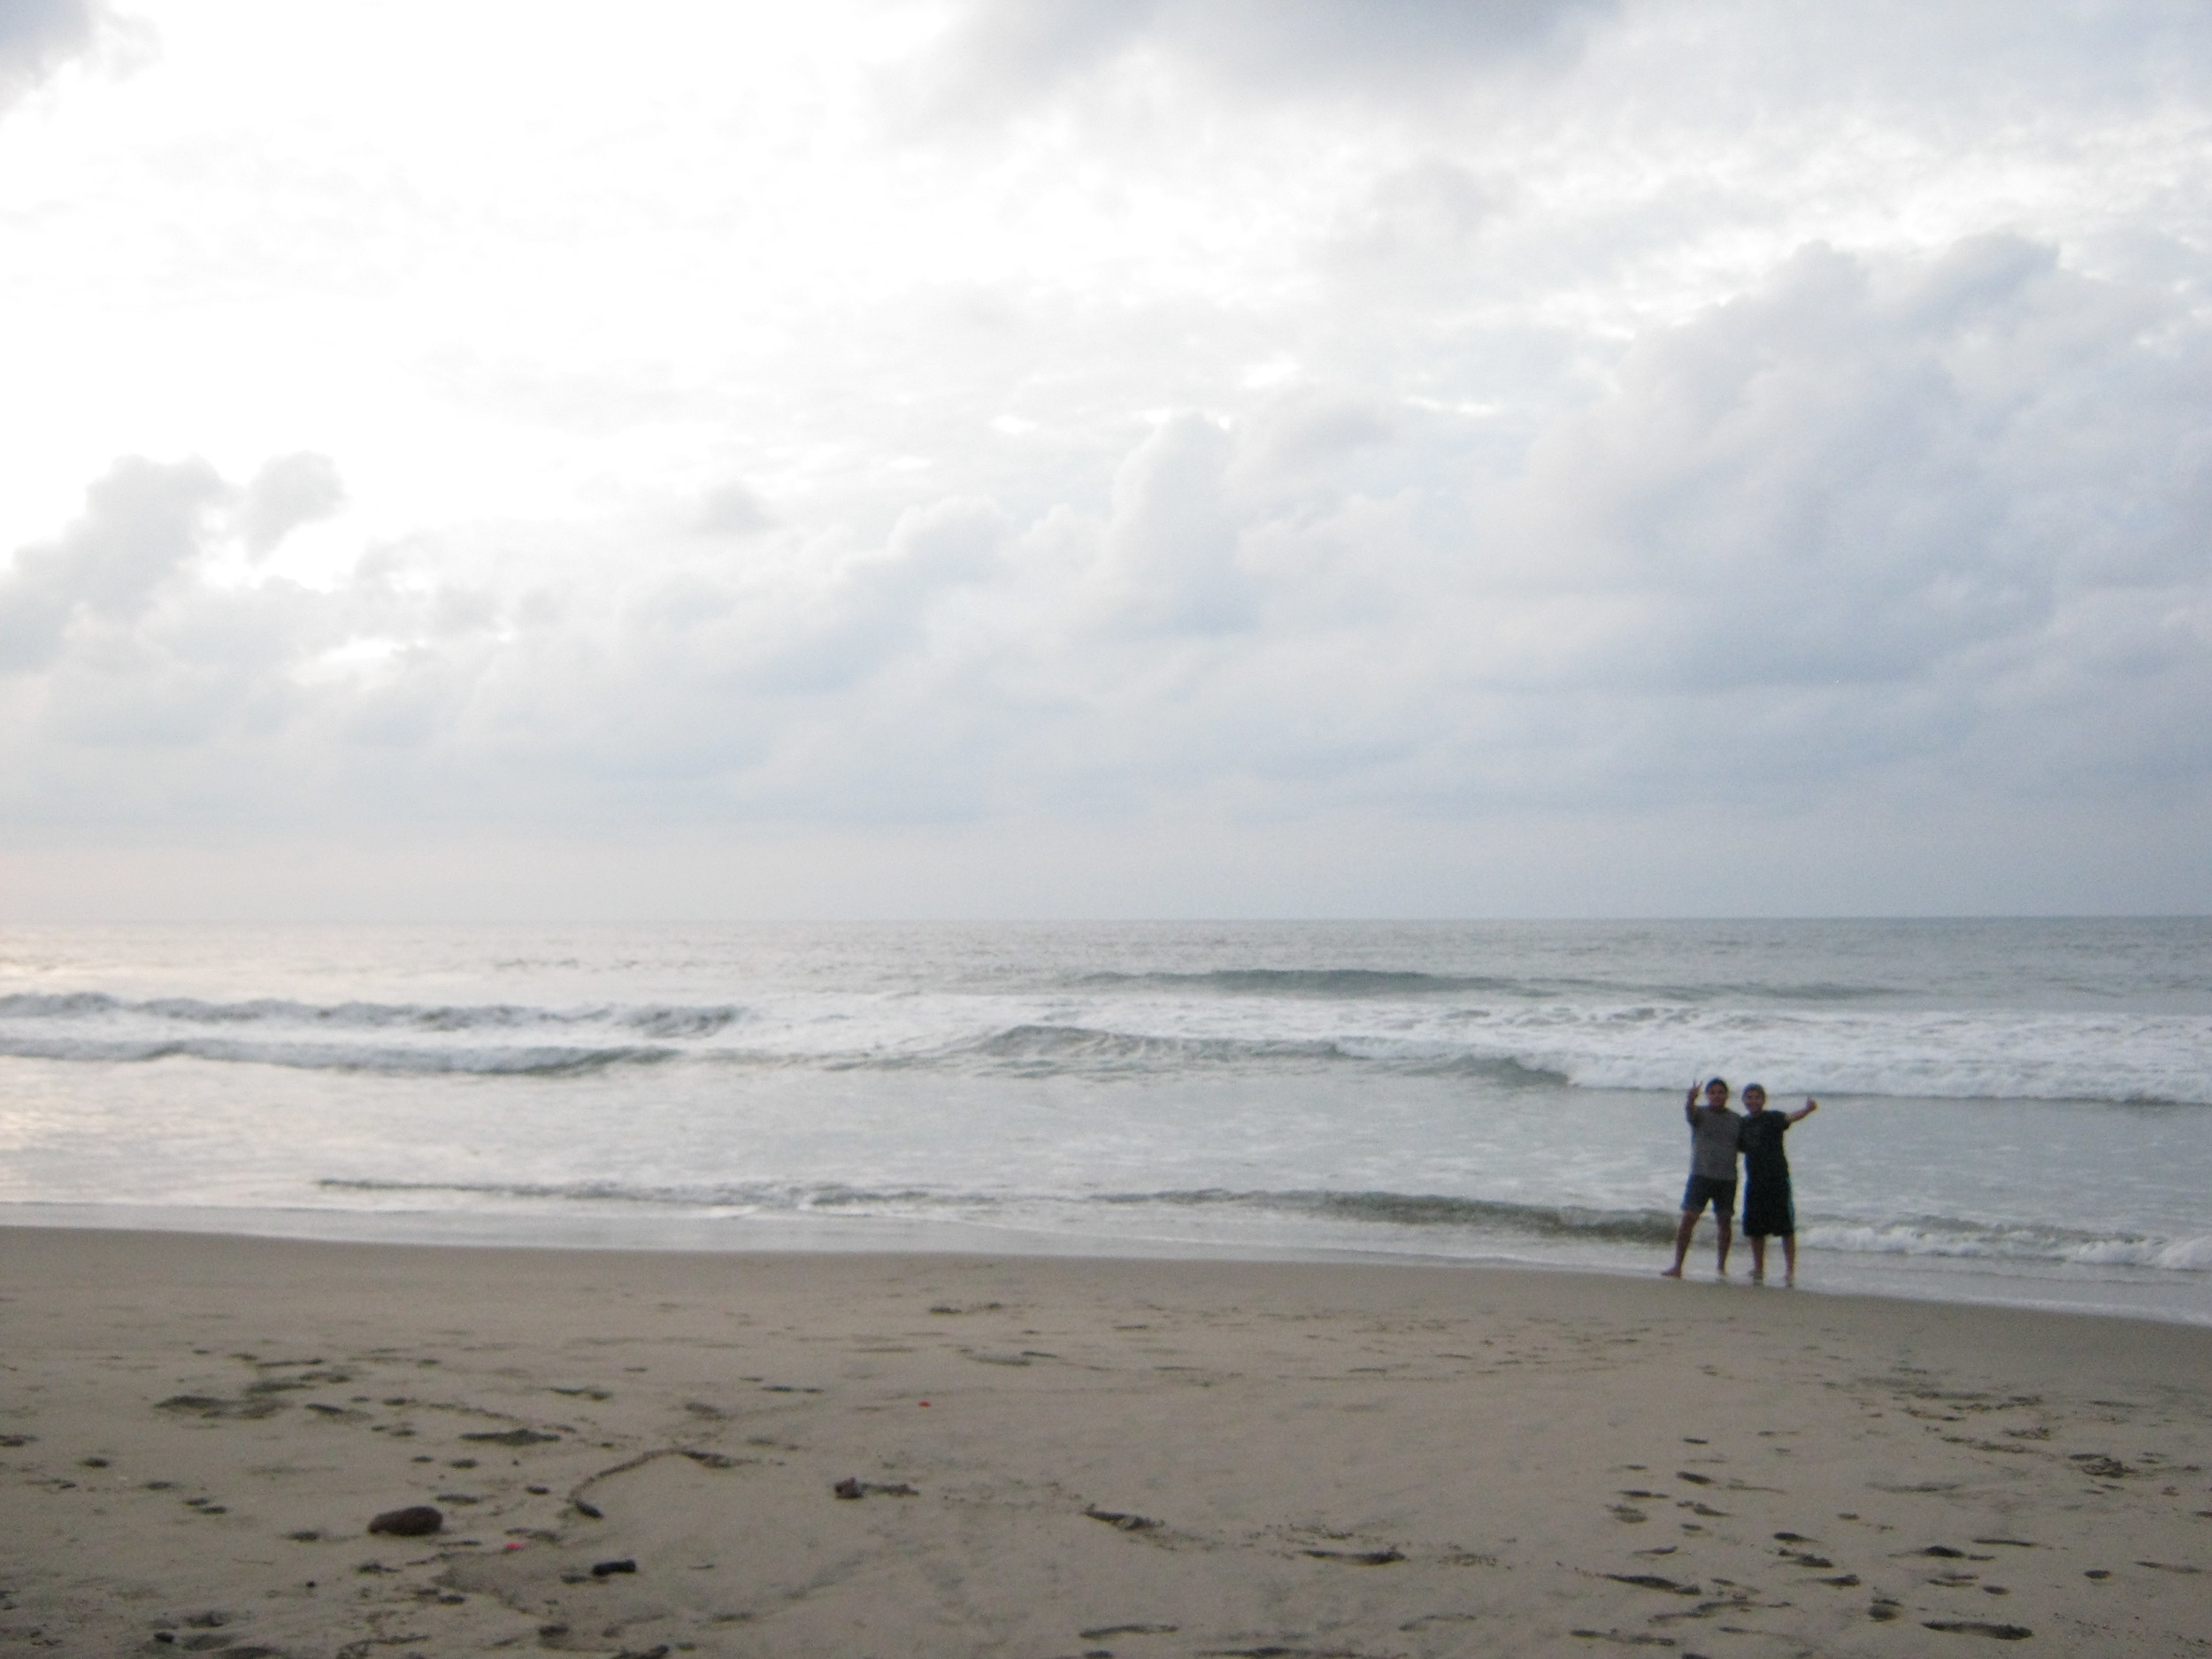
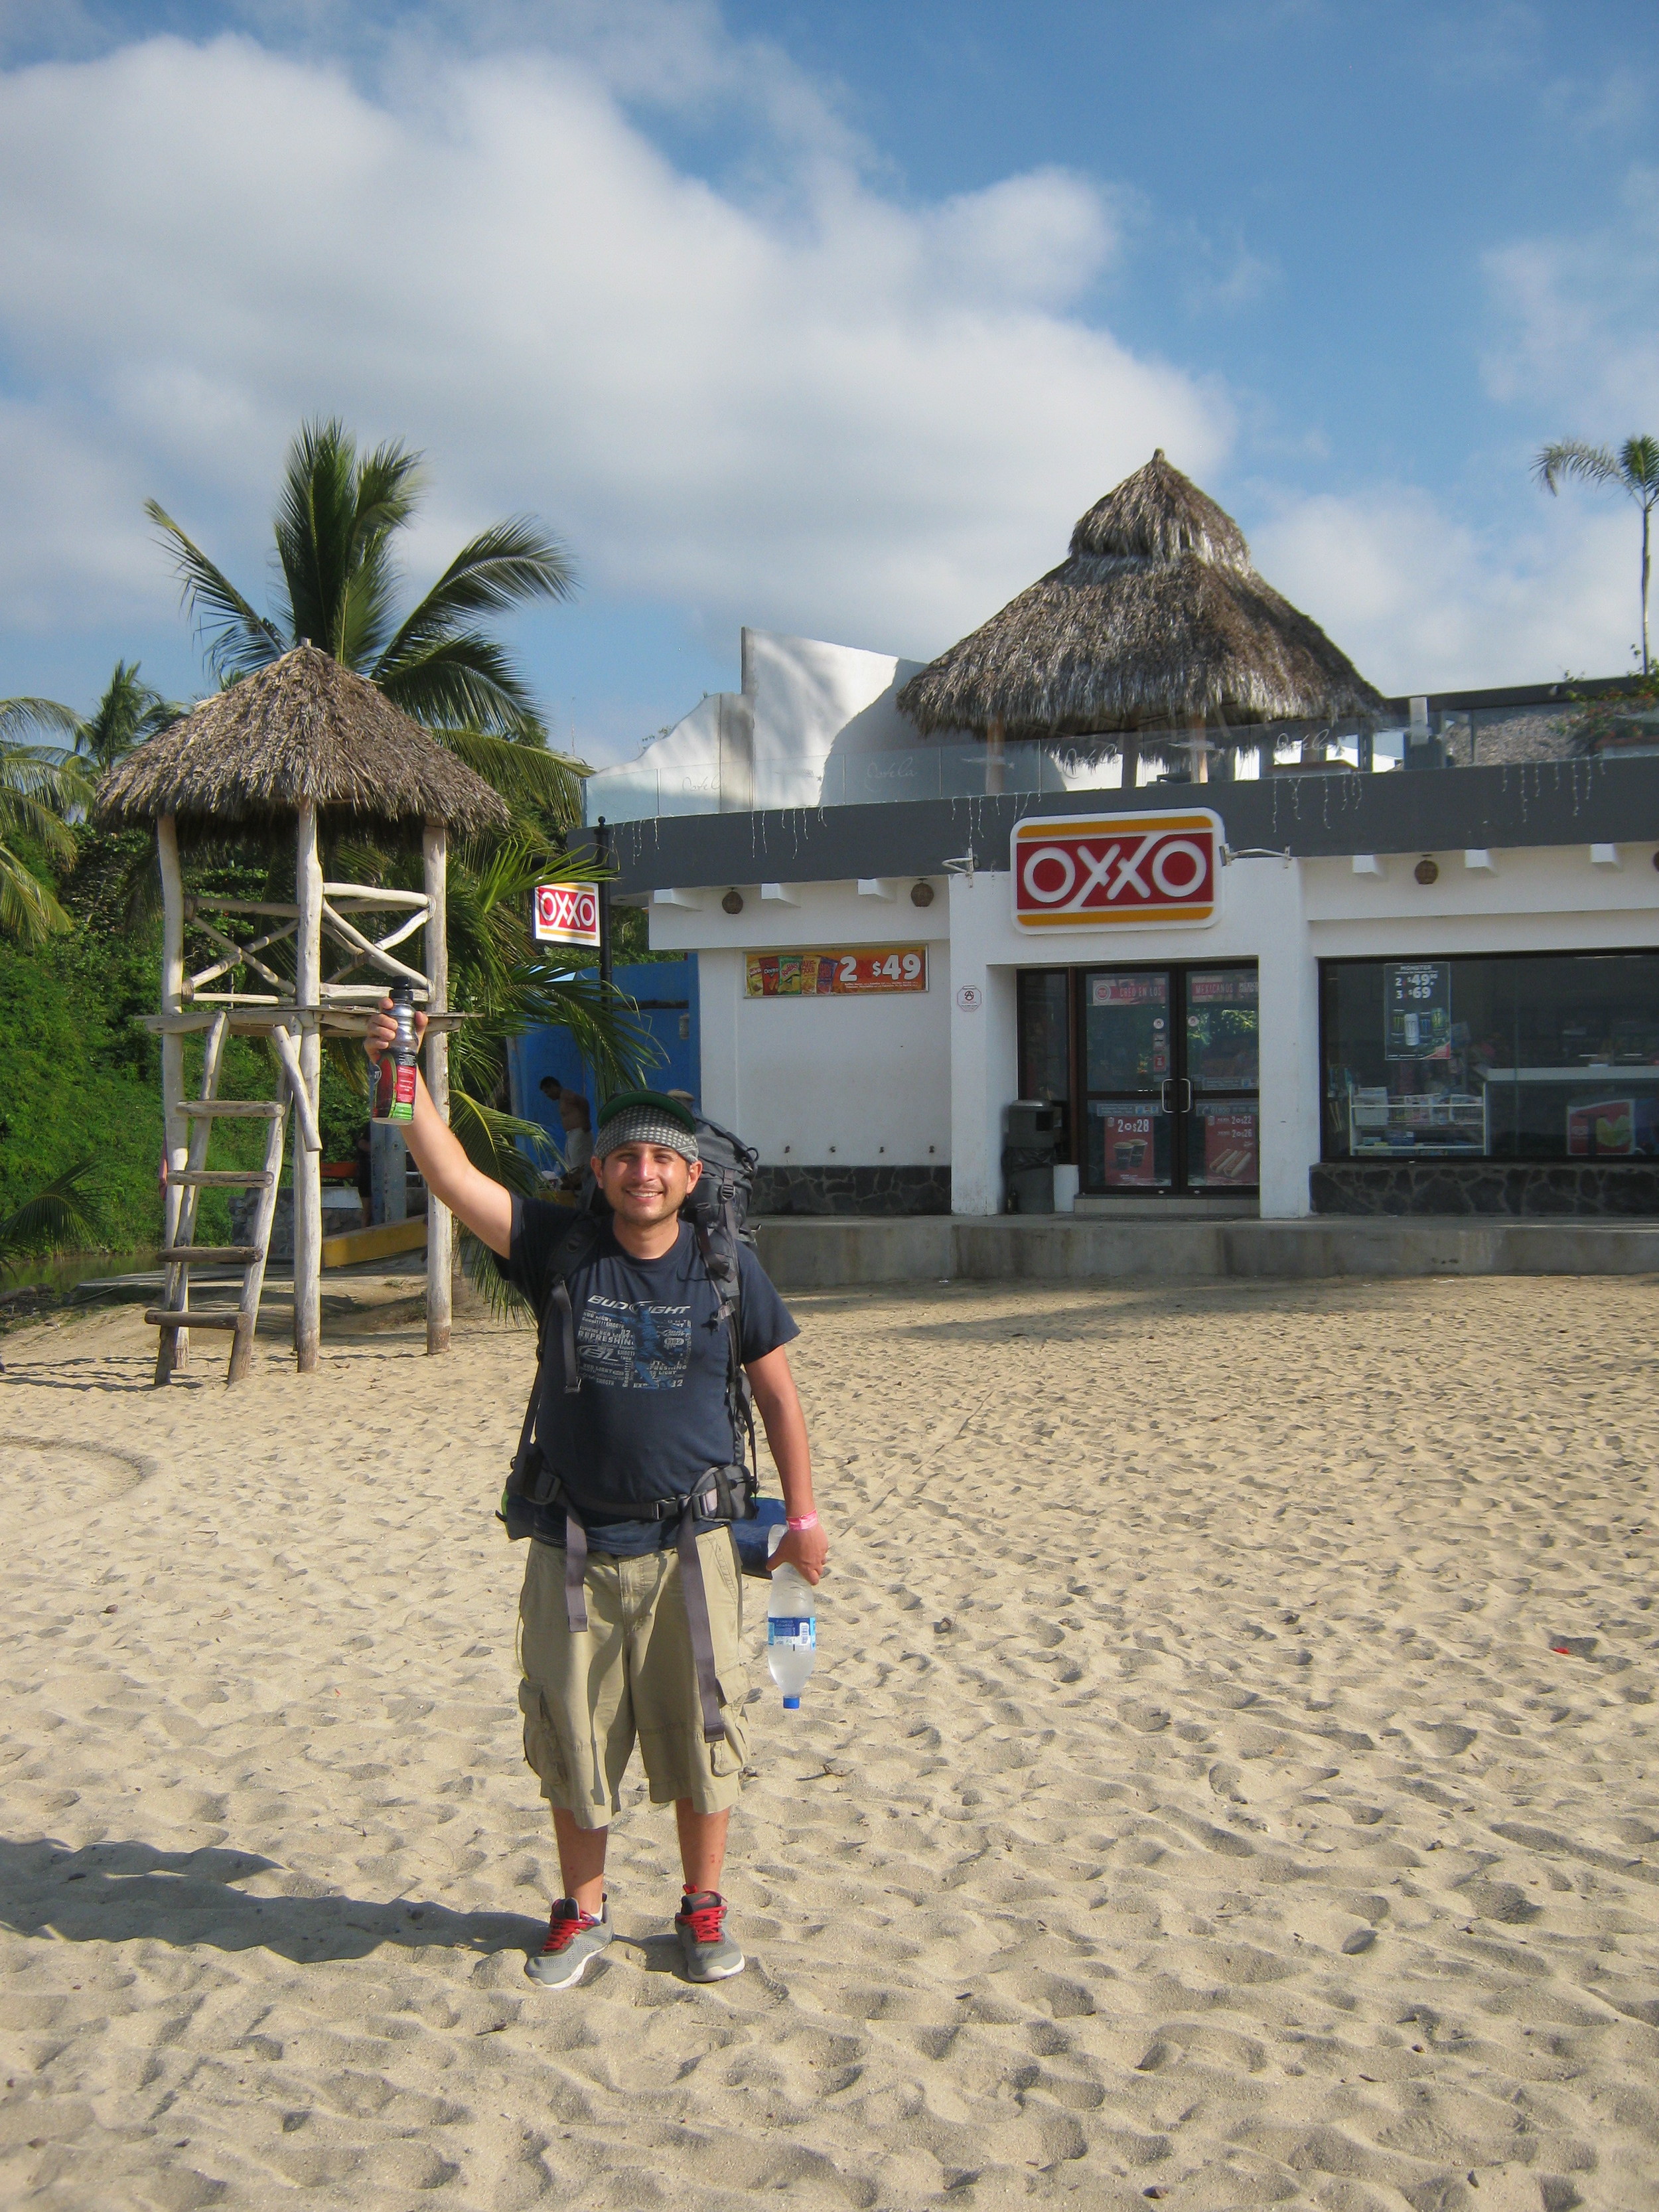
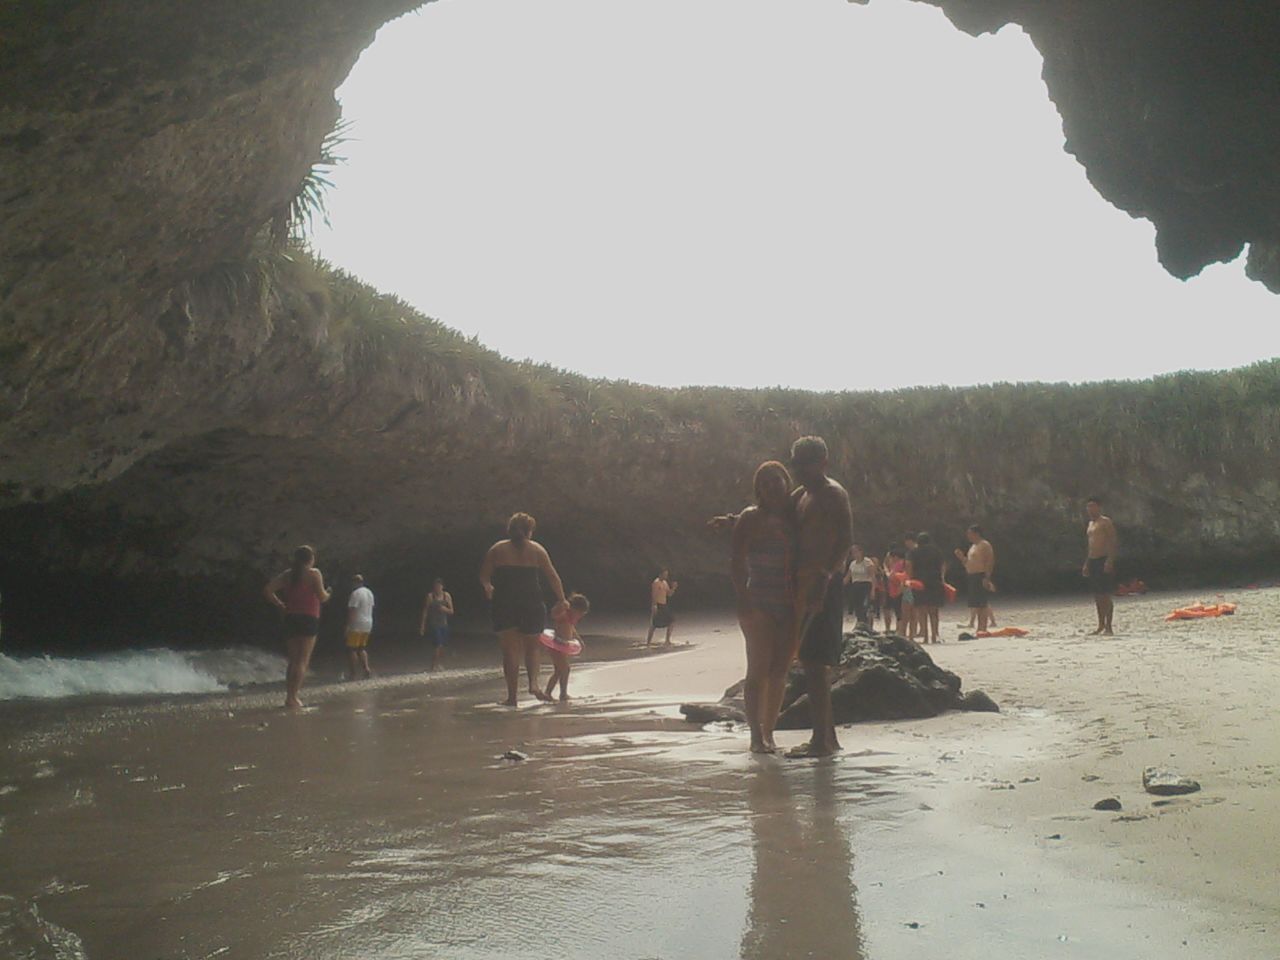
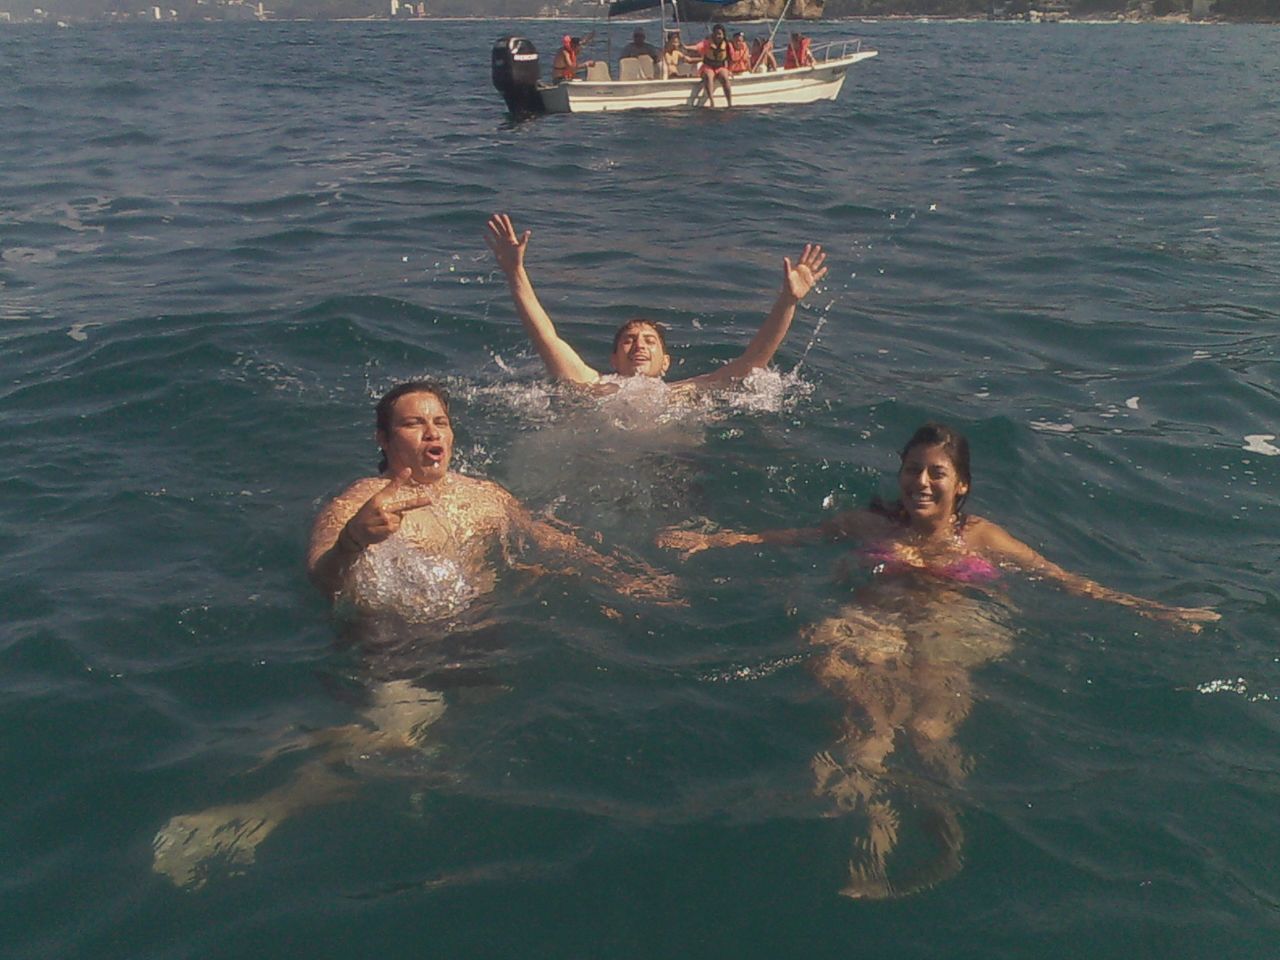
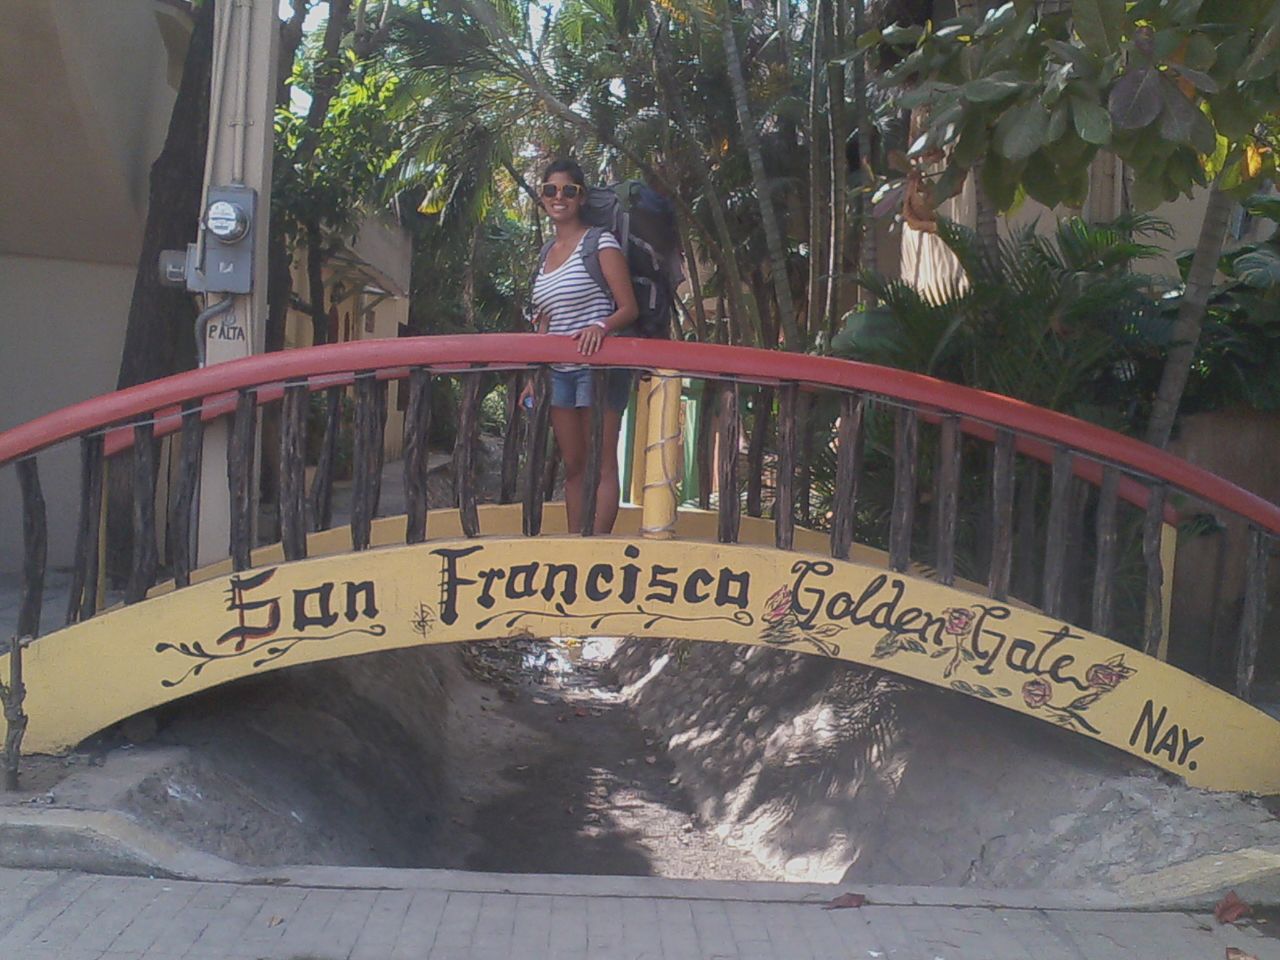
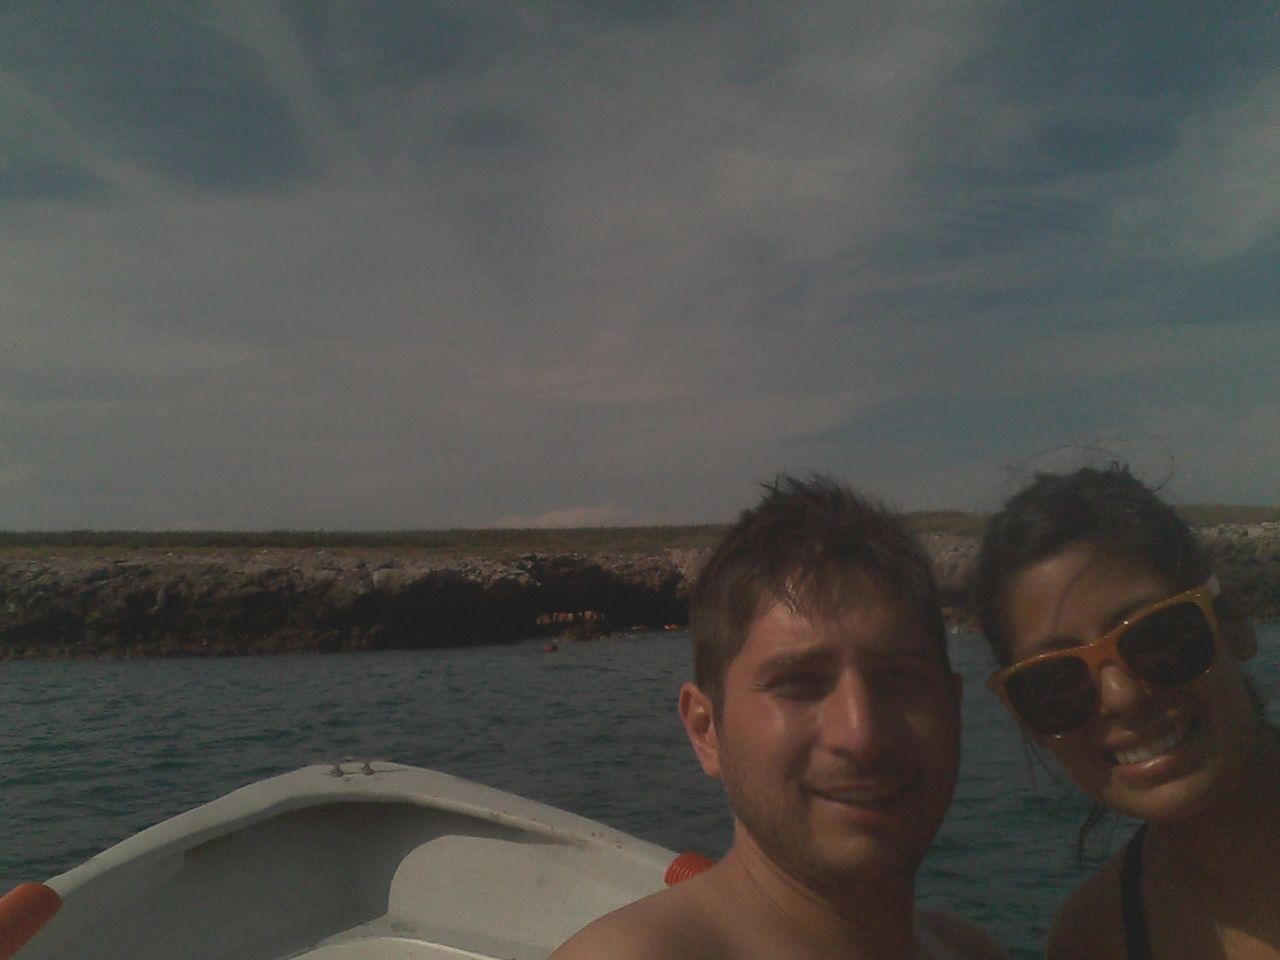
When we got married, we didn't have the time to go on a honeymoon. So when Gaby + Fer booked us for their wedding in Puerto Vallarta, we decided to extend the trip a week and finally have a honeymoon. My husband and I love to backpack and camp and thanks to my awesome dad, who is just like us, got us these amazing backpacks. We travelled through the entire Bahia de Banderas in the Puerto Vallarta coast. We enjoyed summer weather, amazing warm waters, cool people, and got to see the famous Isla Marietas that's being posted all over Pinterest.
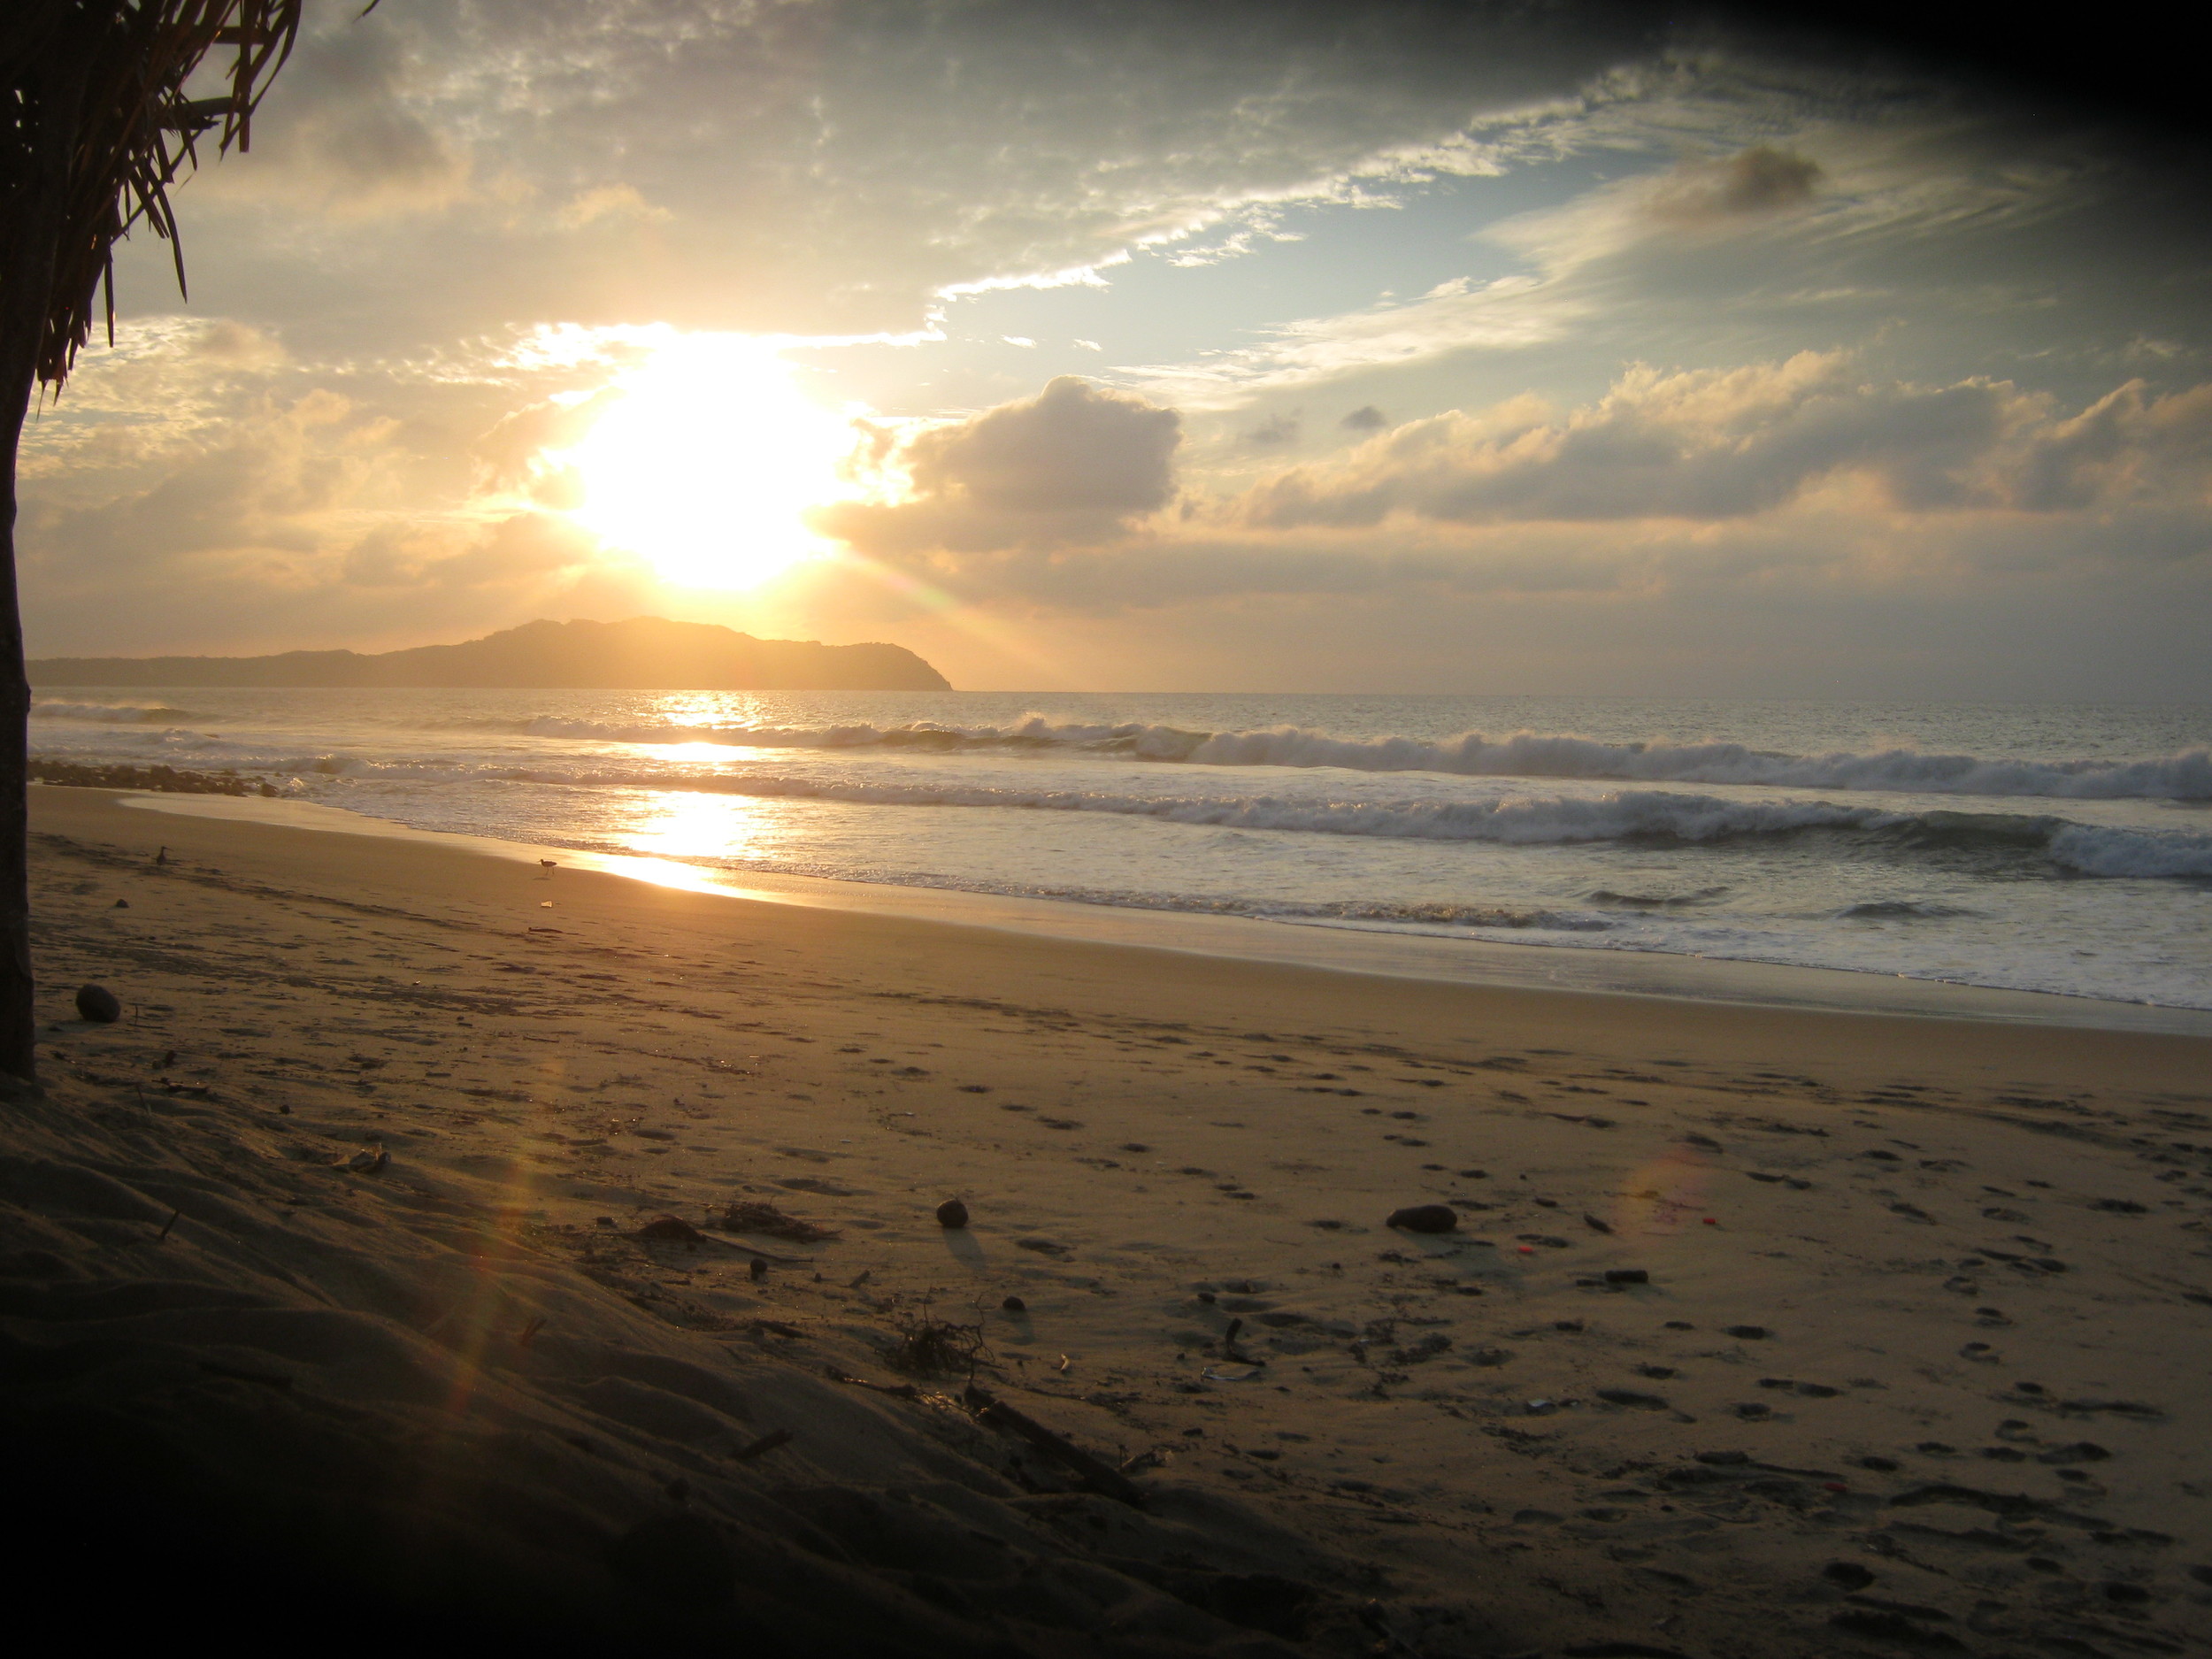
I have to say that it's true what they say: "A couple that travels together, stays together." There is nothing like watching a sunset over the beach and turning around to see your husband enjoying it at the same time.
Thank you God for such an amazing time and for family! At the bottom I'll list all the places we travelled. For now, enjoy the slideshow of our trip!
When I studied photography at Cal State Fullerton, I never got the chance to take a film photography course. As a Communications major we only dealt with the digital side of things. That's the story I usually tell people. However, the real story is because originally I was a Public Relations major and if I was to switch to photo, the fast and easiest ticket out with out having to start all over again was taking the Photo Communications courses. I didn't want to start all over again in the art department and stay in school any much longer. I took the shortcut and missed out on the whole film side of things.
I didn't let it go to waste though. I may have never learned how to develop film in a darkroom, but giving that I collect old cameras, I still shoot film. I used to shoot when I would feel uninspired, burnt out, or just bored with digital and it's perfect focus and perfect bokeh. I wanted something real. Something tangible that I would have to wait and see if the shots were well exposed or if any of the frames actually came out ok.
The surprise was worth the wait. Worth overthinking each shot as I took it because I only had 24 frames per roll. I have to take my time, expose correctly, use my brain, and adjust accordingly to the light around me. It's like going back to basics.
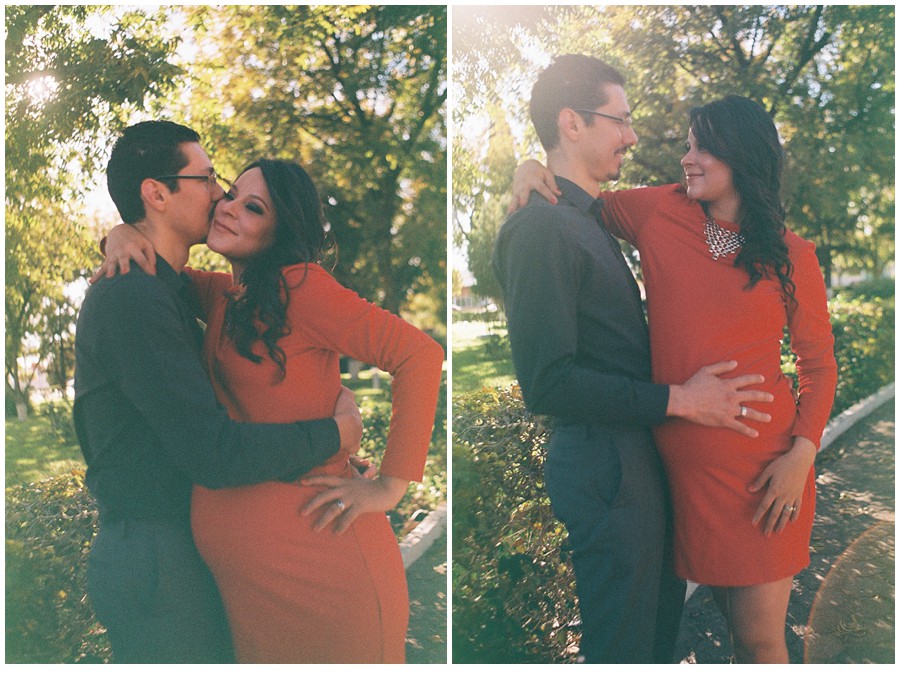
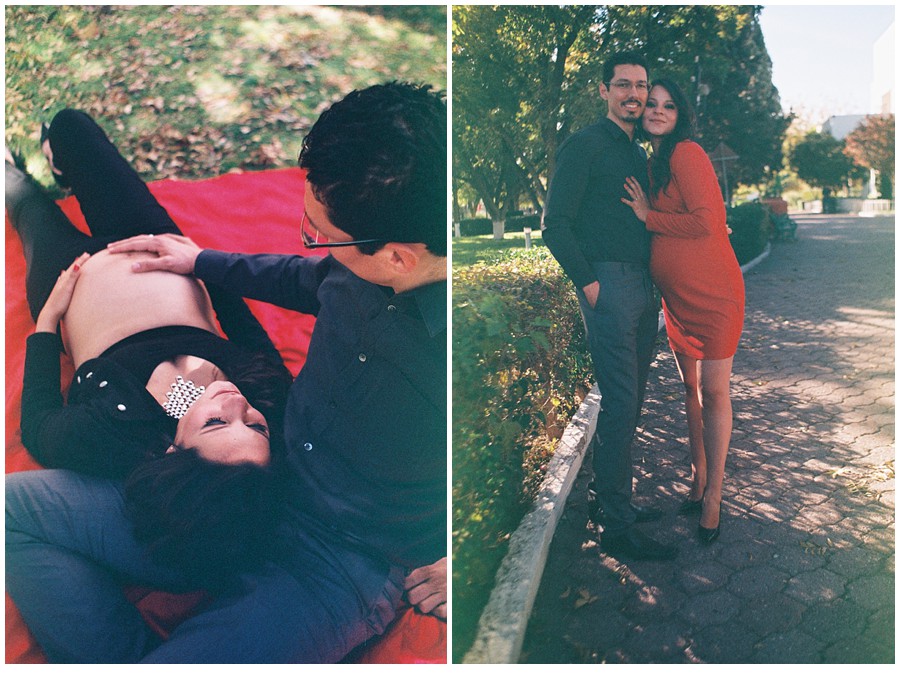
Here is some film I got developed today. A mix of when we went camping and during the maternity session from this past weekend. The grain is beautiful and some of the shots aren't perfect, but then again, that is the point.
Enjoy!
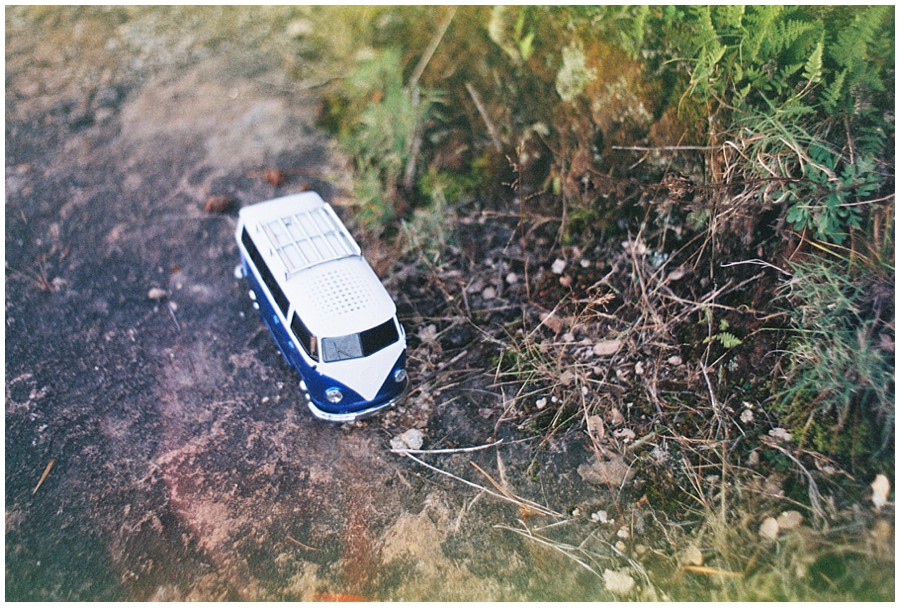
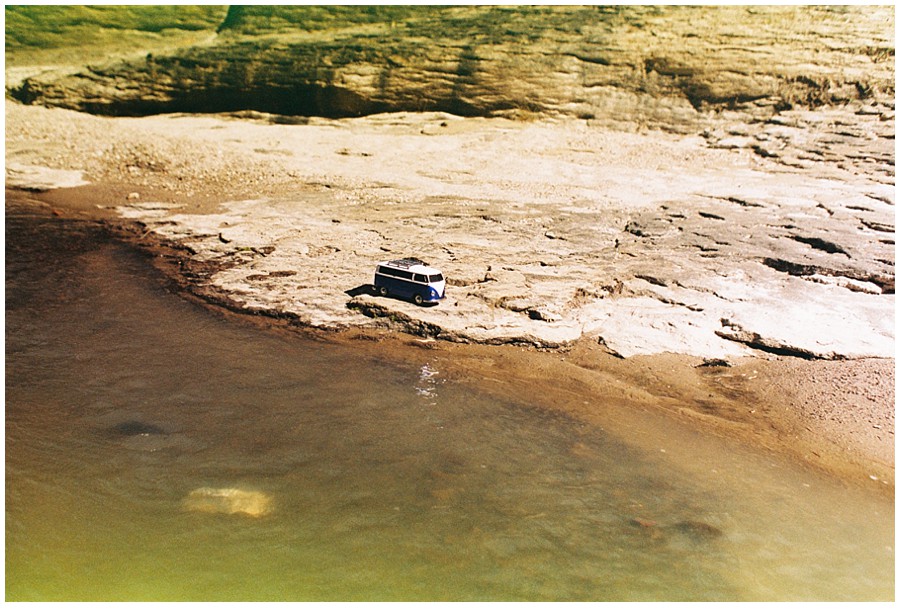
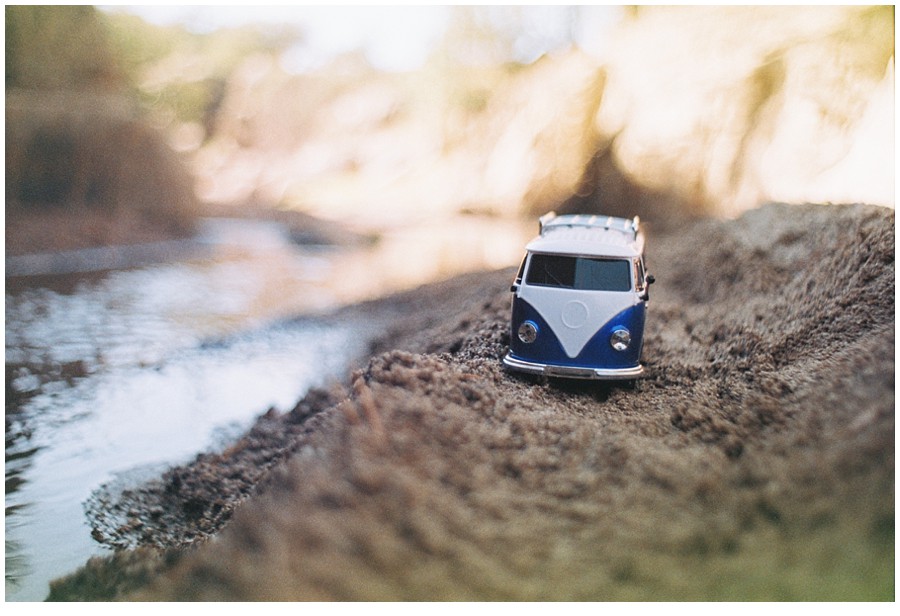
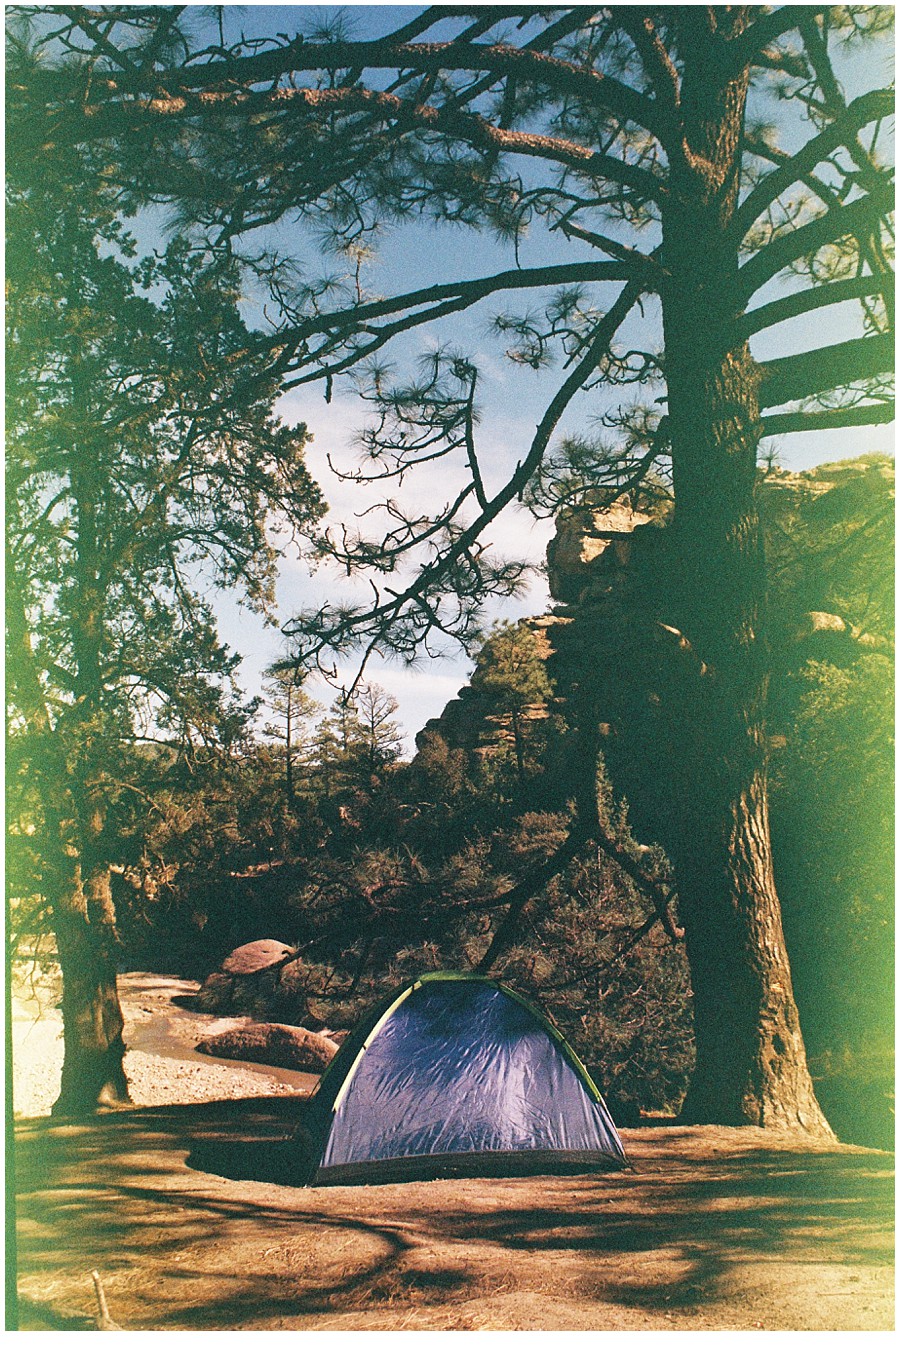
Oh how I love camping. Something about leaving all of the noise behind and settling among the rustling of the leaves and trickling of the river. It wasn't a huge river to be honest, but getting away was more than enough and exactly what we needed. To make a fire and sleep with out having a clock to follow.
We need to get out more often and be among the trees.


